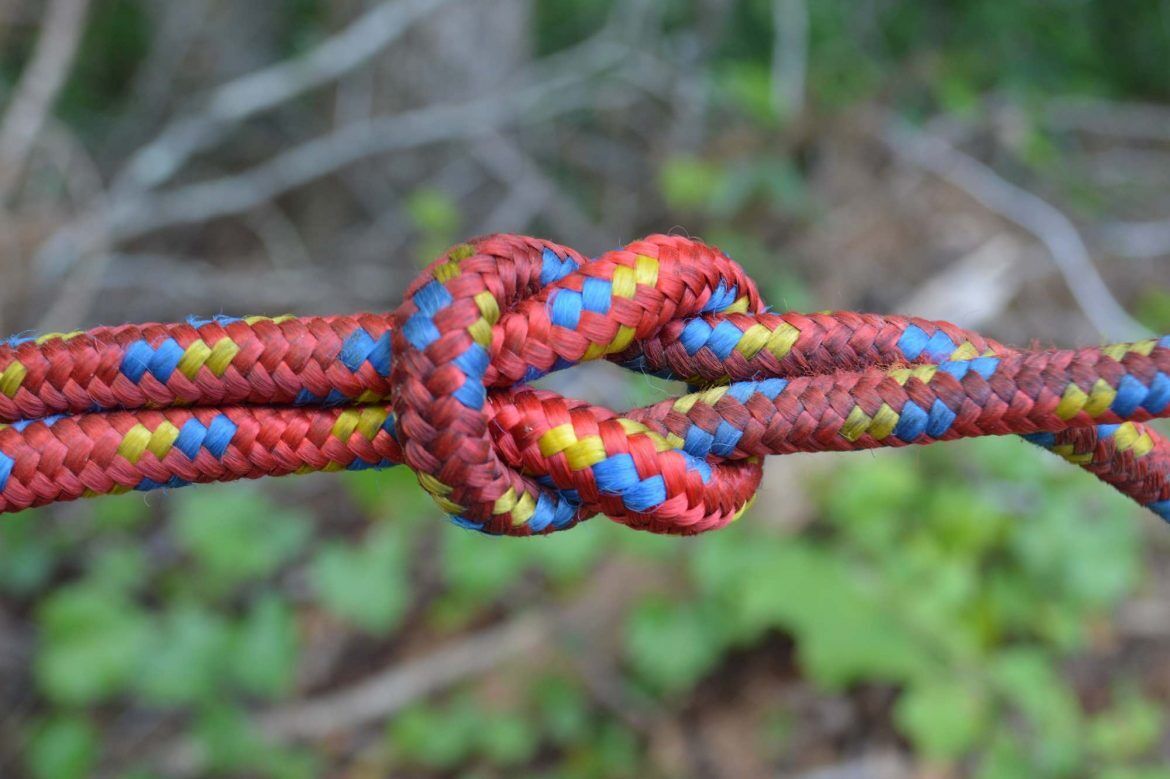
The Square Knot is one of the most well known knots. It is easy to tie and is useful for low strain ties.
While most people call this knot a square knot, in actuality the knot is names the reef knot.
The knot is popular among sailors, climbers, and gift wrappers for its convenience and ease of tying.
It is one of the simplest knots available, yet the square knot proves strong enough for most applications.
Easy to Tie and Untie
What I like best about it is, that if you grab one rope ends that are not under strain, and pull it back toward the knot, a properly tied square knot will untie itself.
Unfortunately, this makes it unreliable for climbing.
Reef Knot
Tying the Reef Knot:
Take two ropes and lay the right-hand rope over the other.
Wrap the right-hand rope under the left-hand rope.
Bring the right-hand rope back over the left-hand rope.
Next, pull the original right-hand rope over the other rope.
Pull the original right-hand rope under the other rope.
This is one of those posts in which I expect an expert to rip me to shreds over my technique. I would deserve it as this is a precision machining technique. However, I butcher it with hand tools and a total lack of precision.
I am going to show you a rough approximation of the machinist technique called broaching. You broach in order to make square holes in metal. Its not limited to square holes either. You can make all manner of shapes. This is most commonly done in making key-ways. However, the magazine well of an AR-15 is commonly made by broaching.
Broaches are shaped similar to a saw, except the height of the teeth increases over the length of the tool. Moreover, the broach contains three distinct sections: one for roughing, another for semi-finishing, and the final one for finishing.
Broaching is an unusual machining process because it has the feed built into the tool. The profile of the machined surface is always the inverse of the profile of the broach. The rise per tooth (RPT), also known as the step or feed per tooth, determines the amount of material removed and the size of the chip.
The broach can be moved relative to the work piece or vice versa. Because all of the features are built into the broach no complex motion or skilled labor is required to use it.
Making a Broach:
Take a square length of tool steel that is the diameter of the desired hole.
Buy at Amazon
Remove material to taper the ends – the length of the taper is longer depending on how large the hole is to be, the depth of the material to be cut, and the hardness of the metal to be cut.
Cut teeth in the bar stock – start with shallow teeth, get deeper teeth the closer you are to a finished cut. continue the teeth as you get to the finished dimensions.
Harden and the tool. I find case hardening compound, like the type pictured really helps.
Using the Broach:
Drill a hole in the metal, close to but smaller than the finished hole size.
Insert the broach and ensure it lines up at 90 degrees from the work peice or the hole will be crooked.
Use a hydraulic press to gradually and smoothly increase pressure until the broach is forced through the hole cutting material and forming a square
Use a good amount of cutting fluid as you perform this operation and wear safety gear as there is a lot of stress on the tool.
There are a lot of very good tutorials online about reloading, and Dillon presses in particular, but I wanted to take a couple minutes to tell you about my experience with the Dillon Square Deal B press.
First off, this is a relatively inexpensive progressive press (especially when compared to other Dillon Presses), it costs more than many single stage presses, but at around $350 it gives you the ability to reload a lot of rounds in a reasonable amount of time.
However, the Square Deal B press is a pistol only press, and uses a special set of proprietary dies. This makes the press easy to use, but it prevents you from switching dies from one press to another, or reloading anything other than common pistol rounds.
Get Strong Mounts
When looking at this press, I would definitely recommend purchasing the strong mounts. I have used this press as it comes out of the box, and with the addition of the mounts, and the mounts make a much sturdier platform.
Some things I have done that are not factory standard were to bolt a set of Allen keys on the strong mount, so that when I need to make adjustments to the press, I have the tools well at hand. Dillon makes a pretty set of tools dyed to match the press, but I just used a cheap set from the hardware store.
I also found someone on ebay that uses and injection molding machine to make a plastic knob that press fits onto the bolt head that adjusts the amount of powder inserted into the casing. This makes it easy to adjust powder levels without tools, and the wings give a visual reference point. I strongly suggest looking these up.
Don’t Start with a Progressive Press.
I would also suggest two things:
Don’t buy a progressive press as your first press. There is just too much going on at the same time. Learn on a single stage press so you get a good feel for the process. I did not do this, and as my story in the beginning of the video illustrates, I made a mistake (and blew up two revolvers).
Work slow. Dillon recommends weighing every 10th round for consistency. This is important.
The powder measure on the Dillon press is very good, but it is finicky with some powders. It does not work as well with flake type powders as it does with other powder types. When I use power pistol powder, I get inconsistent powder charges and have to weigh much more often than every 10.
Lastly I would recommend anyone new to reloading (especially those new to Dillion presses) to visit Brian Enos’s forums in addition to being a top tier shooter, Brian is a Dillion dealer, and has some really top shelf advice about Dillion presses – especially in the area of choosing the right press for your specific need.