Most cheese was historically made with animal rennet, nowadays, a lot of cheese is made with a mold based rennet.
It is possible to make a vegetarian rennet for those that are either vegetarian, vegan, or who do not have the resources to make animal based rennet.
Today we will make a DIY Vegetable Rennet out of Thistles.
The biggest problem with vegetable rennet is that it becomes bitter in aged cheeses.
This means it should not be used with raw milk, or cheeses like cheddar that need aging to build their sharp taste.
List of plants used to make a vegetable rennet:
Thistle
Fig
Yarrow
Ground ivy
Lady’s Bedstraw,
Nettle
Pineapple
Artichoke
Since Artichokes and Thistles are in the same family, we will show how to make rennet using them, but as a rule of thumb if you crush and extract the sap from the greenery any of the plants above you can use it to thicken milk.
Material:
Thistle flower head when it has turned brown, but harvest it before the plant produces the thistle down, in which case it is too late.
Or
The Purple head of the artichoke before it makes the head
Equipment:
Dehydrator
Pot
Procedure:
Dry the flower heads and pick off the purple stamens.
Boil water and drop thistles into the water and let steep into a thick dark tea.
Strain off the liquid. This is now thistle flower rennet.
The rennet can now be added to warmed milk to curdle it and begin the cheese making process.
Note:
Most cheese recipes using commercial rennet are in the teaspoon/tablespoon amounts, I started using a traditional recipe amount, but ended up using ½ cup of my homemade rennet to get a good result.
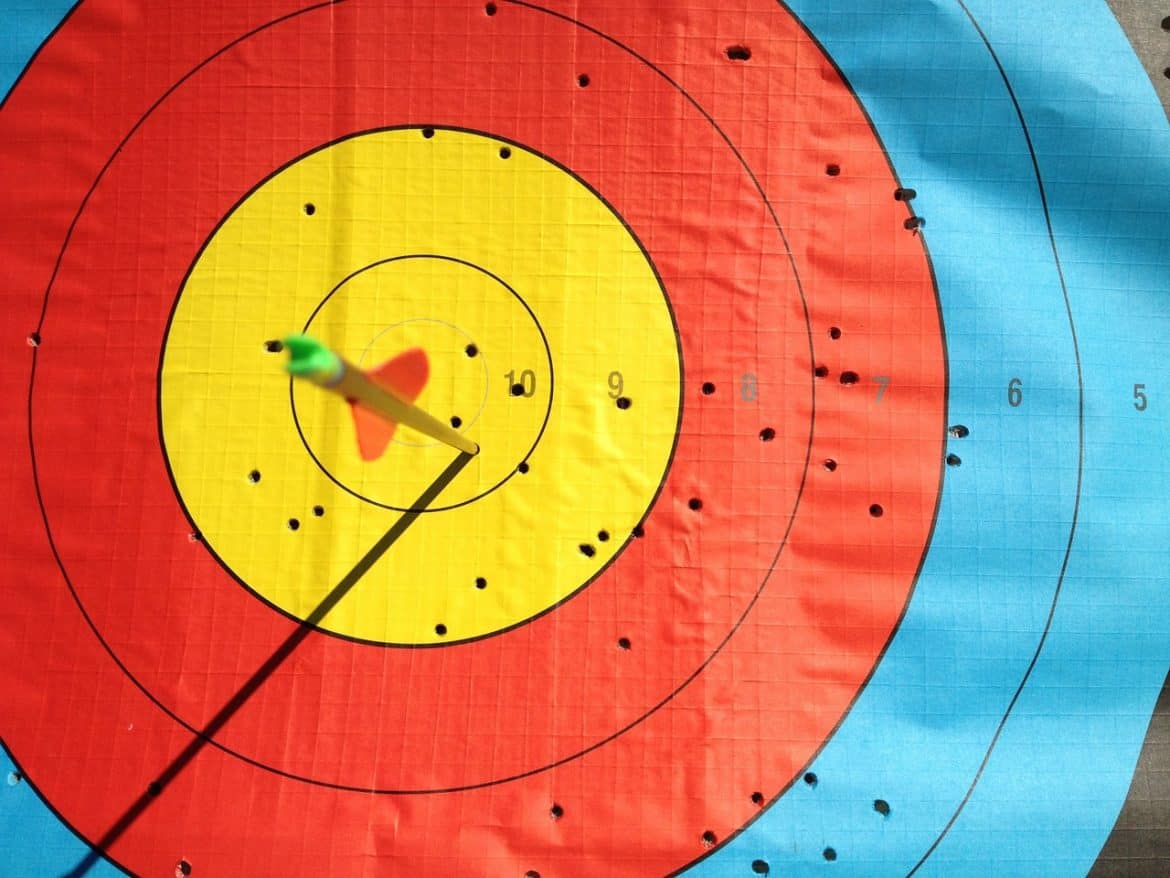
The state of absolute perfection is achieved by no Archer.
Many steps are involved in a complicated process and too many details to juggle during each shot.
Even archers with perfect coaching and perfect shooting form have to deal with the mental aspects of shooting a bow.
Using these Archery Tips you can be an expert in the most basic fundamentals of shooting form and understand the mental aspects.
Beyond that, the greater part of bow-shooting difficulties emanates from only five elements of the shot sequence.
Take them seriously, and they’ll provide an enhancement in bow-hunting accuracy.
Anchor Twice
A reliable anchor is the foundation of a perfectly executed shot. Anchoring creates the bases of the rear of the sighting system. With no solid anchor point, shots turn out to be unsteady and aiming is more difficult. This brings inconsistencies to your shooting.
The anchor point you choose is based on individual preferences and personal comfort. The anchor point should also be rooted in something static. Cheek, jawbones or teeth are quality anchor bases. They’re fixed and solid. Impressionable anchor bases such as lips, jowls and side burns are poor choices.
To take it one step further, an anchor point shouldn’t involve just one static point… but two static points. This gives you a two-point anchor making sure your shooting hand is placed “just so” for the duration of each and every shot. For instance, I snug my index-finger knuckle tightly into the divot behind my ear, and my thumb wraps around the lowermost point of my jawbone. Choose a method that works best for you.
A kisser button is another trick that performs the same function. It provides an added anchor and make sure your anchor schedule is consistent and repeatable. It assures your bow fits properly. A draw length that is too long can introduce a floating anchor. Get your drawing hand to the middle of your face, and adopt a dual-point anchoring system. Your anchor will become more consistent and your releases will be more controlled.
Watch That Bubble
Most quality bow sights comprise of an incorporated bubble level. Particularly for bow-hunters, levels help get rid of left-right misses, particularly from tree-stands or in broken topography. When shooting peep and sights, any deviations from vertical plumb makes the rest/arrow to swing left or right and send arrows off center. Canting a bow top-limb right—a familiar symptom for right-handed shooters—is instigated by loaded quivers. This causes arrows to miss the mark. The level acts as a reference, assuring each shot is launched consistently.
A fast developing shot opportunity may leave no time for a bubble check. This is why it’s imperative to instill these habits during practice. Check with the level before every shot. After some time, the correct feel will become second nature.
Haven said that, smart bow-hunters at least take a quick look at their bubble levels during challenging shots from tree-stands, in uneven terrain, or for ranges past 40 yards. Severely bending at the waist to address targets below you easily introduces a canted bow.
Fast-falling terrain can create the optical illusion of a level bow, when you’re actually tilting into the bow uphill. The longer the shot, the more deviations are compounded. It’s always worth the extra second to check your bubble. You don’t want to miss—or wound—a season-making animal due to a leaning bow.
Cradle It
A proper bow “grip” goes hand in hand with the bubble-level concept. Avoid the term “grip” in relation to holding the bow at full draw. The bow handle should never be gripped at all. Physically wrapping your hand around the handle to maneuver its attitude results in torque. Torque is the enemy of repeatable accuracy.
There’s a better approach: Put all your fingers together and hold them upright, as if offering your hand for a shake. Create a U with your thumb. Slide the bow handle into the U and allow it to cradle atop your fingers and thumb. You’re not holding the bow at all. Gravity does all the work. Come to full draw and turn your fingers slightly outward. This pushes the heel of your hand into the riser. The draw weight pushes down your solid skeletal structure so muscles remain relaxed. This allows a steadier sight picture and a more solid shooting platform.
There are two vital caveats: Your bow should sit up straight at rest and full draw without any manipulation on your part. This will need auditioning various stabilizers to determine the right feel. I find this is made easier by removing bow quivers and adopting a back quiver like Rancho Safari’s Catquiver line. Use the bow as engineered to be shot.
Take up a wrist sling and adjust it appropriately. The wrist sling eliminates the fear of dropping your bow on release or snatching at it during the shot in a subconscious attempt to avert losing control of it. Many leave their wrist slings loose to slip their hand in when hurried. But without definite support, the purpose of the wrist sling is largely overpowered. Adjust it to support the bow
Surprise Release
Punching the release trigger is a general mistake. An instance: The archer aims while the trigger finger is poised over the trigger, like a coiled snake. He then yanks the trigger when the proper pin sweeps into the bullseye. This leads to even bigger problems, such as shot nervousness and target panic.
If using an index-finger release, cut down the extension shank so the jaws hit the first joint of an open palm. At full draw, the trigger should hit the middle joint, instead of the sensitive tip. While triggering, use all fingers as a single unit.
This puts you in more control and allows you to squeeze more efficiently. Aim and allow your sight pin to float over the bullseye. Deliberately create a figure-8 if required. Continue to aim. Focus on allowing the pin to float and slowly increase trigger pressure until the arrow releases.
If trigger-punching habits are bad, ditch the index finger release and use a thumb-activated T-handle release. The shot sequence is the same. It allows the pin to float on the bullseye while aiming. But this time, cautiously wrap your thumb around the trigger barrel and pull into the draw to release the arrow.
You’re not physically squeezing the shot, but gradually pulling your shoulder blades together to amplify the pressure on the limbs against the cam’s draw stops. The draw pressure pulls the trigger barrel into your fixed thumb. This is a true, back-tension surprise release. This technique reduces anxiety and allows you to focus on aiming, and it will make you get a better shot.
Follow Through
The propensity is to jerk the bow down, watching arrows sail away, or basically allowing shooting form to fall apart once the release trigger is pulled. The problem is your timing can physically pull the shot off the mark. When shooting suffers, you usually get back on track by reminding yourself to concentrate on the follow-through. I keep on aiming until the arrow sinks into the target.
Follow-through involves strong concentration. It concentrates on keeping everything still once the shot cuts. It attempts to hold the pin on the bullseye until impact. Lastly, it requires mentally willing your arrow to go where you want it.
Pay Attention to the Tension on Your Draw Hand
This is one of the common problems we see in archers both with and without experience. Putting avoidable tension on your draw hand can lead to arthritis problems in the future. Even veteran archers can practice at length with archery bag targets and overlook this feeling during the rush of a good session.
To have a good release of your arrow, it’s very important that you relax your draw hand before the bow fires to break up the force created by the firing of the arrow. If your draw or even bow hand is tense, that tension will pushback against the force produced by the arrow which can cause the arrow to potentially jerk or rotate during the release.
In view of the fact that that can affect where the arrow will land, you want to stay away from that tension. Rather, you want to practice a clean and steady shot that you can repeat and that comes from a relaxed posture. If you aren’t sure how to start doing this, try concentrating exclusively on your thumb and forefinger. Usually, many people aim best near the start of their cycle than the end, so try not to focus on hitting the perfect shot when practicing this method.
As an alternative, focus on the movement of your elbow at the start of the draw and then the feeling in your thumb and forefinger during the aiming process. It’s recommended that you release your shot in about 5 seconds or less, or else you may find it difficult to continue to maintain the bow draw while also concentrating on relaxing your fingers.
Never Copy another Archer over Success – Find Out What Works For You
One more common issue occurs when archers spend a lot of time practicing together on the same range or see each other regularly in competition. One archer who is doing well time after time will see another individual struggling a little and offer some helpful advice. Or, the struggling archer – becoming more and more frustrated with their performance – will see a trick or particular bow accessory working well for another archer and feel like it’s compulsory for them.
While at times this can be very helpful, you should be careful with entirely changing your style or habits based on a short time frame of frustration or trouble. Everyone goes through ebbs and flows in their performance, and everyone’s background in archery and practice schedules are diverse. It’s worth exploring changes you can make to your routine or bow to improve your own performance – but make sure that process starts by figuring your own weaknesses and building on that – not just copying another archer seeing success.
This matters the most when discussing your stance and firing habits such as the length of time spent aiming. Every archer has a different physique and thus the force from the bow is handled differently by everyone. One archer may favor pushing the shoulder forward during setup, while another may be more contented just holding the shoulder naturally.
While of course there are unsafe practices and other forms that are discouraged, there are also many correct answers to problems around stance. All of the archers you train with may be comfortable with a completely closed stance, but that doesn’t mean it has to be mandatory for you. Try it for yourself at your local range and see what works for you.
Just 2 Seconds covers the lessons of past assassination to prevent future ones.
Think of every assassination you’ve ever heard about. For most people, a few of these major ones come to mind: Caesar, Abraham Lincoln, John Kennedy, Martin Luther King, Mahatma Gandhi, Indira Gandhi, Anwar Sadat, John Lennon, Israel’s Prime Minister Rabin, Pakistan’s Benazir Bhutto.
From start to finish, all of these attacks combined took place in less than one minute. And the hundreds of attacks studied for this book, all of them combined, took place in less than a half-hour. Those thirty minutes, surely the most influential in world history, offer important insights that can help today’s protectors defeat tomorrow’s attackers.
This 650-Page Book Contains:
An original work of new insights arising from ten years of research;
The Five Essential Lessons for protectors;
The Compendium – 400 pages of summarized attacks, near attacks, and incidents against at-risk persons all over the world from 1960-2007, more than 1400 entries;
and the Appendices – More than 100 pages of additional material and resources.
Now that I went back to work as an instructor at a local prison I needed a clear backpack to carry all my issued tools through the secure checkpoint. While most of you don’t have this problem, I understand that many schools are now requiring clear backpacks to prevent weapons and contraband from entering our schools.
I figure if this bag is strong enough for adult use riding on conveyer belts, going through x-ray machines, having officers dig through it, and my clumsy self carrying it, it has to be strong.
I find this backpack is of good quality, and pretty sturdy. It is a little hard to fully open because it is stiff, but I like the stiffness because it gives strength.
The sellers of this bag gave me one to review, which is nice because I was looking for one to use. However, my opinions are my own.
Update:
After carrying through a month of cadet training, I am still pleased with the clear bag. It has no signs of wear and is still working well. I still get frustrated with the stiffness of the bag. But this probably contributes to the strength. It is slightly tight fit for my laptop, so I went back to my laptop bag, my kid now as a clear backpack and it makes mornings easier as we can tell when he is trying to sneak a bunch of toys to school
Hunting in low or no-light is possible – and it’s easier to catch more – with the right night vision scope. This buyer’s guide will share everything you need.
Are you tired of missing your shots in the dark?
You need the right night vision scope. With proper night vision equipment, you have No Need to Be Afraid of the Dark with the Right Night Vision Scope. You can see a person standing over 200 yards away on a moonless, cloudy night.
Having been around since World War II, night vision technology has really improved and has become much for affordable and accessible for citizens. In the past, night vision devices were only available to military personnel.
Night vision technology allows you to see in those low light conditions when you’re out hunting in the dark. With these devices, you can also magnify things and make them appear closer.
This, of course, is great for hunting.
But with all the devices out there, it can be overwhelming and difficult to know what is best for hunters. Read on to learn everything you need to know about the night vision devices on the market today.
How Night Vision Works
Night vision gives you a clearer picture in low light situations as it works to amplify the existing light. If there is no light in a dark room, night vision cannot work. It needs any kind of light (such as moonlight) to be effective.
In technical terms, the objective lens of a night vision devices takes ambient light through an image intensifier tube. The image intensifier tube applies power to the image tube components and converts the light to electrons. These electrons create thousands of new electrons as they pass through microchannels.
When the electrons exit the microchannels, they collide with a screen coated with phosphors and make the image green. The electrons and phosphors then combine to create photons. At the end, the same image originally seen is created in a way that makes the image appear green as the light is amplified.
Why Choose a Night Vision Scope
Night vision scopes have always been prioritized by developers over other night vision devices because of their applications. Because of that, night vision scopes have advanced better and faster over the decades.
Night vision scope applications are pretty realistic for hunting and shooting range. With a scope, you don’t have to try and spot the game with your binoculars and put them down before getting back to your rifle and shooting. Night vision scopes allow for less errors in hitting your target.
With its relevance to the military, night vision scopes will continue to get better and be the best among night vision devices.
Night Vision Generations
Night vision devices are split into four generations, and it is important when buying to understand the technical aspects of these generations.
1st Generation
The first generation of night vision started in the 1960s. This type is still used today and is inexpensive in comparison to the other three. Since these were made with lower technology, the need the light of a full moon to do any good.
2nd Generation
The second generation night vision scopes go back to the 1970s. Less light is required for a bright image, and there is also an amplification plate that makes the image clearer and bright. These are a bit more expensive that the first generation devices, but you’re paying for better technology and imaging.
3rd Generation
The third generation night scopes have much more advanced technology than the first two. Made with gallium arsenide in the light amplification tube, these devices ensure a brighter, sharper and clearer image. Of course, they’re also much more expensive in comparison to the first two generations.
4th Generation
This generation is still hard for civilians to find. By removing the protective coating on the microchannel plate, the fourth generation optics improved clarity and performance by 20 percent. Yet, these are not capable of lasting as long as the others.
Performance Features to Consider
As a hunter, it’s important to understand that night vision scopes are different than night vision binoculars. Scopes allow you to aim to hit a target rather than merely observe it. Many different factors come into play with determining the quality of scopes.
Clarity
You need to have a good resolution to see and operate in the dark. Good clarity ensures that you can identify your target before shooting.
When checking resolution in night vision scopes, the higher the lines per millimeter (LP/MM) the greater the clarity. 64-72 lp/mm is an excellent resolution feature to shoot for.
Range
You need to know your recognition range when buying a night vision scope. Don’t place as much importance on the total range, because the recognition range is more important.
You’ll often see recognition ranges for full moons, quarter moons, starlight only and overcast ranges because manufacturers often measure range by the amount of ambient natural light. Longer optics tend to be better at producing more light.
Ergonomics
Night vision scopes are similar to regular scopes in that they’ll still weigh the same. A night vision scope with a higher magnification is going to be bigger and heavier. It may be harder to aim and more uncomfortable with a heavy optic.
Keep that in mind if you are into brush hunting or off-hand shooting. For those, you might want to go with a lighter optic.
Durability
Night vision scopes are pricey, so you want to make sure yours is going to stay strong for you for a long time to come. Consider investing in a waterproof optic so the electronics have a lesser chance of being shut down by water. Also, check the amount of recoil the scope is rated for.
Infrared illuminators
Some optics will have an infrared illuminator or at least have the ability to attach one. This is another important factor to consider. With an infrared illuminator, you can shine an infrared light and make the night vision slightly brighter.
When you’re out hunting and it is pitch black outside, an illuminator can certainly come in handy.
There is a lot to consider when buying the right night vision scope, but knowing what to look for will be helpful in the process.
There is another night vision device that is also help hunter to own the night but work pretty difference from night vision scope, it’s thermal scope. If you want to find more, you can check out IOutdoorPursuit for everything you need to know about thermal scopes. Once you find the right product, you’ll be unstoppable in the dark.