I’m no lawyer, so check this yourself. My understanding is that as long as you can legally own a rifle you can make one for your own use. But you can’t build them with the intent to resale. Additionally, the firearm you build must meet the legal guidelines in your area. (i.e no 3 inch anti-aircraft guns).
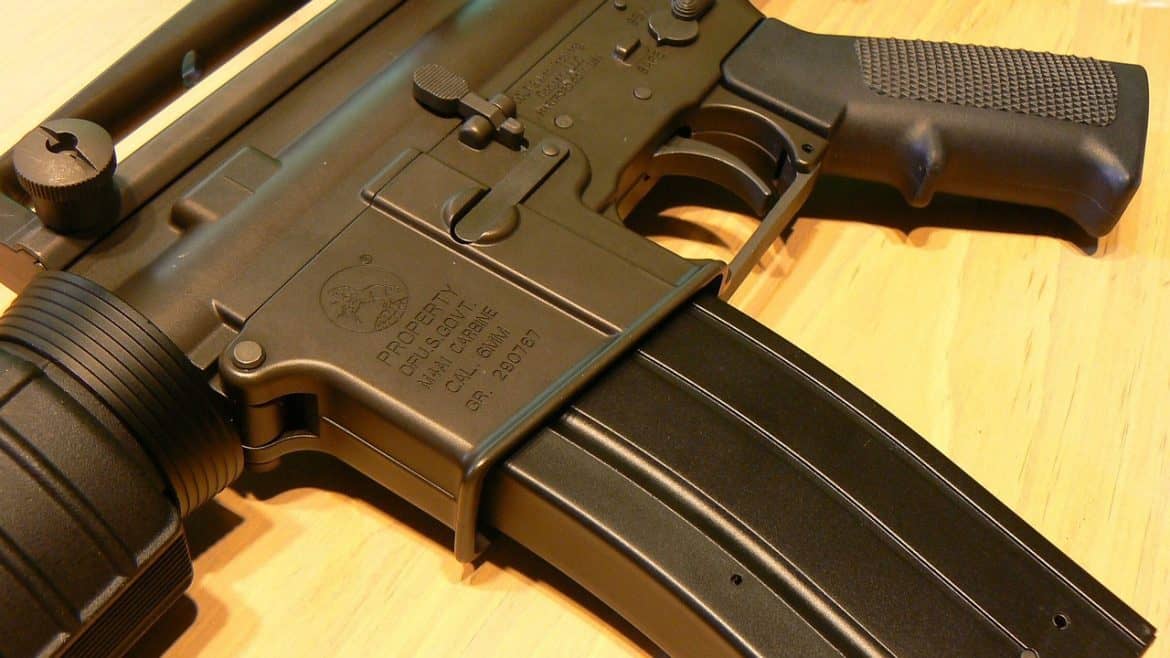
If you can do so legally, building your own rifle is a very worthwhile experience. In this post we will show how we completed our own AR-15 lower build for much cheaper than what the same rifle would have cost already assembled.
When I bought my stripped AR-15 Lower Receiver, I had to give my $10 background check and thumbprint just like I was buying a functional firearm. According to BATFE, a receiver is considered a firearm even if it is is not functional. All the other parts are just “accessories”.
This is the second AR-15 lower I have built. It took me less than an hour. I did not have any specialty tools to make it easier. I would say that this is a simple project if you have good instructions.
You Can get Good Information from Military Manuals
You can use the military technical manual (TM-9-1005-319-23&P) but remember its for M-16s so some of the fire control parts will look different because your rifle is semi-automatic. A simple search search on the internet for AR-15 construction guides will help. Also you can always buy a book on the AR-15 in your local bookstore.
TM 9-1005-249-14 is the operator manual for the M16 Rifle. Like the technical manual, it is not exactly the AR-15, but it is close enough to work
In our free downloads section I have a good amount of manuals and blueprints for the AR-15/M-16. I post them with the hope the manuals will help you. I suggest you visit AR-15.com and look in their forums as they have great step by step instructions.
Some Things Need to Be Done in Order
Some steps can be done in any order, and some pins can be installed from either side, but some steps need to be done in sequence, and certain pins need to be placed a specific way, so be sure you get a decent set of instructions and follow them.
I build my own lowers for two reasons, the first is cost. I save about 100 dollars (sometimes more) by DIYing them, but I also like the feeling of taking MY gun to the range. By putting one together you learn a lot about your rifle which makes troubleshooting and repair a lot easier.
I had to split up the video into two parts and seriously cut it for time, as youtube has a strict 10 minute video policy. Also for those that get torqued over someone calling a magazine a clip, there are several occasions where I misspoke a part name, you make me nervous….
Carjacking of parked vehicles depends on the car owner being inattentive to their surroundings. Carjackers, like street robbers, prefer the element of surprise. Most victims say they never saw the carjacker until they appeared at their car door. To reduce your risk of being carjacked, we have listed some common sense Carjacking Tips below:
Always park in well-lighted areas, if you plan to arrive/leave after dark
Don’t park in isolated or visually obstructed areas near walls or heavy foliage
Use valet parking or an attended garage, if you’re a woman driving alone
As you walk to your car be alert to suspicious persons sitting in cars
Ask for a security escort if you are alone at a shopping center
Watch out for young males loitering in the area (handing out flyers, etc)
If someone tries to approach, change direction or run to a busy store
Follow your instincts if they tell you to walk/run away to a busy place
As you approach your vehicle, look under, around, and inside your car
If safe, open the door, enter quickly, and lock the doors
Don’t be a target by turning your back while loading packages into the car
Make it your habit to always start your car and drive away immediately
Teach and practice with your children to enter and exit the car quickly
In the city, always drive with your car doors locked and windows rolled up
When stopped in traffic, leave room to maneuver and escape, if necessary
If you are bumped in traffic, by young males, be suspicious of the accident
Wave to follow, and drive to a gas station or busy place before getting out
If you are ever confronted by an armed carjacker don’t resist
Give up your keys or money if demanded without resistance
Don’t argue, fight or chase the robber. You can be seriously injured
Never agree to be kidnapped. Drop the cars keys and run and scream for help
If you are forced to drive, consider crashing your car near a busy intersection so bystanders can come to your aid and call the police
Call the police immediately to report the crime and provide detailed information
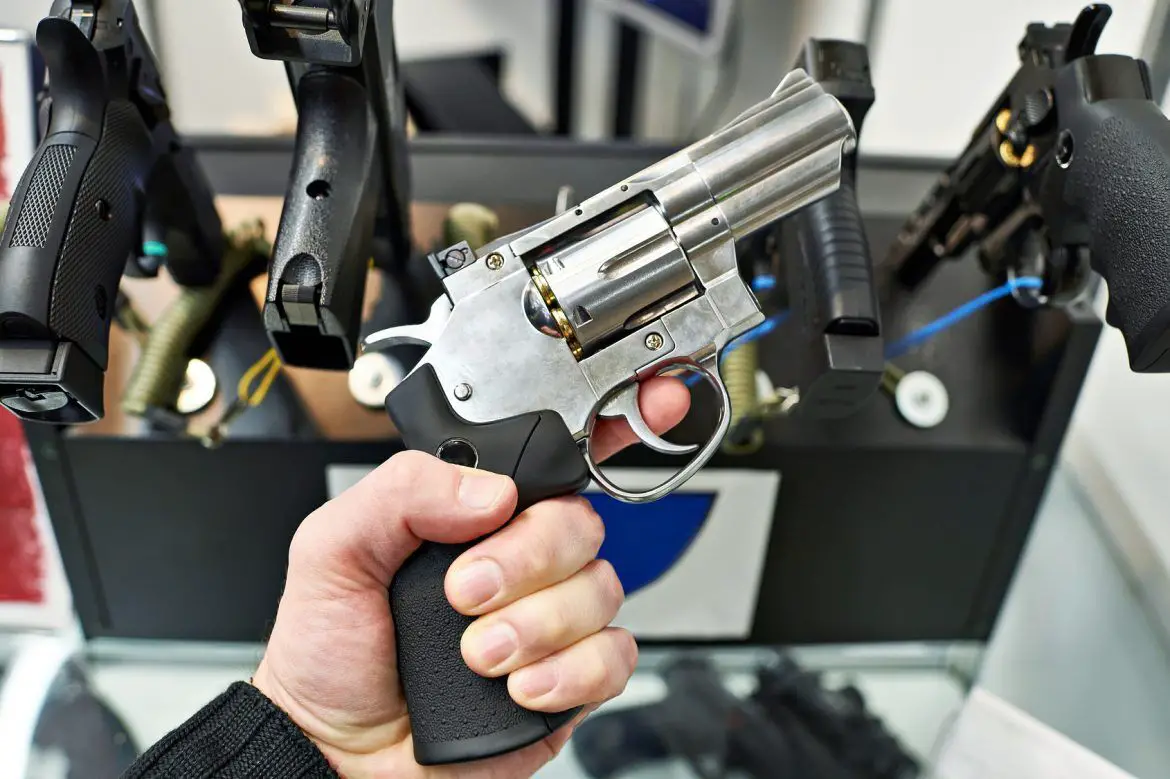
If you are considering purchasing your first handgun the options can be overwhelming. There are many choices out there and you want to get the best value and enjoyment out of your handgun.
An estimated 55 million Americans own guns, and handgun ownership is up 71% in the last 25 years. There are an estimated 111 million handguns owned in America.
And gun manufacturing has risen sharply over the last few years too. There are many options for handgun purchases.
Unfortunately, this means making a decision about your first handgun can be even more challenging.
There are numerous online guides and various advice columns, but you just end up with more guns to choose from.
Don’t worry. We can help.
We’ve put together 5 essential tips when purchasing your first handgun.
Let’s go:
9mm Is a Great Caliber to Start
A great starting point is to think about caliber.
And a 9mm pistol is a great place to start for a first-time handgun buyer. The weapon is the primary sidearm of the United States military and is used often as a service pistol for law enforcement agents.
Considered very easy to learn to shoot, the 9mm also has the advantage of being easy to clean.
You will also want to factor in ammunition before you make a purchase.
Think About Ammunition
One mistakes beginners to handgun purchasing make is they don’t think about ammunition and the cost of ammunition.
For your initial pistol investment to last and have long value, you’ll want a handgun that fires ammunition that tends to be inexpensive and is readily available.
You can’t go wrong with 9mm for ease and affordability of ammunition.
Test Fire
Getting the proper first pistol for you means test firing the weapon before you decide. Choosing a nearby gun store with a firing range will allow you to gauge the weight and feel for the pistol.
At the same time, test firing a handgun will allow you to talk directly to gun shop representatives. They can give you valuable advice as well.
You’ll want to talk to them about a gun safe too.
Get Security For Your Handgun
First-time handgun buyers may not be aware of the security issues surrounding owning a handgun.
Unfortunately, guns are one of the most targeted items for theft in home burglaries. An estimated 600,000 guns are stolen every year in the United States.
Investing in a safe and an alarm system is a great idea. The last thing you want is for your new handgun to fall into the wrong hands.
Decide on Usage
If you are planning on using your first handgun primarily during daylight hours, or inside a shooting range, you won’t need to worry about lighting.
But if you are planning on firing your new handgun in the dark, you may want to factor in using lights. Sites like bestweaponlights.com offer a number of great options for lighting.
Make a Great Choice
If you follow those simple tips, you’ll find the right handgun for you. The next step is finding time for the range.
Practice makes perfect when it comes to marksmanship.
One of the best ways to improve hunting skills is to use a slingshot. But how to shoot a slingshot is something that not many of us know. But that’s okay because the learning process is pretty basic and easy. And most importantly, it’s essential that you learn how to use the tool properly if you want to avoid casualties or damages.
A slingshot is a weapon that needs to be handled with care and responsibility. So please continue reading if you want to understand the correct away how to shoot a sling shot safely.
We’ve listed a detailed guide on this particular topic so that you can enhance your hunting skills. The article also includes some valuable tips on how to use the tool properly. So let’s begin!
Here’s a clear idea of what awaits below:
What you need in order to learn how to shoot.
Ammunition loading.
The correct way of aiming your shot.
And finally, getting ready to fire.
Gather everything you need
When learning how to shoot a weapon like a slingshot, there are a few things you need to gather beforehand. This helps in saving ample of time and directing your complete focus on the process of learning instead of struggling with finding materials.
What you will need:
Ammunition
Slingshot
We would advise you to use dense and round objects. For ammo, feel free to select from fishing sinkers, small rocks, glass balls, and marbles. Ball bearings and marbles are considered to be the best since they come in striking colors. And this makes the process of tracing and evaluating your shots easier.
The method
Ammunition loading
Once you gather all the required materials, it’s time to begin loading the ammo. Hold the bottom of the slingshot with either the right or left hand, whichever feels more comfortable. Use the opposite hand to place your ammo in the center of slingshot’s pouch.
Please make sure that the ammo doesn’t swing away as this tends to mess with precision and accuracy.
Use the fingers, preferably the index finger and thumb, to hold the ammo in place. At this point, the strap and thumb need to be in a parallel position.
The correct way of aiming your shot
Hold the slingshot properly
To shoot in a more comfortable position, you need to use the principal arm. This also helps in producing a better and more accurate shot. The secondary arm is to pull back the ammo. Such a posture provides the principal arm with the much-needed strength to hold the slingshot in a steady position while releasing.
Now grip your slingshot in a perpendicular or flat manner. This you can do by holding up the weapon and raising the arm. Some shooters prefer to allow the forks of the slingshot to point upward while some like to angle the tool slightly along the side.
Since slingshots come in different lengths and widths, you might have to tweak the way you hold it based on the size and form.
Watch your stance
The way you stand determines how comfortable and confident you are with your aim. Place the right foot forward while drawing back the left one. At this stage, the left foot needs to point slightly outward. This applies to right-handed shooters. Left-handed hunters can do the exact opposite. Once the feet are positioned properly, bend your knees a little bit.
Such a stance enables you to create a solid foundation by keeping the feet pointed in the forward direction while also maintaining a shoulder-width stance. Failing to do so might keep you from striking that perfect balance in order to aim accurately.
Place the slingshot sideways
The shoulder of the principal arm needs to front the target. So you can do this by raising the slingshot perpendicularly while also making sure that it marginally slants away from your body. This gives you plenty of space to free the arm to yank back the band.
Breathing is important at this point
Before releasing the thing, it’s important to take a deep breath. This prevents the possibility of any bodily movements, which improves your aiming capacity.
Getting ready to fire
This part is crucial when it comes to learning how to shoot a slingshot. Take your time to aim to the target. There’s no need to rush, you can do it slowly too. Your head needs to be positioned in such a manner so as to marginally enable you to check the target. And this way you will also stay clear from those bullets.
It’s best to use the dominant eye only, so closing the second eye is not such a bad idea. But if you wish to train with both eyes open, then that’s okay as well. Because such a practice goes a long way in improving your skills and performance level.
Once you’re ready with the correct posture, it’s time to take the shot.
Fire the shot
Pull the slingshot band
Make sure that the band is completely stretched and that all triangles are clearly visible. They also need to be shaped by your slingshots’ splits.
Discharging the band
It’s time to flick the wrist forward to shoot your ammo and strike the target. Keep your thumb away from the projectile at this point. Failing to do so might lead to a painful injury.
Congrats, now you know how to shoot a slingshot!
If you’ve gone through each and every step discussed in the article above, then you’ve gained a little more confidence as a shooter. We’ve made it a point to make this guide of how to shoot a slingshot as simple as possible. So the instructions are easy to understand.
You need to keep in mind that practice is key. You have to keep going at it if you want to improve your skills. The goal is to make not only shooting but also aiming a more comfortable experience.
So please continue learning while also helping us improve by providing your feedback at the bottom. Feel free to leave all your comments in the section below. We hope you enjoyed reading the article!
About the author:
Tony Lohman (the founder of OutdoorHole) has been writing about outdoor sports and activities for many years now. As an outdoor enthusiast himself, he knows what kind of gear to use and how to use it. And that is what he shares with fellow adventurers on this platform. His valuable guides and tips are useful for beginners seeking to find the reliable answers.