


I get to show you how to cook fish in parchment paper because William has been begging to go fishing. We actually live pretty close to the famous Bucksnort Trout Ranch on Interstate 40 outside of Nashville.
I got him out of pre-school a little early and we went on a ‘venture.
We caught a couple of nice trout and got them filleted.
William was pretty excited to watch them get cleaned and would not stop talking about eating them. If was adorable to watch him scrunch his nose and rub his hands together like he was some evil genius planning to take over the world. Of course not long after we go on a canoe trip and he didn’t want to fish
Who knows that his 4 year old mind associated eating a fish with.
If you want to skip to the cooking, it starts at 1:20
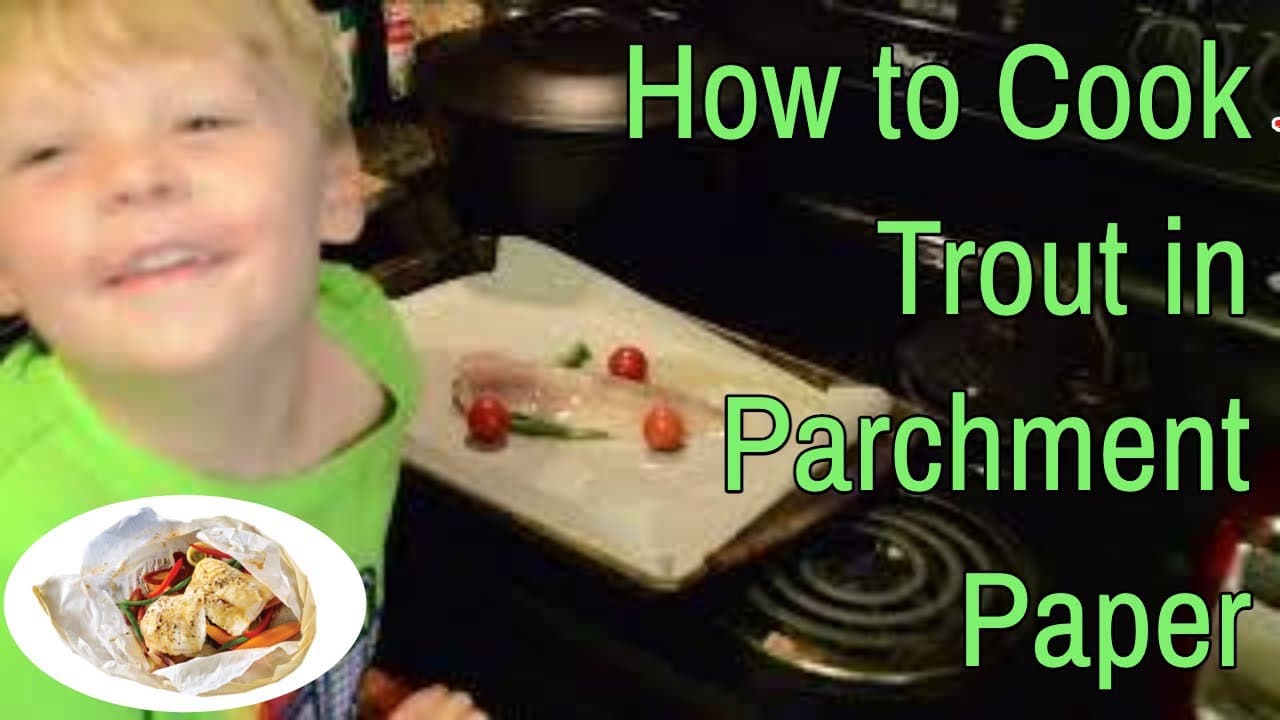
How to Cook Fish in Parchment Paper
Ingredients
- Trout
- 1 cup of white wine
- salt and pepper
- Olive oil
- Cherry tomatoes
- Green beans
- Sliced lemon
- Dill springs
Procedure:
- Preheat oven to 350 degrees Fahrenheit
- Cut parchment paper squares about a foot wide
- Put olive oil on parchment
- Lay out vegetables on the paper
- Cover vegetables with a trout filet
- Sprinkle oil over fish
- Add salt and pepper to taste
- Cover with a sprig of dill
- Add a couple slices of lemon
- Pour about 1/8 cup of wine over to add moisture
- Fold the paper to make a steam proof container
- Bake for about 25 minutes.
Cut and eat right out of the bag if desired.


