M6 Scout Sling Swivel Modification

How to Install a Sling Swivel on a M6 Scout


M6 Scout Sling Swivel Modification
Buy at Amazon

One of the first guns I ever bought for myself was a Springfield Armory M6 scout rifle. Like almost all owners of the M6 scout, I really like the concept, but I find it needs a sling swivel to really fit my needs.

What is the M6 Scout

For the uninitiated, the M6 scout started life as a survival item for Air Force pilots. It is a hinge action over under that breaks into two parts for storage. The air force version is normally a .22 hornet over .410, but mine is a .22 long rifle over .410. The actual military model’s barrel is shorter than the National Firearm Act allows for unregistered firearms, so the civilian barrel is about 4 inches longer. It has two cutouts on the sheet metal stock that are supposed to be improvised wrenches, but I have never attempted to use them. In my opinion, other than the size and weight of the gun, the best feature is that the butt-stock opens to hold 4 .410 shells and 15 .22 (only 9 if it’s a .22 hornet).

While I am an unreconstructed tinkerer that loves messing with things, I am pretty conservative with my firearms, and do not modify them without having a clear and specific goal in mind. I don’t own any “safe queens” or Barbecue guns, all of my firearms are tools, primarily for my family’s or my own self defense. Over the years I have seen too many overly modified guns lose reliability with each “improvement” to the designer’s specifications.

A Few Nice Modifications

However, there were four areas that my scout needed improvement, and none of them modified the actual mechanical function of the firearm in anyway. Since the purpose of this gun is to forage in a E&E (escape and evasion) scenario its intended use makes it perfect for a GHB (Get Home Bag) kept in a car trunk. My first addition addressed this and was the purchase of the optional blue plastic case to hold both the gun, a 100 round box of .22 long CB caps and two .45 caliber bianchi clips that I stretched and forced 12 .410 shells into (an appropriate mix of 6 #6 shot, 4 slug, and 2 00 buck).

Remove the Trigger Guard and Add Para-cord

My next mod was to remove the trigger guard from the “trigger” which is actually a bar that you can squeeze with you entire hand if needed. All I did was pry the stock apart slightly and pull the guard out (its stamped steel).

Next, I wrapped a long length of para-cord along the barrel as the gun does not have any furniture on it. This provides me with a cool place to put my hand if I somehow shoot enough to heat the barrel, and it gives me some cordage for emergency use. According to some, crewmen were taught to do this using paracord from their chutes if they ever bailed out.

Adding a Sling Swivel

My last modification, and the subject of the video below, was the addition of a sling swivel on the butt-stock. For years I have tried to find a factory sling swivel to attach to my scout. The barrel has a hole at the muzzle for attachment, but the butt-stock does not. The only furniture on the gun is a small rubber pad on the butt-stock, but the screw that holds it in is not substantial enough to do its designed job and hold a sling.

While at the reloading store the other day, I saw a sling swivel for an AR-15 hand guard. I knew immediately that it would work. It was a normal QD swivel on a stud, a round spacer/washer, and an aluminum nut with a round base.

Basically, I used a drill press to drill a hole the aluminum nut could fit into, then screwed the swivel stud into it through the washer. Later I may trim it up a little with my Dremel, but for now it works well enough for my purposes.

Winter Driving Safety Tips

Winter Driving Safety Tips

Winter Driving
Buy at Amazon

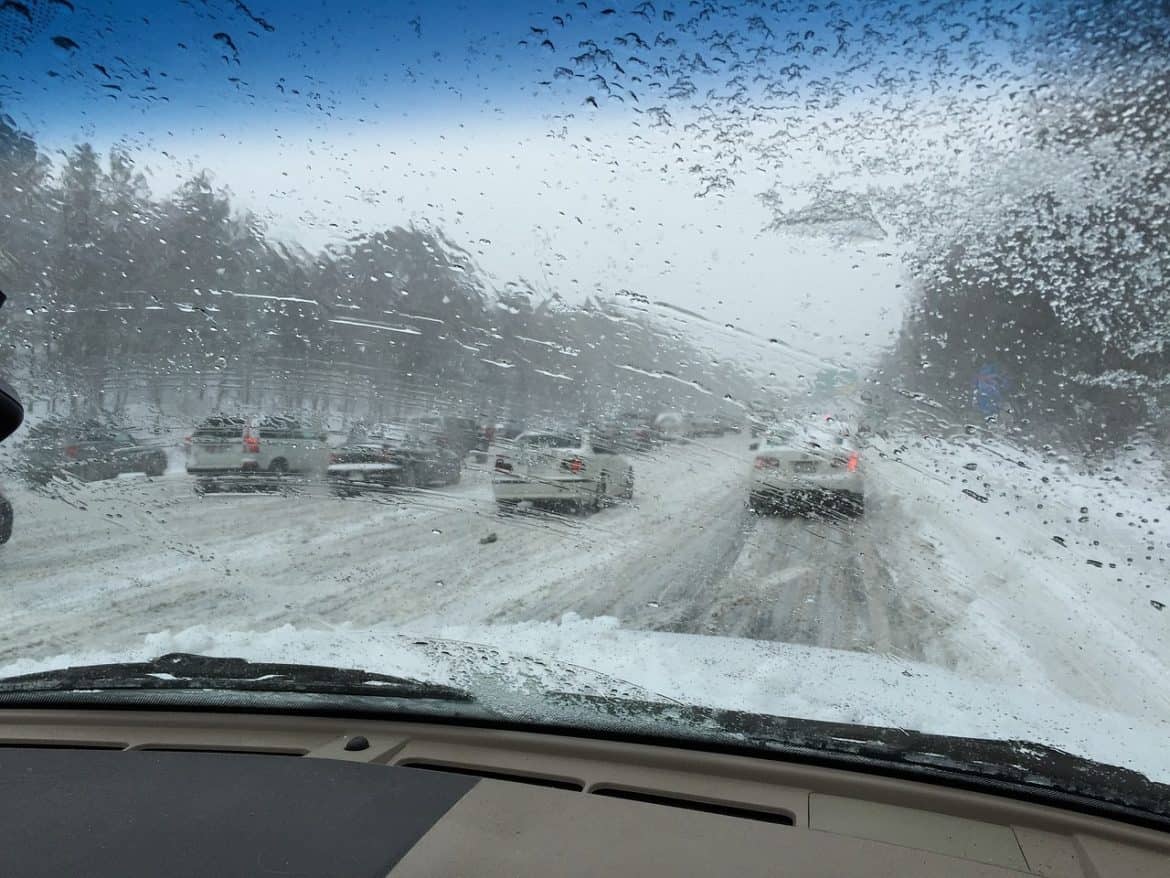
Winter Driving is more than having a 4 wheeled drive or experience in the frozen north.  It is about preparedness, common sense, and looking out for other drivers.  I have seen all manner of accidents caused by winter driving conditions, and know the damage vehicles can do.

When driving in wintry weather:  slow down, stretch the two-second rule to four seconds or more, never use cruise control and know how to use the type of brakes your vehicle has to their maximum safe effect.

9 Winter Driving Safety Tips:

  • Since your battery works harder than ever in the cold, have it professionally checked before winter sets in.
  • Have a professional check your antifreeze for both quantity and quality, but don’t stop there.  Do the same with the rest of your car’s fluids:  oil, transmission, brake, battery, power steering and windshield washer.
  • As for gasoline, keep your tank at least half-full throughout the winter.  Adding gasoline antifreeze directly into the tank may prevent a fuel-line freeze-up.
  • Take a good look at your wiper blades.  A summer’s baking may have left them streaking or otherwise not up to the winter freeze-thaw cycle.
  • One more thing to have done while your car is in a professional’s hands is, of course, have the brakes and exhaust system checked.  Brakes are your last line of defense against becoming stranded; a faulty exhaust system adds to the danger if you do become stranded.
  • Make sure all tires including the spare meet the penny test:  insert a penny into the tread in several places (don’t cheat, either – go for the most worn places!); if you see the top of Lincoln’s head, replace the tire.  You should do this often, but worn tires are especially dangerous in winter driving conditions.
  • Make sure your jack is working and accessible.
  • Speaking of tires, check their pressure often.  When the temperature drops 30 degrees, your tires may lose as much as five pounds of their air pressure – and tires that don’t have enough pressure lose traction.
  • If you have a pick-up or similar vehicle with less rear-end weight, carry a sandbag or other artificial weight – especially important if the vehicle is rear-wheel drive.


Preparing for Winter

How to Prepare for Winter Weather

Preparing for Winter
Buy at Amazon

Preparing for winter weather involves more than just buying salt and hot chocolate.

Stock up on non-perishables, like canned goods, and make sure you have adequate medical supplies and prescriptions.

I have worked winter storms that have wrecked havoc on the unprepared – cold weather can kill – and it can cause accidents that kill and maim.  Just because you have a 4 wheeled drive does not mean you can stop on ice.

Use the Common Sense Steps Below:

  • Know the difference between a weather WATCH and a weather WARNING:  a watch means conditions are right for the event the advisory names and you should be ready to take protective action; a warning means that event is imminent and you should take protective action now.
  • Fill several large containers with water and store them appropriately.
  • Keep flashlights, batteries, candles and matches on hand.
  • Trim trees around the service line(s) entering your home. Keep areas surrounding electrical service equipment clear.
  • If you decide to use a generator or space heater, carefully review and follow all safety procedures in the owners’ manual.  If you’ve lost the owners’ manual, get it replaced.
  • Close off unused rooms to conserve heat. Open curtains and shades to let sunlight in; close them at night.
  • Keep your car’s gasoline tank at least half-full.
  • Tune often to local weather forecasts.
  • If you have special needs, such as life support equipment, be prepared in advance in the event you lose power.


How to Build a Homemade Kydex Press


Kydex Press
Buy at Amazon

Being a carry permit holder I have a thing for gun holsters, being a big guy, I spend a lot of time baking sure that my holsters are comfortable and work well with the clothing I wear. Something I have noticed “gun guys” is that we all have a box of old holsters. The majority of holsters I use on a daily basis are either Kydex or combination’s of both leather and Kydex.

That is no surprise when you look at the benefits of Kydex. Its cheap, rugged, non-marring of your gun’s finish, moldable for good retention, smooth for a consistent draw, and does not react to normal temperatures or gun solvents or oils.

You Need a Press to Work with Kydex

If you want to experiment with kydex you need a kydex press – like all my projects, I wanted something cheap and simple to test out before I invested in quality tools – this post’s kydex press is just such a tool.

Being a DIY enthusiast, it did not take me long to want to try my hand at molding Kydex. For those of you that do not know, Kydex is the trade name for a propriety thermoplastic sheet. It’s rigid and strong, but when heated it becomes pliable. Kydex does not have a memory, so that once it has cooled; it retains the shape it was molded to fit. Kydex is not the only plastic compound that has this property.  However, what makes Kydex so useful is that unlike plastics, Kydex doesn’t off gas toxic fumes at forming temperatures.

Tools to Form Kydex

Most people use either an oven or a heat gun. Often I use a goodwill toaster oven.  It really depends on the thickness of the Kydex your working with.  Also the size of the piece your molding will impact on your heat source. Normally I find the oven works best to begin the project, and I use a heat gun to spot heat for adjustments.

Besides a heat source, gloves, and trimming tools, one of the most basic tools to mold Kydex is a press. A Kydex press normally costs from $80 to $180 depending on size, but it is a simple tool that I decided to make one myself.

Simple Homemade Kydex Press

At its simplest a Kydex press is a rigid board with a thick piece of foam glued to it as a base, with top made the same way. The heated Kydex is wrapped around whatever it will sheathe, and then sandwiched between the two pieces and then clamped or weighted heavily until the plastic cools.

I went a little more complicated, as I put a set of hinges to connect the top and bottom pieces. I connected them this way because I plan on making knife sheaths.  At least until I got enough skill to try more complicated gun holsters.  Also, by being connected, it gives me more leverage for clamping.

If I was making a press for larger items like gun holsters I would make modifications.  Either I would not add a hinge, or I would make the hinge adjustable.