
I want to do a quick down and dirty article with some Basics of Using a Radiation Meter. When I train actual first responders on the use of their specific equipment the class lasts 8 to 16 hours. In the space of a 10 or 15 minute video I obviously cannot cover everything.
Health physicists, Radiological Safety Officers, and anyone that uses radiological detection equipment on a professional basis will probably lose their mind over this article. That is because it is so generic. However, if you have bought, or are planning to buy a meter for your own personal use then you should know some guidelines for its use. Frankly a individual citizen may have a hard time finding a way to receive this training on their own.
Calibration
This has been discussed before, and is an essential element of using your radiological meter. If you have not had your meter calibrated you cannot be sure if it is working properly. If it is reading lower than it should you’re getting a false sense of security. This may cause you to take chances you would not normally take.
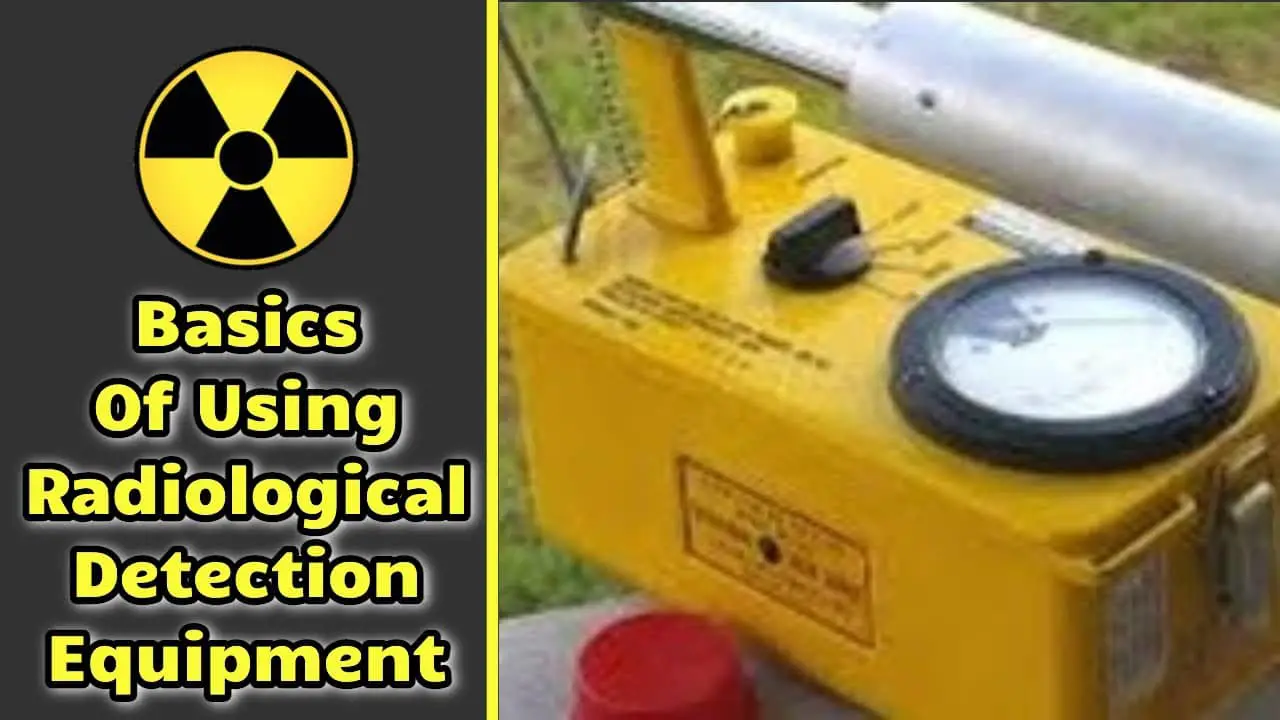
The calibration sticker is normally on the side of the meter, and should give you the ranges it was calibrated for, as well as the date of, and who did the calibration. Do not buy a new meter unless the vendor can give you guidance on where to get it calibrated.
Battery
You should not store the battery in the device, as seen in another video, that can cause corrosion and destroy your sensitive and expensive device. – Best practices for calibration calls for new batteries to be put with the device at every calibration cycle (just like smoke detectors).
If you have an analog meter, there most likely will be a switch on the device to check the battery, and a good battery range marked on the dial. With the switch on battery, the needle should be within that range. If not, get new batteries.
Selectable Range
Due to the limitations of the electronics, most radiological detection equipment has a selectable range. This means the user sets how sensitive the meter should read. In many analog meters, this also includes a reset button. For your safety, always start with the lowest available range selected. This allows the meter to be at its most sensitive. If your needle “pegs out” and stays at the far end of the meter face, select the next highest range. Then activate the reset button. Keep doing this until your reach a range that is high enough to accurately read the meter. If you try to save time by skipping the lower ranges you can enter a field of ionizing radiation that is high enough to damage you, but low enough for the meter to fail to pick it up.
On a side note, different meters detect different ranges of radioactivity. Make sure the meter you select fits the range you feel is the biggest threat to you. If it is too sensitive, natural background radiation can make it unusable, and if it has too high of a range, it may not pick up lower levels of contamination.
CPM vs R
For general preparedness us, I would recommend a meter that measures counts per minute rather than R or m/R (if you can only afford one). CPM or counts per minute is used to detect contamination on equipment or individuals. R or m/R is used to find fields of radiation (generally). An example would be to use a CPM meter to check an individual before they are allowed in you shelter or food before you eat it. A meter that measures R would be used to see if it was safe to go outside. Also it could be used to find the limits of a field of ionizing radiation. .
In my opinion, If you have a shelter it’s more important to keep it clear of contamination than to be able to find a safer route of travel outside. (this is based upon the assumption that if I ever truly needed a radiological shelter and metering devices then pretty much everything outside is at a higher than normal level and its best to stay indoors.)
Obviously, it is best to have a stocked shelter before you spend the resources on meters, and it’s best to have both kinds of meters. Not everyone can afford to do this all at once so I recommend Shelter, CPM meter, dosimetry, R meter. For the more scientifically gifted, if you have different ideas feel free to comment below.
Sound On/Off
Many meters have a speaker so you can hear the “clicks”. For first responders monitoring the general public I tend to recommend them turning the sound off, as many people are scared of radiation but do not have a basic understanding of what it is. On the video you see an orange saucer make the speaker go crazy and if someone were to hear that when they were being checked it may cause some stress. If you turn the sound off, you need to watch the meter closer, but it is more considerate to the mindset of the person you are monitoring.
Speed
Some meters have a speed selection; generally I see a icon of a rabbit and a turtle. This selection is to make the meter more or less responsive in showing what it is reading. A faster response time is less accurate, but allows you to monitor more equipment in less time. No matter what you select the meter needs some time to show what it is picking up. If you go to fast you can miss things. A rule of thumb is to hold the meter one inch from what you are monitoring. This is because alpha particles only travels about an inch or two. Move no faster than one inch per second. It can take 15 minutes or more to check a single individual if you do a good job.
Background
Naturally occurring radiation is all around us; it is in sheetrock, bananas, from the sun, from rocks in the ground, clock faces, gun sights – all over. If you turn your radiological detection equipment on it is going to pick up something. That something is called background. If you are looking your contamination you need to account for this. There is no rule for what the background for an area is, it changes over time.
What normal background for one location may not be normal for another? Each time you want to use your meter turn it on and put in near the location you are going to use it. However, don’t place it next to anything you believe may be emitting radiation. Let it sit for a while and once the meter is reading a pretty stable number (it will bounce around a little) write that number down. That number is your background reading.
Contamination
The standard for contamination is a reading that is twice background. Some say that means 2 times over background (background x3), but for our purposes anything that is more than the number you get by multiplying your background by 2 is contaminated. I will let the health physicists argue what twice background means, but I think we should keep our numbers as low as reasonably achievable.
Shielding
I once visited area 49 and 50 (Nevada Test Site- they showed the road out to area 51 but were very clear we were not to go down there – they also took our cell phones before letting us on the test site…) for a Rad/Nuc Hazmat Technicians course. They made a point of hiding and shielding sources and had us go look for them. Typically we think of radiation as being emitted out in a 360 degree sphere around the material. However, my instructors were pretty tricky and used various items and shielding material to block the emissions.
In many cases made the sources shoot out beams. Because of this concept you should not just walk out with your hotdog probe of your R meter stuck out at arm’s length. Move slowly, stop often, and make sure you check above, below, and to your sides. Every once in a while turn around and check behind yourself.
Bottom Line on Radiological Detection Equipment
Basically here’s the idea. If you feel like you need radiological detection equipment because of your personal risk assessment, you should be able to articulate why you feel the need. This will help ensure that what you buy fits that need. I do not own any of those small keychain detectors, or sticky detector cards that you hang on your window because I don’t think they are very effective to detect the few radiological threats I think may harm my family. Know what you need and how to get it from a meter before you buy it.
Like I said, that was quick, dirty, and very general. The purpose is not to make you a radiological responder. It is to help you learn about the Basics of Using a Radiation Meter. Also maybe this will help to give a little guidance before you go out and spend 2 or 3 thousand on a meter.

