
Gas regulators quietly control pressure and keep systems running safely, but ignoring them invites trouble. A simple visual check identifies issues before they become expensive repairs or dangerous hazards. Learning these steps protects your equipment and your team while maintaining operational efficiency. Here’s how to perform visual inspections on gas regulators.
Prioritize Safety
Before touching anything, establish a safe environment. Wear appropriate personal protective equipment (PPE), such as safety glasses and gloves. Turn off the gas supply completely and relieve any trapped pressure in the system. Never attempt an inspection on a live, pressurized line unless specific protocols allow it.
Step 1: Check for Physical Damage
Start by looking at the regulator body. Scratches, dents, or cracks indicate potential internal damage. Even minor impact marks can compromise the structural integrity of the unit. If the housing appears bent or misshapen, replace the unit immediately to avoid a failure.
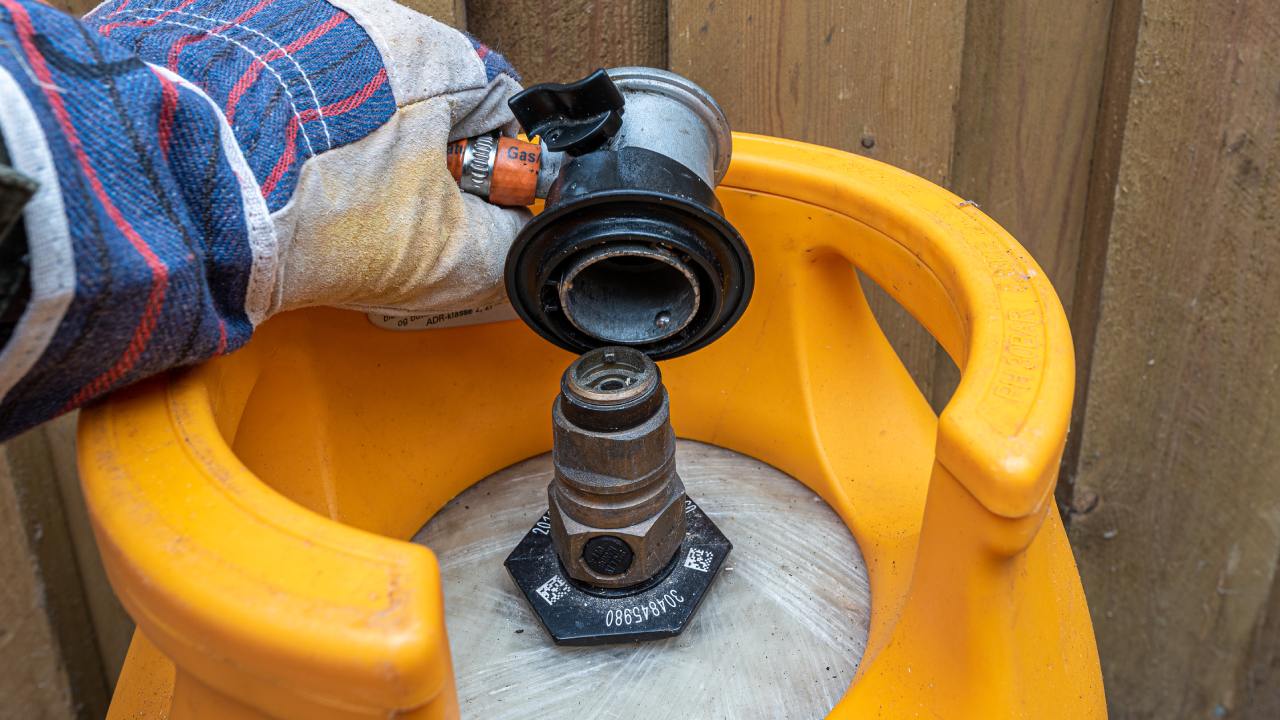
Step 2: Inspect Connections and Fittings
Examine the inlet and outlet connections closely. Threads should look clean and sharp, without stripping or cross-threading. Tighten any loose fittings, but avoid over-tightening, which causes stress fractures. Verify that the mating surfaces create a solid seal to prevent gas from escaping.
Step 3: Look for Corrosion or Rust
Corrosion eats away at metal, weakening the regulator walls. Check the underside and hard-to-reach areas for orange or green discoloration. Specialty gas regulators need proper maintenance because they often handle corrosive or high-purity gases that react poorly with moisture. Remove surface rust if possible, but deep pitting requires a full replacement.
Step 4: Verify Proper Labeling and Markings
Legible labels define the pressure ratings and gas type compatibility. Faded or missing labels make it impossible to verify if the regulator suits the application. Confirm the flow direction arrow matches the actual gas flow. If you cannot read the specifications, you cannot trust the equipment.
Step 5: Review Pressure Gauges
Inspect the gauges for cracked glass, bent needles, or stuck indicators. A needle that does not return to zero when depressurized signals a calibration issue or internal damage. Reliable gauges provide the only visual confirmation of safe pressure levels.
Step 6: Examine Vent Openings
Regulators rely on vents to breathe and relieve excess pressure. Check these openings for blockages like dirt, insect nests, or paint. A clogged vent prevents the diaphragm from moving freely, which leads to dangerous over-pressurization. Keep these clear at all times.
Step 7: Test for Leaks Using Soap Solution
Apply a non-corrosive leak detection solution to all joints and seals. Bubbles forming indicate an active leak. Watch closely for small, slow-growing foam. If bubbles appear, shut down the system and repair the connection immediately.
Maintain Your System Today
Regular visual checks keep your gas regulators efficient and safe. Do not wait for a failure to start a maintenance routine. Schedule a professional inspection today to protect your facility and maintain peak performance.