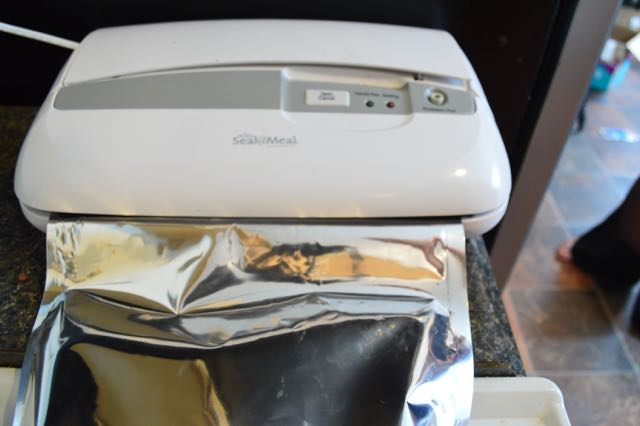
The holy grail of food storage is to be able to seal mylar bags with a food sealer, but its hard to get around the fact that no matter the brand, consumer vacuum sealers are not designed to work with mylar bags.
The inside of Mylar bags are smooth, whereas the insides of the plastic bags designed for use with vacuum sealers have ridges that allow air to freely flow out of the bag with the sides pressed together.

After much research into clamps, homemade vacuum chambers, and lots of trial and error it was discovered that a strip of corrugated plastic called coroplast can be used to create a channel that will allow the vacuum sealer to evacuate the air out of the bag.
Coroplast is most often associated with political yard signs, and is very easy to recycle.
Equipment:
- Mylar Bag (I prefer 7 mil one gallon bags)
- Foodsaver™ or other consumer vacuum sealer
- Strip of coroplast (approximately 1inch x 3 inch) – ensure the corrugated strips run lengthways.
- Mylar Impulse sealer or iron and small board as long as the bag is wide.
Procedure:
- Fill your Mylar bag with food (or ammo or spare parts). Leave room for the sealer to
- Insert the strip of coroplast into the bag, ensuring that one end is past the seals and into the vacuum chamber.
- Activate the machine. In the model I have you press down on the lid until a light comes on indicating a good vacuum has been achieved.
- The internal sealer is not strong enough to make a reliable seal with a thick Mylar bag. You will need to either use an impulse sealer between the machine and the stored items in the bag, or you can place a board under the bag and seal it with an iron on medium heat.
Note:
Depending on your machine and the bags you use, you may need to experiment with the optimal placement of the coroplast strip. It took some fiddling until I could get a consistent seal.

