If you want to try making food by yourself, you should try the homestead approach. In this kind of lifestyle, you are going to grow food in your backyard. But if there is one thing more fun than this, it must be homestead canning.
Canning is actually a great hobby and survival project. It allows you to preserve your grown food as long as possible. These food items could come to your rescue, whenever you are trying to be frugal. But of course, canned foods are also great gift ideas!
When you are canning, it is recommended that you only create a recipe that you are familiar with. In this way, you won’t have any trouble in making the food. As a result, you are simplifying the overall cooking process.
But if you are still new to homestead canning, then don’t fret. I can pull certain recipes on my cooking repository that you can try. They are fairly simple to create since they only involve minimal ingredients and preparation. Take a look at each of these recipes and see which one you can try first!
Homestead Canning Recipes
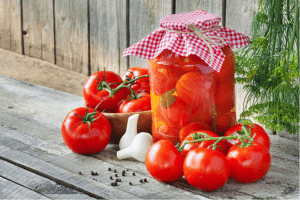
Canned Tomatoes
 Tomatoes are always a favorite ingredient when it comes to homestead canning. They are very accessible and relatively cheap, too. Since there are a lot of tomato varieties today, your options are pretty limitless. However, for those tomatoes that are relatively sweet, you should include a minimal amount of acid in the equation. With this, you can prevent botulism from happening.
Ingredients:
- Tomatoes (2 pounds)
- Lemon juice
- Salt
Materials:
- Mason jars
Instructions:
- Start by peeling the tomato. Use a sharp knife to this process. If you are working with huge amount of tomatoes, the peeling could take time. Therefore, it is better if someone will help you out.
- Next, blanch the tomato. You can do this by removing its core. After that, make an X cut on its bottom. Once done, you can put the tomatoes in a pot of boiling water. Let them be simmered for around 30 seconds. After simmering, put the tomatoes in a bucket of water with ice.
- If the tomatoes are all naked already, you should start preparing the jars. Make sure that your jars are clean by running them on a dishwasher.
- Put the tomatoes in the jar. Include at least two tablespoons of lemon juice per jar. This will stabilize the acidity level of the canned tomatoes. Adding the salt is optional, but you can still add one teaspoon of it per jar.
- Fill the jar with water. After that, put the lids and close the jars tightly. Afterwards, put the jars in simmering hot water. Let them be boiled for around 45 minutes.
- Store the canned tomatoes in a cold and dark storage.
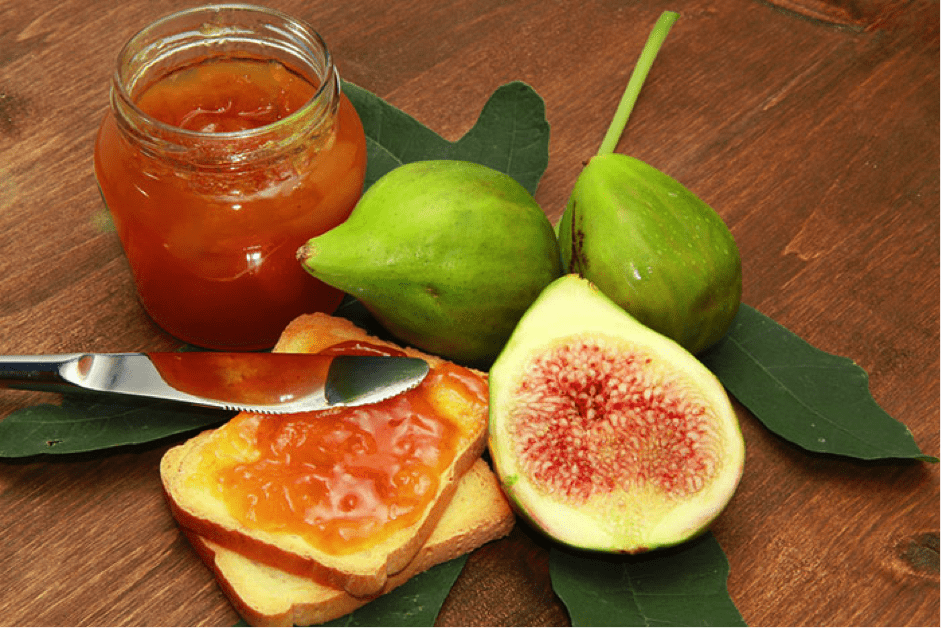
Canned Fig Jam
 The fig is a seasonal fruit. Therefore, it would be a pain to crave it on the wrong season of the year. But if you are quite ingenious and creative, you can solve this problem by canning the fruit. One way to do it is making a puree or jam out the figs. They are great ingredients for various desserts like smoothies! The fig jam is also a great baby food, too.
Ingredients:
- Figs (2 pounds)
- Sugar (1/4 cup)
- Lemon juice (1/2 cup)
- Dash of cinnamon
Materials:
- Mason jars
Instructions:
- Slice the figs into small quarters.
- Put the quartered figs in a pan together with the sugar. I recommend that you will use an unrefined sugar for this canning recipe. But of course, you can utilize whatever sugar you have right now!
- Cook the mixture in a low heat setting. Stir them properly until they become a puree.
- For better results, you can use a handheld blender to mash the puree while the cooking. This is not a necessary procedure, but doing this can smoothen the texture of the puree.
- Throughout the heating process, you can notice that the color of the mixture turns dark while its texture begins to thicken. Just continue stirring until such time the mixture is thick enough to be called a jam.
- Before you remove the jam in the pan, add the cinnamon and lemon juice. They can certainly enhance the flavor of this recipe.
- Store the now fig jam into the jars. Let them be cooled before you store them in your refrigerator.
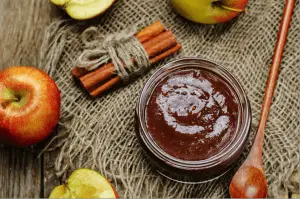
Canned Apple Butter
 We like making food from scratches. Even if we have the option to buy them, the pleasure and satisfaction of making your own food are still an irreplaceable thing. That is the story of the apple butter.
We can see a lot of commercial variants for this food item. But didn’t you know that you can actually make this delectable treat by yourself? Check out the procedure below to get started.
Ingredients:
- Applesauce (9 quarts)
- Cloves (1 teaspoon; ground)
- Cinnamon (2 tablespoons; ground)
- Sugar (4 cups)
- Allspice (1/2 teaspoon)
Materials:
- Mason jars
Instructions:
- The first thing that you need to acquire is the applesauce. You can make this ingredient, or you can buy it on the market. It is your choice.
- Use a crockpot and pour the applesauce there. The pot should be semi full. If you have a lot of applesauce, you can pour them later. Put the pot on the stove and cook it over low heat until the applesauce boils.
- While the applesauce is not yet boiling, add the rest of the ingredients. You can use honey as an alternative to sugar if you are quite distancing yourself from the latter.
- The cooking process of the pot will take around 8 hours. Therefore, if you want to quicken the process, you can increase the heat of the stove to medium heat.
- Once the mixture is already cooked, cover the pot with the lid. Don’t tighten the lid too much. Otherwise, the moisture won’t be able to escape. Leave the pot for another 10 hours. You can stir the mixture from time to time to prevent it from sticking to the sides of the pot.
- After the period, the mixture will only be half of its original volume. This time, you can already pour additional applesauce and some sweeteners. Let it be cooked for another 4 hours.
- Once the cooking is done, pour it into a bowl. Let it be cooled for awhile before putting it in your blender. Blend the mixture until the texture becomes fine and smooth. Pour the apple butter in your jars and cover them tightly. Place them in your refrigerator afterward.
Conclusion
 These are just a few recipes that you can try for homestead canning! If you can finally learn all these, you can already explore some other options, too. Don’t limit your food palette. I am pretty sure that you can discover other great homestead canned recipes sooner!
Hello! Rose here! I am a full-pledge mother and a kitchen warrior at the same time. I created the GimmeTasty.com blog so that I can share my cooking knowledge to each interested individuals out there. If you want to catch up with my culinary adventures, just visit and subscribe to my site! I am excited to see you there!

