8 Amazing Ways to Save Money When Cleaning Your House

8 Amazing Ways to Save Money When Cleaning Your House
Buy at Amazon

As the famous saying goes, cleanliness is equivalent to godliness, it could not be any truer. Everyone likes to stay in a house, which is clean, and tidy, not only for one’s hygiene and sanitation but also as a projection to the outside world.

There are some simple tips that you can follow to cut down your costs and get an impeccable house, a few of which have been listed below-

Use Mild Dish Soap Or Plain Water

Dishes are something that is used every day, it is a good idea to clean them as, and when they come instead of stacking them up for later. A clean dishwasher gives a tidy look to your kitchen immediately. To clean these dishes, you will need dish soap and a sponge. The type of soap you use and the quantity and technique is important in saving money. This works by primarily preventing wastage due to overuse or wrong usage.

It is always better to use mild dish soap instead of the harsh ones laden with chemicals because not only does it prevents the dishes from getting spoilt, milder dishes are cheaper in comparison to the stronger ones. If you wash the dishes as soon as you finish eating, you can even use plain water to scrub off the initial leftovers so that cleaning becomes easier and less cumbersome.

Clean Daily

Doing the stipulated work every day is going to be helpful in reducing the burden of the work. If you procrastinate, you will end up bulking a lot of work, which will become very stressful later. Tidying up daily is a good idea. Using microfiber brushes to dust areas that commonly get dirty on a daily basis or brooming in the morning is a good habit. Some things might be displaced from their original position; you can put them back where they belong.

Dusting

If dryer sheets are being used, you can keep them to dust your laptop and television screens later. It prevents the leftover static, which holds the dust and is an effective method of reusing.

Choose Reusable Cloths And Mops

Recycling and reusing are the orders of the day. Recycling by yourself might be difficult because of the need for specialized tools, but reusing is something that you can easily do. Using your old clothes and towel as rags to clean the house is a good idea. Newspapers and magazines, something that almost every house has, can be used to clean windowpanes and doors. You can even buy cleaning clothes, which can be reused after washing them in a washing machine once in two weeks. Disposable ones should be avoided to save money and make the process more cost-friendly.

Make Your Cleaner

Do-it-your yourself cleaners are one of the most effective methods of not relying on chemical products for cleaning and saving a lot of money as well. All the ingredients that are used for making your cleaner are easily available in the market. Baking soda, vinegar, liquid soap, and water are the most common ones. Take them in appropriate quantities and use them to clean effectively.

Clean With Baking Soda

Baking soda is a non-toxic cleaner and is used in food as well. It is mainly used for cleaning utensils, fridge, windows etcetera because of the presence of mild alkali, which dislodges the grease and dirt from the surface, which can be later easily removed with water. Baking soda is very cheap as well.

No Shoes

This may sound a bit rude, but it is a conscious decision that you have to take to ensure that your house remains clean. People carry the maximum dirt from outside through their shoes. Therefore, make it a strict rule of not wearing outside shoes inside the house. You can make a customized rack to keep the shoes and may label it for general instructions. Providing alternative shoes might be a good way of keeping up the hospitality but make sure that only the person enters the house and not his or her footwear.

Vinegar: Cheap And Versatile

White vinegar is an ideal cleaning product. Mix it with one portion of water to clean taps of metal, countertops, windows, glasses etcetera. You can even use it to clean the inside part of your refrigerator.  This avoiding the use of chemicals in cleaning the area of food storage. It also does not leave behind any lingering smell which gives it an edge over other cleaners.

If you follow the above mentioned easy tips, you will realize that not only is your house clean, you will have extra money remaining.  Which is a good reason to follow the tips in this article.

A Detailed View of Gun Racks

A Detailed View of Gun Racks
Buy at Amazon

Ever consider showcasing your guns?

There are hundreds of modern racks specifically designed for the purposes of displaying your guns effectively and keeping them organized.

Types of gun racks:

Vertical racks

Vertical racks offer vertical storage or organization of your guns. These racks display your guns in upright standing position. The level of storage would be equal. They may consist of multiple compartments for storing different guns of different sizes such as pistols, shotgun or rifle.  I built one similar to the picture of the rack sold on Amazon.

Horizontal racks

Horizontal racks store firearms parallel to the floor. These may also hold multiple compartments. The size of different compartments can be same but the level of storage would never be equal.

Wall-mounted rack

Wall mount firearm racks are hung to the wall to display your guns in them. The best benefit is that the height of the rack can be decided by the owner

Rotary stand racks

Rotary gun racks can be called as rotational racks. These stands are based on the technique of providing rotational access to the stored firearms so, gun owners just need to rotate rack and pick the gun.

There are different materials used in the construction of a variety of gun racks. And, each and every material has its own advantages and disadvantages.

Rack materials and their pros and cons:

Wood

Durability and strength are the two key features of the wood. And, both of these properties make the material extensively used in the construction of wooden gun racks.

Pros

Requires very less maintenance

Wooden racks are resilient and need very little maintenance. You simply need to wipe the outer surface of your rack using a high-quality wood cleaner on regular basis.

Rich in aesthetic value

All of you may have some type of wood furniture in your home so, you would be well aware that how aesthetic it is. Similarly, the racks made of wood have a unique appearance, finish, and design. These can give an aesthetic appeal to your home décor.

Cons

Some gun racks crafted using low-quality wood so, prone to problems like fungal stains and insects and termites that can destroy them.

Wooden gun racks are not also exposed to the weather conditions such as moisture or rain. Therefore, you can’t place them at the location where these can come in contact with such conditions.

Metal

Metal gun racks can also be found in wide range.

Pros:

Gun racks made of metals are relatively lightweight, durable and not easily breakable because of high physical strength. The finish and look of these racks are also appealing. Unlike wood, these are resistant to heat.

Cons:

Metallic gun racks are quite expensive as compared to wood. Also, some of the metals used in the construction of these gun racks may not be corrosion resistant.

Magnetic racks

Magnet’s property of attraction is renowned among all the gun manufacturers. Due to this reason, they design various gun racks.

Pros:

Stronghold- magnetic gun racks hold guns tightly.

In the current times, magnetic gun racks are the most extensively used ones because they are affordable, convenient and hardly have any drawbacks.

In Conclusion

Gun racks undoubtedly play a significant role in the safety and maintenance of heavyweight and expensive firearms. The purposes for buying gun cabinets are different for different gun owners. Some feel pride owning them just for the showcasing their prized guns in a well-organized way whereas others need them for keeping their guns in original conditions and shapes for years to come. Despite individuals purpose and taste, gun racks mainly serve a single purpose i.e. hold your guns.

Over the years, different factors have been the game changers in gun rack manufacturing industries.


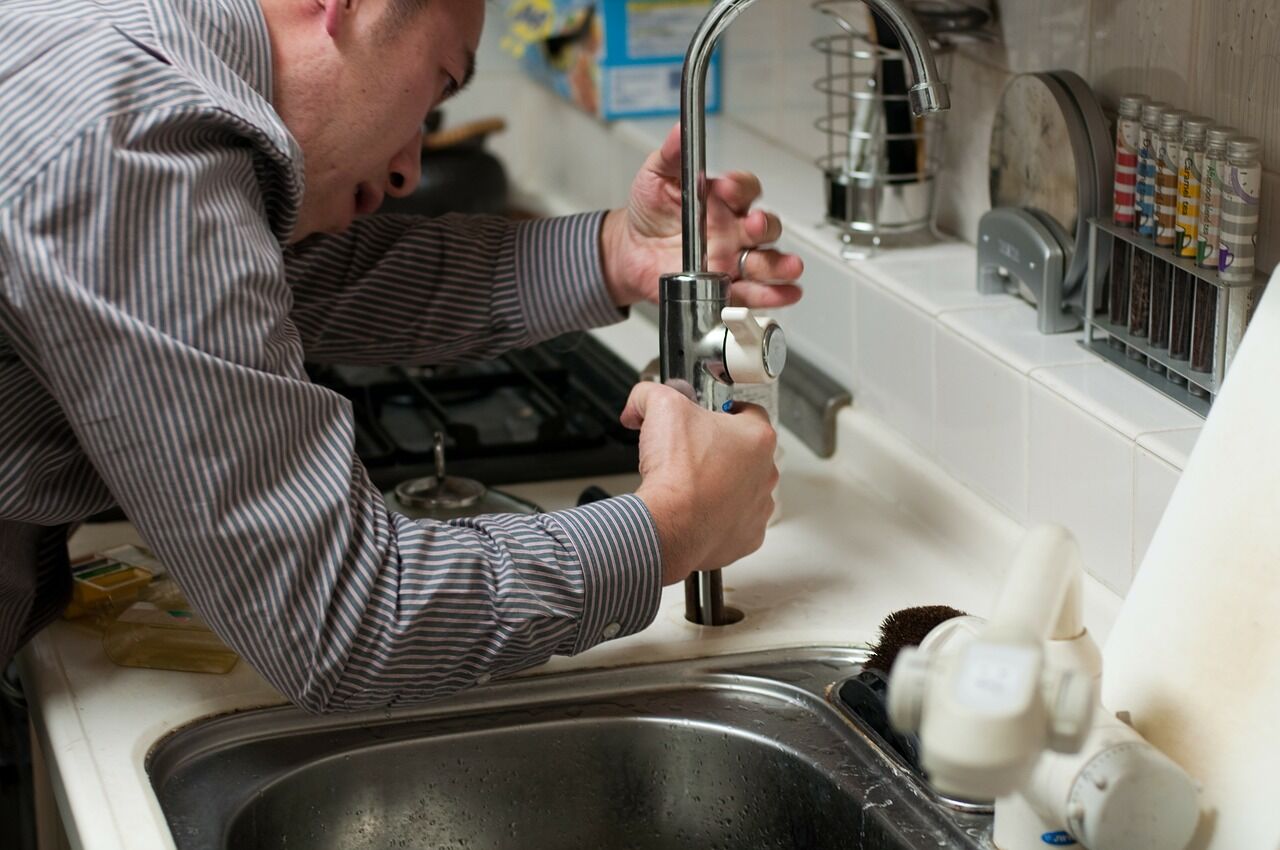
Updating the Old Home: 4 Signs You Need New Plumbing Fixtures

Updating the Old Home: 4 Signs You Need New Plumbing Fixtures
Click to View More

I almost didn’t publish this, but I can’t let the article go without the real reason to update your plumbing – because your wife said to….

Old homes often come with lots of little problems that need to be fixed before they become larger issues. Some of the most common items that need to be repaired or replaced are your plumbing fixtures. Taking care of them early is the best way to protect your home against water damage and other problems. Here are some of the signs you need new plumbing:

Screeching Noises

Older fixtures or plumbing pipes will often make a screeching noise when you turn them on or off. This could be a sign that it’s time to have them replaced before they have a chance to spring a leak. Look into using a bathroom plumber if you notice this noise emanating from your bathroom fixtures. It’s better to have it looked at before it can result in water damage to your home.

Corroded or Broken Pieces

Your fixtures should be in relatively good shape. When you think about it, water is running through them. You don’t want to risk having a blowout that could cost you hundreds or thousands of dollars to repair. Replace them now as a part of your preventive maintenance plan. It will save you money in the long run.

Water Seepage

Faucets and toilets shouldn’t be leaking water around either the base of the faucet or underneath them. This could be caused by a corroded seal inside the fixture itself or some other problem. One option is to replace the seal or the other option is to replace the whole fixture. Your skill level may determine the best course of action for you in tackling this issue.

Age of the Fixture

Fixtures are only designed to last for so long. The interior parts will start to wear out over time. Piping in your walls also have a similar shelf life that will need to be taken into consideration. It’s a good idea to be aware of the type and the age of the pipes that your home contains. This could help you to stay on top on the maintenance instead of the other way around.

Getting ahead of your plumbing issues is the best way to keep your home in good working order. You don’t want to have to be mopping up a water leak just because you ignored the warning signs of an impending plumbing problem. Consult with an expert if you’re concerned that the plumbing system in your home isn’t up to par.

Simple Ways to Improve the Lighting in Your Home

Buy at Amazon

As a homeowner, you have ultimate control over how the lighting in your home serves you. You may be dealing with the limited lighting that was originally installed in your home.  Alternatively, you may have adapted the living space to accommodate your task preferences.

Perhaps you have deep eaves, low ceilings, too few windows.  You may even be in a wooded area with lots of trees and bushes that imped the natural light.

For these and a variety of other issues that make your house seem dark, here are simple ways to improve the lighting in your home:

Evaluate Your Windows

According to Unique Home Solutions, available light is now one of the most popular aspects in deciding on buying a home.  If you are fortunate to have a home that has most of your windows facing southward, you are in luck.  If your home is situated in such a way that few windows are getting the most available natural light, you have some options.

Take stock of your window treatments. Where you have dark window coverings, it may be time to redecorate. This can include the wall colors in any rooms that are particularly dark. Painting the ceiling a lighter color than the walls will also create the illusion of height and space. Reflective paint such as gloss finish as opposed to matte will reflect more light. Hanging or installing mirrors where light comes in multiplies the effect.

Where you have bushes or trees that block the light, you can do some trimming to let more light through the glass. Where doors are solid wood, you may want to consider changing them out for a style that incorporates glass.  This gives both a change in atmosphere as well as lets more light into the home. You may also consider adding new windows. A kitchen that happens to fit a corner of the house but only has the main window in front of the sink may do well to have another window added to match the existing architecture. Corner windows not only bring in more light, but they open up the space giving the impression that it is larger.

Task Lighting and Ambient Lighting

Our desired tasks can change without our recognizing the need to change the task lighting with it. You should have at least three sources of light for every room consisting of:

  • General lighting – your overhead or pendant lights
  • Specific lighting – task lighting or table lamps
  • Ambient lighting – for more decorative or atmospheric purposes

Take a look at what kind of lighting you have in your rooms and consider making some changes. You can add an oversized overhead pendant light or a large sculptural floor lamp that can serve as a focal point. Instead of recessed lighting, how about bouncing the light off the ceiling? This is a way to brighten a room without creating shadows that typically come from downward facing lights.

You can also direct light toward the walls using floor lamps with upward-facing globes. Adding some millwork to the walls behind which you can place linear fluorescent lights allows you to layer the lighting better.

Your lampshades may need to be altered. Lighter colors can either create a cold tone or tint the light to create a warmer, creamier or cooler hue depending on what you choose. You may also work on lighting the darker corners of your home such as closets, under cupboards, in shelves and on counter tops. All these areas take on a beauty and even become more functional when lit properly.

Windowless Areas

If you really want to make some structural changes, you might consider removing walls between rooms to create a more open floor plan. You can widen doorways or where doors separate rooms, you can replace the solid doors with glass-paned ones for a sense of flow while maintaining some privacy if you need to close them for quieter conditions. In hallways or in rooms with no windows, there are tubular daylight devices (TDDs) or skylights that can be added to introduce natural light. These elements can be a real game changer when it comes to increasing the natural light in these spaces.

Compare the difference between the open space that is cut out of the roof to accomplish either of these choices. Sometimes, homeowners prefer the TDDs as they only open a circular hole to receive the reflective tubing whereas the skylight opens a window-sized space that must be carefully installed to prevent leaking.

In deciding what to do to improve your lighting, start by evaluating the present limitations. Think outside the box and consider some of these suggestions that you might not have thought of before. The choice to open up the space for more natural light is a greener option that saves on utilities, but there are plenty of lamp lights available now that also help to conserve your energy use while keeping your house cool. The possibilities are endless when it comes to enhancing your home’s interior lighting.

6 Ways to Teach Your Child to Cook

Buy at Amazon

Cooking is one of life’s valuable skills that you can teach your child. In this way, they will appreciate food safety and nutrition in addition to building their science, math, and fine motor skills.

Bringing your kid into the kitchen space can open a whole new world for them where they learn about different flavors, ingredients, recipes, and the how and why of mixing and measuring. In case you are wondering how to go about teaching your child how to cook, This article give 6 tips to help teach your child to cook.

  1. Build their Motivation

Instead of taking your kid right into the center of action in the kitchen, consider spending time together watching a cooking television show. This will give your child a visual idea of different cooking processes, utensils to use, and inspire them to start prepping their meals.

As part of the motivation, involve them in creating special menus which you then proceed to prepare together. Let them suggest and reflect on the various food categories to include as this can spur their creativity.

Naturally, children are inquisitive and tend to enjoy processes such as cooking where raw ingredients transform into a complete meal.

2. Assign them Simple Kitchen Duties

Before they get to the point where they handle the hot stoves and sharp knives, let your child participate in simple meal related processes  such as setting the table, carrying food dishes to the dining table, and taking away the used dishes after a meal.

Even though some of these tasks may look remote, asking your child to help in drying dishes, sweeping, or emptying the cutlery basket gives them the discipline of a master chef. Most of these duties demand that they hang out in the kitchen thereby becoming more comfortable with time.

Cooking is both an art and a science, every little attribute count. Allow your child to develop these soft skills early enough.

3. Incorporate Fun Cooking Utensils

Make the cooking process as fun as possible by using unique cooking utensils. There is no rule cast in stone that a particular utensil can only be used in a specific way. If you are running short of ideas on the utensils to include, visit Village Bakery.

This is a resourceful platform that showcases among other things, specialty appliances, kitchen appliances, baking equipment, and other necessitates. Just as an idea, you can get cookie cutters and potato smashers for 3 to 5-year olds; peelers and blunt scissors for 6 to 7-year olds; food thermometers, kitchen knives, and pans for 8 to 12-year olds.

4. Begin with Simple Meals

Snacks and breakfast meals are some of the easiest to prepare. The point here is to introduce your child to the basic meal assembling process so that they can begin with minimal supervision. Instruct them and then give them space as you watch them mixing the cereals and milk, scooping yogurt and pouring juice.

Children love being in control and therefore even when helping them out, do part of the task and let them complete the other part. For instance, you may add the toppings to a pasta salad and then give them the space to create their own little pasta salad.

5. Address Basic Safety Skills

If your child is age 5 and above, it is easier to enlist their help with the actual cooking. Safety in the kitchen is paramount and the earlier your child gets it the better. Teach them safe knife skills by assigning them the soft and easy to cut ingredients such as tomatoes and bananas.

When it comes to the boiling pot, teach them how to stir gently so that the fluids do not bubble out or spill and scald them. If the pot is not very heavy, train them on how to take it out of the oven.

6. Pick Favorite Recipes and Cook Together

Being the closest person in your child’s life, you must have noticed what they like to eat. Starting with such recipes that interest them, shortens their learning curve and opens the door to more fun. You may be surprised by their ability to grasp even fairly complex recipes simply because of their interest.

The process to teach your child to cook is not any different from the other learning processes. The more your child practices in the kitchen and takes instructions from you, the more their knowledge is reinforced. Introduce variations from time to time and try giving them space and some independence in the kitchen. You never know what they are capable of doing until you try it.