The Myriad Uses of Concrete in Homesteading

The Myriad Uses of Concrete in Homesteading
Buy at Amazon

Homesteading puts us in a constant state of learning new skills, especially in the early years. One thing you’ll want to become comfortable with as soon as possible is working with concrete, because there plenty of ways we can use concrete in homesteading.

Concrete Is the Ultimate Building Material

Composed of Portland cement, crushed rock and water, concrete is both simple and highly functional. If you want a home that will:

  • Stand the test of time
  • Be easy to heat in winter and cool in the summer
  • Resist strong winds, even those from tornadoes or hurricanes
  • Be unappealing to insects, rodents and other pests
  • Offer a quiet retreat from noise
  • Be fireproof
  • Be recyclable in the future and can be made from recycled materials today
  • Allow you to have full artistic reign

… then concrete is the material for you. Concrete homes, otherwise known as ICF or insulated concrete form homes, offer all of the advantages above and more.

And the last bullet point is one we simply can’t gloss over. If you think of a concrete home and imagine a dull grey monolith to call “home,” you couldn’t be more wrong. Concrete can be colored and stamped to appear like other building materials altogether, giving the appearance of, for example, a brick or stone home. You can also embed materials like tiles and glass to give your home an eclectic look.

Aside from building your home out of this material, there are plenty of other ways to use concrete around the homestead.

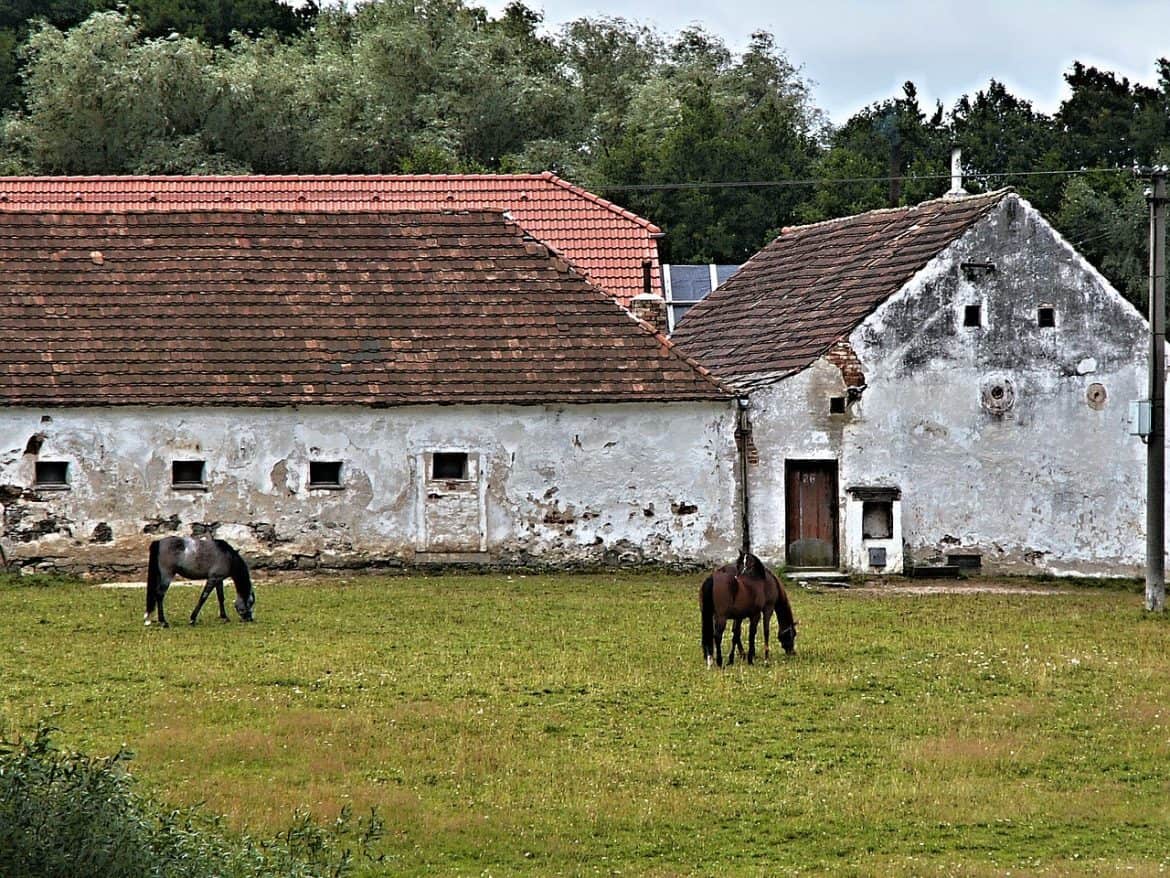
Keep Burrowing Critters on the Right Side of Your Fences

Does any of this sound familiar?

  • A fenced garden that burrowing pests still feast on
  • A chicken coop that is raided by digging varmints
  • A dog who digs his way out of the kennel on a routine basis

We build fences for a variety of reasons, and animals, domestic or otherwise, always test those barriers. Fortunately, there is a simple and permanent solution to prevent digging.

Dig a trench about 1 foot deep and just a couple inches wide as close to your current fence line as possible. Fill it with concrete, and while the mixture is still wet, place simple metal stakes in it every few feet to help you tie the fence to it, preventing any gaps between the concrete and the fence that might invite a digger to still weasel in or out.

Take Advantage of Concrete’s Fireproof Properties

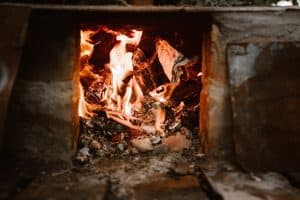
Virtually all homesteaders use fire to cook, heat their homes or burn debris. It’s essential to have a safe place to control a fire so that it does not get out of hand and destroy your property. Concrete is fire resistant, and thanks to its malleability, also completely customizable.

You can build:

  • An outdoor “pizza” oven
  • A firepit, either raised, flat or sunken
  • A rocket mass heater
  • A fireplace and chimney
  • Safe storage for flammable materials

Every Building Needs a Concrete Slab

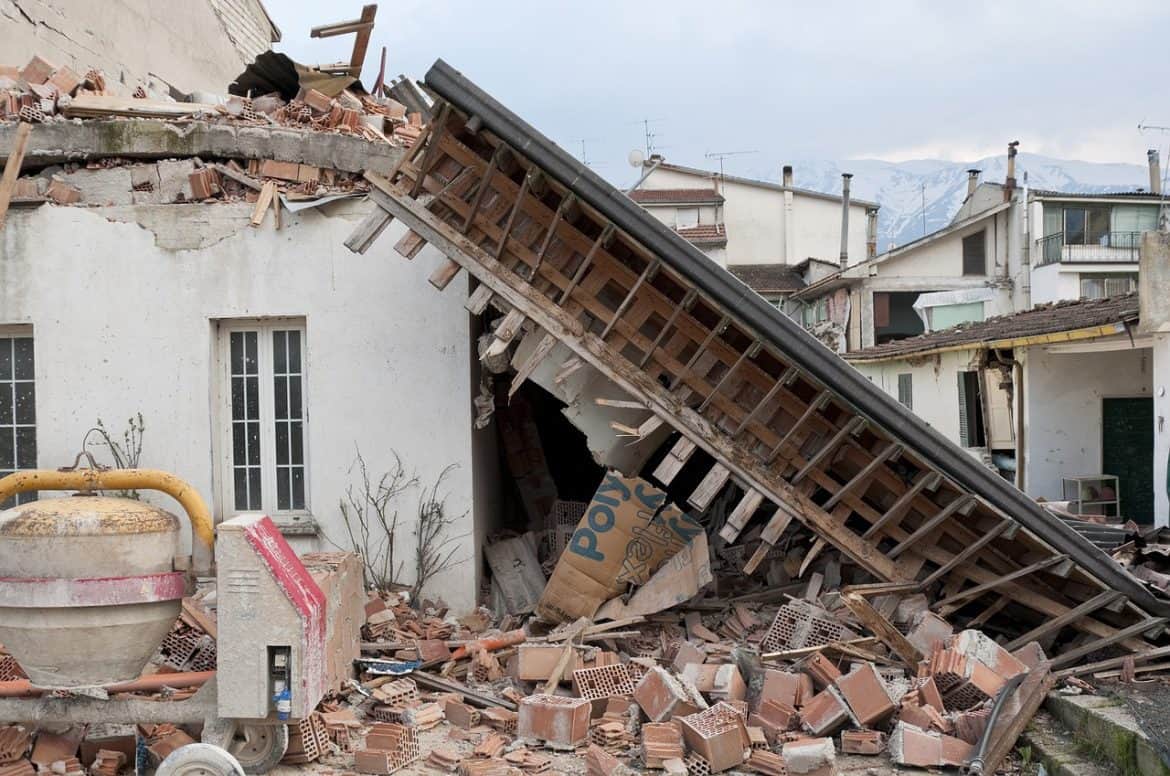
If you need just one good reason to become a concrete pro, it’s the simple fact that virtually every building needs a durable foundation. Barns, sheds, garages … you name it, it needs a concrete slab foundation to provide a solid basis of support.

And best of all, concrete prices remain affordable, even more so if you use recycled concrete, which uses chopped concrete as the aggregate for new concrete rather than gravel. It’s easy to use, strong and cheap … the trifecta of a perfect building material.

Preparing Your Home for an Earthquake

Preparing Your Home for an Earthquake
Buy at Amazon

Compared to other natural disasters like hurricanes and fires, earthquakes strike without warning anywhere in the world.

There’s no telling when they’ll happen and most of the time, they bring extensive damage.

During an earthquake, your own home itself can become a danger to you and your family. How can you prepare your own home for an earthquake?

Preventing Structural Damage

The first step in quake-proofing your home is to prevent the damage where it is most likely to occur. Providing structural support to areas that are weak such as the front porch, glass doors, wooden decks, and the garage. Consulting a professional engineer is the best option in order to evaluate the structure of your home and make the necessary improvements in order to strengthen these areas. Making use of the best materials is essential in protecting your home as well. Concrete dries fast and is one of the sturdiest materials that are earthquake-resistant.

Securing Furniture

It’s common for furniture to get thrown around when a quake starts, especially if it’s a strong one. The danger of cabinets, light fixtures, and other furniture to fall down and injure you or your family is high when these things are unsecured. What you need to do here is bolting or fastening them safely in place. This ensures that they won’t fall down easily and pose any danger for people inside your home during an earthquake. Use the best available framing hammer to fasten nails on the feet of cabinets and fasten dressers to the walls to prevent them from toppling over and hurting anyone.

Placing Objects Safely

Head injury is quite an expected injury during earthquakes. This is because of heavy objects falling on people’s heads during all the shaking and this can even be serious at times. If you don’t want this to happen, be smart in storing objects in your home. To make sure safety is a priority, pack heavier things such as tin cans, bottles, and glass on the lower cabinets and cupboards as they won’t be falling from a great height. Store the lighter objects on the upper bins to prevent potential hazards. In addition, always lock your cupboards since they may jar open during a quake.

Check Your Electronics

Power outlets can also be damaged during an earthquake. Knowing how to apply and repair switch wiring can help prevent electrical hazards at home. Due to the intensity of the shaking, some wires and panels can be dislodged or worse, completely broken and exposed. This would then lead to electrical hazard or even a potential for fire, so securing your homes electronics is a priority for earthquake preparedness. Consult an electrician to secure the electrical wires in and around your house, making sure there are no live or exposed wires before a quake. Repositioning outlets that are near potential hazards like the sink or the gas would also make it a lot safer.

Having a Safe Roof

A roof made from strong materials can easily survive an earthquake. If a roof does get damaged, not only does it make repairs hard, it also poses a danger of taking the whole house with it. Using lighter materials such as aluminum or metal is a great way to reduce weight on the roof and prevent extensive damage. Applying asphalt shingles is also a good alternative because they’re lighter and more flexible than other roofing materials. If you’ve bought an already-built house, asking a contractor to replace the roof with lightweight materials can be done beforehand.

Water Heater and Gas Appliances

Getting clean water after an earthquake can be difficult if some services end up unavailable. Your water heater can easily be damaged during an earthquake if it’s not secured properly. Faster the water heater against the wall, making sure that it stands upright. Replacing the metal pipes with more a flexible material will also prevent damage during the quake. Gas-powered appliances also benefit with more elastic connections and prevent possible gas leaks.

Additional Earthquake Proofing

Taking the pre-emptive measures for earthquake-proofing your home is important. A house can become a dangerous place during a quake and ensuring the safety of your family is a must. Securing doors and packing up supplies beforehand will also help save you time when disaster does strike. Knowing what materials to use for your home will decide whether your house can survive or not.

Conclusion

We can’t really predict when and where an earthquake might hit.  If you know the right things to do, then setting your home right, you can save a lot of money and time in repairs


Installing a USB Wall Outlet

USB Wall Outlet
Buy at Amazon

With all the micro USB items that need charging at my house, my wife and I are always fighting over power cords.  To solve this problem I found a neat outlet that contains two 115v outlets with 2 USB outlets.

It installed easily and looks great.  More importantly, the outlet is behind my chair so I have dibs on the cords….

Seriously though, this is a great USB wall outlet and when I get around to building our house and a workshop, I will install many of these for the convenience.

This USB Wall Outlet was easy to install, but I needed to buy a new outlet cover.

Now that it is installed, I want to buy more, as this makes things a lot easier.  I put this one by the sofa so I can charge my phones in the evening and still have them available.

I need one in the bedroom, and another by the computer.  Additionally I think I need a couple in the conex box at the land.

These devices are not expensive, the one shown in the picture costs about $16.00.  They are easy to install by any DIY’er.  Best of all it impressed my wife as she thought it was amazing.

How to Install Windows in a Tiny House

How to Install Windows in a Tiny House


Installing Windows in a Tiny House
Buy at Amazon

In this post we show installing windows in a storage shed turned tiny house.  I am by no means a carpenter, and the owner of the house is even worse.  But we do manage to install some weatherproof windows salvaged from the trailer.

The windows are about the only thing we were able to salvage from the trailer, and not because we demolished it with a backhoe, but because it building was in such rough shape.

The first thing we did when we started installing windows was to add bracing to frame an opening a little larger than the window we were installing.

After we boxed in the window, we cut out the siding using a reciprocal saw.  This made the opening.

I had to scrape off the old tar weather stripping from the windows before we could install the salvaged windows, but once the frame was clean the new window slid right into the frame.

Next we leveled the window and attached it to the frame.

The next step was to add a rubber weatherstrip around the frame so water would not get into the tiny house.

The last part was to nail up molding over the weather striping.  We used wide 1x boards because we liked the looks.

As you can see the windows are functional and do their job pretty well.

How to Improvise a Winter Water Spigot Cover

Quick Tip: Improvised Water Faucet Winterization
Buy at Amazon

With all the ice and snow lately a friend of mine sent me this idea for an improvised method to winterize a water spigot. I tried it and it works.

Unfortunately due to the weather I was working a lot of overtime and I could not get this video out until now.

Basically a outdoor winter water spigot cover works by insulating the faucet from the cold outside temperatures.

Today’s video shows a way to do this without buying a cover. I think this is easier, but my wife would probably prefer a store bought solution.

Since trapped air can make an effective insulator, My friend wondered if multiple layers of plastic grocery bags could work.

Since I keep and reuse my grocery bags I simply grabbed a handful and loosely wrapped them in layers over the spigot and then held it in place with some duct tape.

I think this is a good idea to keep in the back of your head just in case.  Especially as a way to keep your mind open to work around solutions.

Thanks for the great idea Raging Main…

I know this improvised attempt at winterize a water spigot looks pretty rigged up,.  However, we had a really cold winter, including an ice storm that was big enough to rate a Presidential disaster declaration.  Through it all my pipes didn’t freeze.  Which is not a scientific measure, but it was free, easy, and seems to work so I am happy with it.