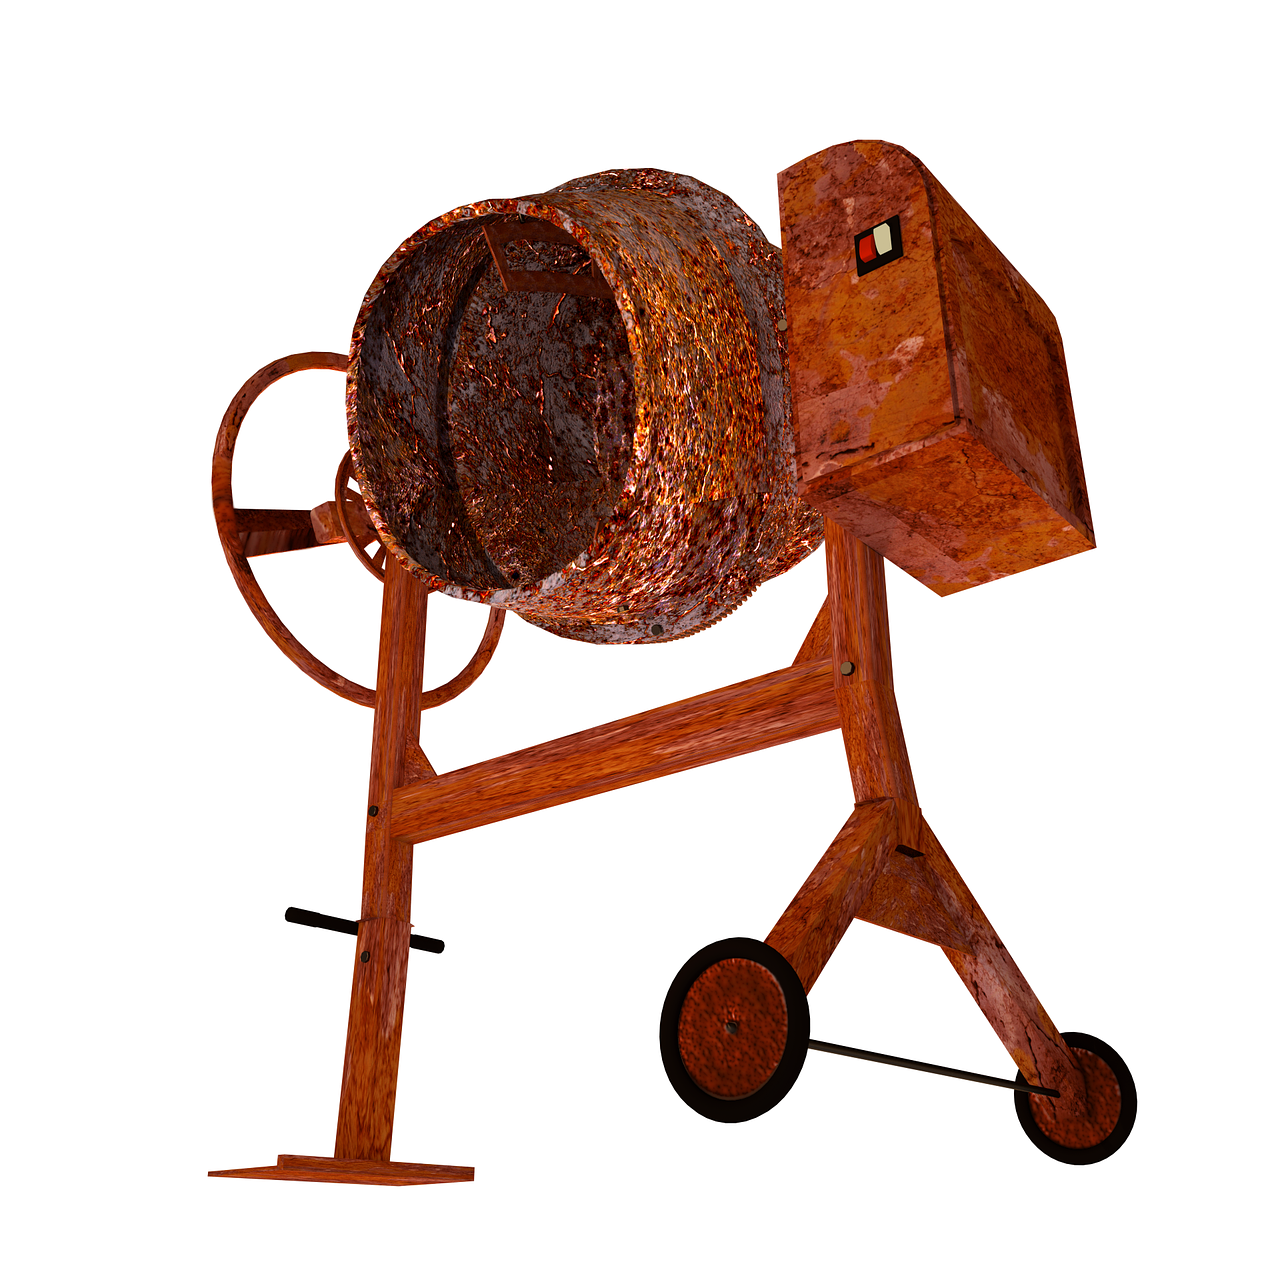
With the outhouse roof coming out well, I decided to jump into a larger paintcrete project. I have wanted to get back into rabbit breeding. Additionally, I have planned a paintcrete rabbit hutch for a few years, I just never go the gumption to actually do it.
This project is a little different than my outhouse. I am using better paint, less mortar mix, and sheets instead of window screen.
I already had the nails and the mortar mix, but the wood and paint cost me $53.00 at Lowe’s. The sheets were a few dollars at the good will, so this is a rather inexpensive project.
The biggest problem is my choice of wood. I used cheaper 2×3 lumber instead of 2z4 lumber, which caused a lot of splitting during nailing.
This has caused a lot of side to side movement, so I will need to buy more wood next paycheck.
In this project I was more consistent with my mix, and I made a much more liquid mix than I did with the outhouse.
I used a 24 ounce water bottle with the top cut off to measure the liquid and a large container of cottage cheese to measure the mortar.
Next, I used two scoops of mortar to a bottle of paint and a bottle of water. After fixing very well, I found I could easily paint this mix on the sheets.
It went on pretty easy, and when I was done, the inside of the sheet was very smoothly coated with the paintcrete mix. I actually found the inside rather attractive and finished looking – especially compared to the rough outer texture.
In the second video I show the completed hutch standing in place in my back yard.
The roof is mostly done and so is the back wall. The paintcrete rabbit hutch does need a few more coats of paintcrete to get sturdy, but the thick coats take a while to dry.
When I went to the store to get more miss-mixed paint they did not have any except some $25.00 premium paints. In looking for cheaper paint I found a $10.00 brand of PVA primer.
In doing some internet research, I found where contractors mix PVA sealer into cement to increase flexibility, reduce cracking, allow the cement to bond better, and yes to increase its ability to resist water penetration.
All of the things I am looking for. The particular paint I am using is sold as a drywall sealer, so I had no issue mixing it with mortar.
It sticks better than the other paints I have tried, costs the same as the mis-tinted paint I have been buying at a discount, and, being new paint, I can tint it. I choose a light brown color so it would look like adobe plaster because I have always been fond of that color.
Tools are expensive and if you have a few that have seen better days because of rust, it’s possible to restore your rusted power tools to like-new condition — with some effort. Unlike rust-encrusted hand tools, power tools have both mechanical and electrical components that make safety paramount. The good news is that the right combination of products and methods described below makes power tool restoration easier.
Let’s review the basics.
Restore, Repair, or Replace?
Before removing rust from an old power tool, it’s important to assess it for problems indicating the need for repair, as well as deal-breaker issues that make it more practical to replace it entirely. Chances are that if you purchased the tool new, you know it’s history, but if you’re considering buying a used tool, a comprehensive assessment is even more important.
Here’s a general safety checklist:
• Inspect the tool for cracks in the cabinet or housing
• Check for damaged switches or safety guards
• Make sure rusted blade attachments are solid and can hold a blade securely
• Examine the cord for damage from the point of entry to the tool to the plug
• Check the plug for cracks and missing, bent or broken prongs
• Assess if the tool is double insulated and properly grounded with a three-prong plug
• Look for black streaks near vents that indicate the motor may have overheated
Any of these issues could result in electrical shock. Worn cords can be replaced and old two-prong plugs can be retrofitted with safer three-prong styles, but tools with cracked housings, poor insulation, damaged safety guards and potentially bad motors aren’t worth the risk.
Choosing Rust Removal Products
If there’s too much rust to remove by hand with sandpaper or a wire brush, commercial rust removing solutions or DIY formulas can help peel away layers.
Light rust isn’t hard to deal with. Try applying penetrating oil like Liquid Wrench® or Kroil® to loosen the tool enough to let you tackle the rest with a scouring pad or steel wool.
For moderate rust, you can try repeated applications of oil and elbow grease, but a rotary tool with a sanding wheel or wire brush will be faster and more effective.
Moderate to heavy rust needs a stronger product. Consider commercial products including Boeshield’s Rust Free®, Evapo-Rust ®, or Kleen-Strip® have a good track record.
Before buying a product, however, it’s possible you already have the ingredients to make a home-made rust removing spray.
The most popular mixtures are:
• 1 tablespoon of oxalic acid in 1 quart of water
• 1 part muriatic acid to four parts water
If you’re chemical-sensitive or just want to take the safest, most natural route possible, try these DIY rust removing solutions:
• 1 part baking soda to 1 part white vinegar
• 1 tablespoon of baking soda and 1 tablespoon of lemon juice mixed into a paste
• Straight Cola — the carbonation plus phosphoric acid are a proven rust-removing duo
Chemicals to Avoid
Petroleum products like kerosene — a popular home rust remover for hand tools — and silicone spray can damage electrical components, so avoid them if you can’t adequately products those parts.
Preparation
Unplug the tool and remove any attached heads, blades, chucks, or bits. If a piece can’t be removed because of a rusted bolt or similar attachment, spray it down with a penetrating oil and let it sit overnight. Tapping on bolts and screws lightly with a hammer after oiling creates tiny openings that help the product seep in.
If it’s still stuck, it’s technically possible to disassemble the tool and cut the attachment off, but in most cases, there’s damage to the surrounding structure that will make it unsafe to reattach. In this case, it’s time to explore a new tool.
Since most rust-busting solutions are acidic and can cause both water damage and corrosion, simple precautions like wrapping cords in plastic and covering switches with tape only take a few minutes and prevent accidental damage. To protect interior components when working close to the head of tool like a drill or sander, make a drape out of a plastic bag. Slip the tool in up to your working area, and then tape it shut. If you can’t keep the interior of the tool moisture-free, consider forgoing chemicals and just use elbow grease.
Finally, drape the floor and adjoining surfaces with drop cloths to protect them from chemical splatter. Assemble safety equipment including goggles, gloves and a mask or face shield, and you’re ready to get to work.
Basic Process for a Rust Removal Solution
It’s important to follow the manufacturer’s instructions for use of commercial products. The following process is general and may need to take into account product-specific recommendations.
1. Remove loose rust with coarse sandpaper or a wire brush. An old paint brush helps clean out nooks and crannies.
2. Clean the surface with soap and water to remove unwanted oils or chemical residues and dry it thoroughly.
3. Apply the rust-removal product of your choice as directed.
4. When the product is done working, scrub the remaining rust away.
5. As you work toward bare metal, move from using wire brushes and coarse sandpaper to finer sandpaper or steel wool to avoid gouging the surface in a way that could compromise how the tool works.
6. When you’re done, coat the surface with rust-inhibiting oil or spray.
Preventing Rusty Power Tools
Everyone’s forgotten a tool in the rain now and then, but rust happens most often during routine storage. Here are some tips to keep your power tools rust-free:
• Dry tools after use
• Spray sensitive tools regularly with a rust inhibitor
• Use moisture removing gel packs or canisters in tool boxes and closets
• Run a dehumidifier in humid climates
• Store power tools indoors
• Bag tools in plastic for long-term storage
Removing rust from metal can be labor intensive, but it’s not complicated. Power tools are an investment, so why replace them when you can restore them?
Whether you are interested in just making your home attractive or you are planning to rake in a couple more bucks from the sale of your home by a couple of improvements here and there, home improvement is key for upping the value of your home.
In this article, we will take a look at a few home improvements tips that can fire up the value of your home.
They include:
Start with inspecting the home
You need to know that home improvement are not about improving aesthetic, improvements may also cut across repairs such as leaky roofs, blocked drainages and the rest. So a home inspection should be conducted prior to the improvement to pick out areas to be worked on.
Don’t underestimate the power of bright and well-articulated colors
A dormant room can be lit up with the right paints and patterns. Kitchen walls and cabinets, living room walls are great places to give detailed paint works. If you not sure the blend of paints to use, you may enlist the services of a painter.
It has been said that nothing brings out the beauty of a space than bright colors and smart details. Paints do not have to be totally worn out before they are changed. Get creative with the spaces around you. The kids’ rooms can even get extra illustrations on the wall for higher aesthetic value.
House Plants are real beauties, try them out
Apart from environmental purification and indoor air quality improvement, house plants have aesthetic value that you can use to improve your home and up its value. A wide range of indoor plants are available and these plants can be used creatively in different patterns and designs.
The succulents and air plants are top of the list of the plants that can be used in homes. Examples of some plants you can get from a florist and try are Sedum rubrotinctum, Lithops species, Haworthia cooperi, Agave victoriae-reginae and so on.
It is also important to note that plants do not just have to be potted and kept at a spot. Designs such as living wreaths, beautiful roofs and tapestries, fairy homes, terrariums or maybe even a vertical garden.
Get creative with empty spaces, utilize the space under the stairs
What if I told you that you could come up with really creative uses for those spaces you never gave much thought to like under the stairs. Such spaces are more effectively utilized when there is need for more space around the house. While it helps you create more space for storage, if nicely done, it can add to the beauty armory of your home.
Home improvementdoesn’t necessarily have to be exorbitant as many people think. A couple low-budget creativity here and there can do the magic.
Pay attention to maintenance and mechanicals
Nothing devalues a home more than faulty essentials such as broken pipes, blocked drainages, faulty electrical system. The faults gives the impression that the home is in bad shape when its just a matter of few basic repairs. This is why you should ensure that you update the essentials of your home from time to time to retain the values. While at it, ensure you allow the professionals attend to each repair around your home for expert solutions.
If you are not sure of the things that might require maintenance, procure the services of a home inspector. Additionally you need to be sure to keep a regular maintenance scheme.
Pay attention to aesthetics
A couple of things can drastically improve the aesthetic appeal of any home thereby increasing the worth. These things are:
A freshly smelling interior: an appealing smell in any home no matter how humble a home it is, is very good for such a home. you should pay attention to the smell that emanates from your house. Don’t just cover offensive odors with fragrances rather fish out the cause of such offensive smell and eliminate it.
A catchy exterior paint and more neutral and calm tones on the inside:
Ensure your home is well lit at any hour of the day.
Keep your kitchen, bathroom and other areas of your home sparkling clean. Dirt devalue a home.
Upgrades: Keep your home up to date
A couple of upgrades although economical, but they can grant your home competitive edge. Especially if you intend to sell your home. Finally, let’s talk about cost-effective upgrades that might give your home a competitive edge.
Some of the common upgrades you can try includes:
Go green
With all the fuss surrounding environmental degradation and the need for alternative energy, zero-carbon energy sources solar or wind or high efficiency devices are sure to drive up the value of your home. These eco-friendly energy sources make the inhabitants or prospective buyer excited about your home. They want to explore these relatively unknown technologies and this is the value we are talking about.
The kitchen and bathroom could also get a couple cost-effective upgrades that will culminate to higher value. For the kitchen, a couple changes like changing that stained ink or outdated appliance for a shiny new piece of appliance can surge up the value of your home. For the bathroom, replacing an outdated vanity, light fixtures or old plumbing will guarantee a couple more dollar for your home.
Consult a design expert.
Inasmuch as a couple DIY improvements cannot help your home, a design expert in Edmonton can sit with you and you both can strategize on improvement steps that are more important for your home. Different homes require a different set of improvements that will matter most depending on site, size and home structure.
Beautification of home, general repairs or just upgrading of property worth for a possible sale, whatever your reason for home improvementmight be, the tips discussed above can help you upgrade the value of your home from what it is now to something you didn’t think possible.
Every home needs a well-equipped and functional kitchen, but the size of it sometimes can seem as a great obstacle to your plans. Just because you don’t have as big space as you wanted, it doesn’t mean you can’t decorate a lovely kitchen in which you can keep all your pots and pans, and prepare delicious food for your entire family. With only a few easy tricks, you can design a cute little kitchen, so feel free to look for inspiration in the following tips.
Lucite and light hues
When you have a small space, you should always decorate it with bright, light hues to make it visually larger. That’s why white walls along with white floors will not only offer you a spacious, but a clean look as well. Furthermore, for an airy appeal, think about having white rafters, countertops, backsplash and white cabinetry. To add a bit of contrast, consider pendant lights and a few wooden items. Aside from white paint, it would be a good idea to find a way to let as much natural light inside the room as possible to extend the visual horizon, which will instantly make the room look spacious. Furthermore, to eliminate visual clutter, think about Lucite barstools, trays, drawer pulls and paper towel holders.
Put cookware on display
You can never have enough space in a small kitchen, which is why you shouldn’t fill your cabinets with pots and pans, but find a more suitable storage for them. Think about using Command Hooks to hang them on an unused wall. Alternatively, you can use the sides of the cabinets to do the same, and go from the biggest item on top, to the smallest on the bottom, to create a nice little hierarchy. Also, think about doing the same with cutting boards. A chunky vintage cutting board can double as an artwork, so you have a win-win situation with not cramping your cupboards and creating a lovely decor for your kitchen.
Use metallic details
If you’ve opted for white to dominate the kitchen decor, a nice way to break the monotony would be to introduce a few metallic details to the room. From gold lampshade, to bronze bar stools, you can create a perfect modern decor with various metallic items. Chrome or stainless steel appliances such as bosch double wall oven can be a great addition to your kitchen, offering you both functionality and modern look. With brass fixtures, drawer pulls and doorknobs your kitchen will look amazing.
Go minimalistic
The trick to make a small kitchen look bigger is to keep it decluttered. Not only should the room be neat and tidy, but without too much furniture as well. While cabinetry and a few basic appliances are necessary, you don’t have to cramp the kitchen up with various decorative items. Instead, go for minimalistic approach. Uncomplicated fixtures, light colors and clean lines will make your kitchen look spacious and tidy. Go for plain cabinets and bare floors to highlight the chic minimalist theme.
Open floor plan
A lack of visual borders immediately creates a bigger space. That’s why open floor plans are so popular nowadays. With no walls to create a visual or spatial barrier, your kitchen will appear much bigger than it actually is. It will open up cramped spaces, allowing you to determine where the border between the kitchen and dining room is. This way, you can expand or reduce the size of your kitchen just by reorganizing your furniture.
Open shelving
Small kitchens are all about saving space, so adding storage without creating a bulky kitchen is a goal to strive for. The best way to achieve that goal is to use open shelving. It won’t take up a lot of space, literally or visually, and it’s a good opportunity for you to express your taste in glassware and details. For kitchens that are especially compact, shelving above and below the upper cabinets can be a good storage solution. You can store cake pans, extra towels and other stuff you don’t use as often above, and keep seasoning, oils and items you use on a daily basis below.
Multi-purpose implements
Small kitchens can sometimes limit you to using only several appliances, leaving you without the room for a very much needed dishwasher. Lucky for you, a new innovative sink will be the greatest invention for you and your tiny kitchen. A sink that doubles as a built-in dishwasher is the best solution for small kitchens, as you won’t have to think about where to put a bulky machine.
Decorating a small kitchen can often be challenging, but rewarding at the same time. Thinking about various options and coming up with the best solution will help you think outside the box and create a unique kitchen area. If you ever feel a lack of inspiration, feel free to use some of the aforementioned tips, and your kitchen will look perfect.
For some, the usage of a John Wayne can opener needs no instructions, for others they may need to be shown how to use a P-38 can opener.
Either way, these tools are quite useful. I have never had one wear out, and only one rust. Sitting on my keychain it gives those in the know a bit of a hint about military service. It seems that only vets, shooters, or preppers keep them on their key chains.
I typically buy these in bulk (like the 20 piece set shown in the picture to the left). That way I have them to give away when asked.
John Wayne Can Openers
These handy compact can openers came from the military and have the nickname as a “John Wayne”. Any serviceman from the c-rations era remembers the P38 can opener.
My Dad was a Vietnam era Marine and he is the one that taught me about the P-38. Rumor has is that it got its name because it takes 38 punches with this can opener to open a C-ration can. I doubt that as there were huge amounts of fake knowledge people memorized for promotion boards (like how many holes in a MRA cracker and what they stood for).
They make a larger version for big cans but don’t bother with them as the smaller opener fits perfectly on my keychain.
How to Use a P-38 Can Opener
Unfold the can opener.
There is a notch on the handle under the blade portion. Slip this notch under the lip on the outside of the top of the can
Place the blade on the inside of the lid of the can.
Then twist. You will push the blade down so that it cuts into the can.
Move the point of the can opener so the point is at the edge of the first hole and twist again.
Ensure that the notch on the side of the handle is hooked firmly on the lip, otherwise the blade will pull the handle forward instead of cutting the lid.
Repeat until only a small tab of metal holds the lid to the can.
At this point you can either finish cutting and let the lid drop in the can. I typically pull it up as I don’t have a lot of patience.
I had a lot of fun showing my son William Tell how to use a P-38, he is very interested in the military, even if he doesn’t like John Wayne.