

 In the recent past, we’ve witnessed extreme weather-related calamities that have caused immense destruction regarding property damage and loss of human lives.
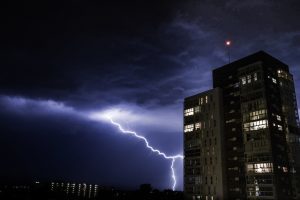
Scientists are warning that massive disasters are not only currently occurring at an increased rate but also increasing in magnitude.
To ensure your family stays safe all the time, you must invest in a good electric generator. An electric generator, other than supporting your lighting systems, will support important appliances in your home, among very many other functions. Loss of electric power brings about many difficulties to homes, more so, households with persons with disabilities.
A generator provides an exceptional way of cautioning your family members against sudden lose electricity.
Typical uses of a generator in a household
- Backup during Power outages
 Any urban resident already knows how often power outages occur of late. You simply can’t leave the use of all household appliances in the mercy of unpredictable utility power. A generator will reliably power your major home appliances, including electric heater, lights and air conditioners. A good generator, therefore, will help you maintain the comfort of your loved ones at all times.
- Recreational use: Camping, tailgating or RV power
Are you a fan of outdoor camping? Then you need a portable generator. With a portable generator, you will be able to transform your camping expedition into an unforgettable event. Your family members will still enjoy all the luxuries of the city in a countryside setting. It will power security lights and hence secure your surroundings. The generator will also enable you to watch your TV, charge your phones, helping you maintain your connection to the outside world among, other purposes.
- Construction Projects
 Since most constructions projects take place in regions where there is no electricity supply, you cannot depend on electricity from your utility company. That there have been widespread power blackouts lately implies that utility power is unpredictable. So, even if power is available, to predict with certainty how long it’ll take to complete the project, a reliable energy source is crucial. One such trusted source is a generator. Your choice of the type of generator to go for depends entirely on the magnitude of your project.
Types of generators to consider
- Standby Generators: This genset is large, typically runs on natural gas or liquid propane and mostly stationed outside far from the house. Due to their immense outputs power, it can power all the appliances in your home during a power outage. It also costs a lot to buy, install (which is usually done by skilled personnel) and connect to your household’s consumer unit. However, once installed, a standby generator runs for a very long time without necessitating refueling, servicing or maintenance. One outstanding feature of this generator type has to be its ability to start automatically, supplying your house with power even when you are away, and there is no one around.
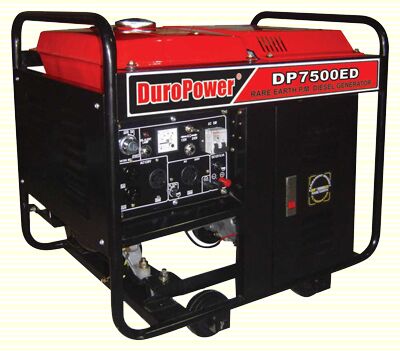
- Portable Generators: They are smaller generators that can be moved around with a lot of ease. Besides their smaller fuel tanks, portable generators are either attached to a trailer or fitted with wheels for increased mobility. Smaller fuel tanks present one minor challenge; the generators have to be often refueled, especially when they’re used for extended periods of time. They are, however, suitable for smaller families who probably need a generator they can use while camping outdoors, among other purposes. On account of their low outputs, portable generators tend to be cheaper that standby generators and do not need expert installation. From the best portable generator reviews, you will learn more on what to look for when buying portable generators, typical output ranges, among many other crucial aspects
- Solar Generators: Supply green energy that is safe to use and entirely renewable. Persons who live in places with hot and regular sunshine and have sufficient initial capital will find this generator type ideal. Solar generators deliver totally quiet operations, require minimum repairs and maintenance and do not require refueling since they convert solar energy to electrical energy. Initially, the cost is high thanks to the fact that a solar generator unit requires other components including an inverter, a battery pack, and solar panels. You may also have to hire the services of a trained installer.
During a blackout follow these electrical safety tips
- Switch off and unplug unnecessary electrical appliances, including sensitive devices
- Disconnect any equipment, appliance or electronics that were being used before the power went out When power returns, spikes or surges can damage the appliances
- Leave one light bulb on so that when the power comes back, you will know
- Eliminate all unnecessary travels, particularly by car because traffic lights will not be on
- Connect the appliance you wish to power with a generator directly to the generator outlet.
A backup generator is a must-have for all households. Regardless of whether you need insurance during emergencies or your do not want to sustain the comfort of your family members, a generator is all you need. Find out your electric power needs, buy a suitable generator and enjoy your life to the fullest.
About the author: Victor Hill is the founder of Trustworthy Power, a website that provides expert generator reviews, click here to find out more. He is a graduate in Mechatronics and currently works as a Quality Assurance Engineer at DENSO. He has a passion for generators and also loves helping users get value for their investment while shopping for generators.