I make sure to buy my popcorn in 25 or 50 gallon bulk bags at the local warehouse store because it is cheap, easy, fun, and if push comes to shove can be ground into some resemblance of cornmeal.
Most folks think microwave when they hear the word popcorn, but their are sorts of other, and better, ways to cook popcorn.
Recently we have done a lot of campfire/off grid cooking techniques, so I felt it was only fair to show how to cook popcorn over a campfire…
Procedure
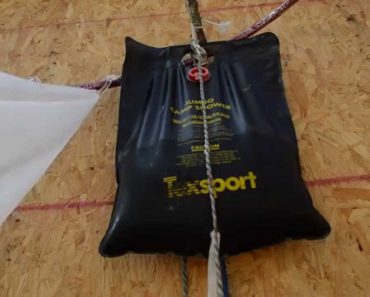
- In the center of an 18″ x 18″ square of heavy-duty or doubled foil, place one teaspoon of oil & one teaspoon of popcorn.
- Bring foil corners together to make a pouch.
- Seal the edges by folding, but allow room for the popcorn to pop.
- Tie each pouch to a long stick with a string & hold the pouch over the hot coals.
- Shake constantly until all the corn has popped. Season with butter & salt.
Serves one.
Campfire Popcorn is a great recipe to try when out camping with your kids. Its cheap and fun, but best of all your kids can easily do this with only a little adult supervision.
Besides, its nice to see people cooking items normally and not in a microwave.