How to Setup a Camping Tarp in the Woods


Easy Tarp Setup for Camping
Click the Picture to Purchase

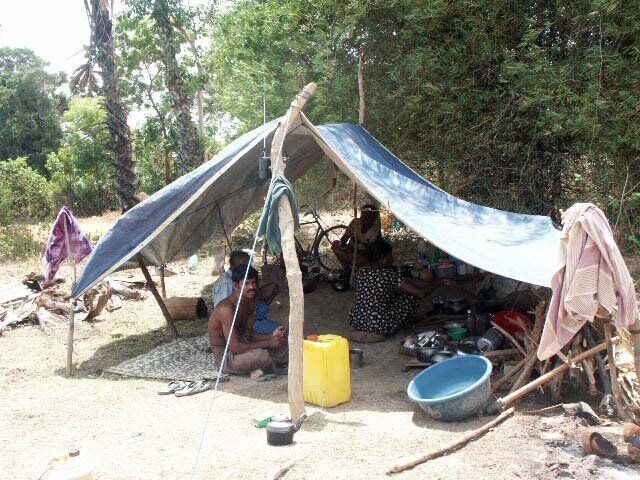
I needed a semi-permanent shelter out on the land as James and I went about clearing the trash from the land.  I did not want to spend any money.  Additionally, I did not want to take a lot of time messing around as time on the property is limited.  Since Tarps are cheap and plentiful we decided on a tarp setup.

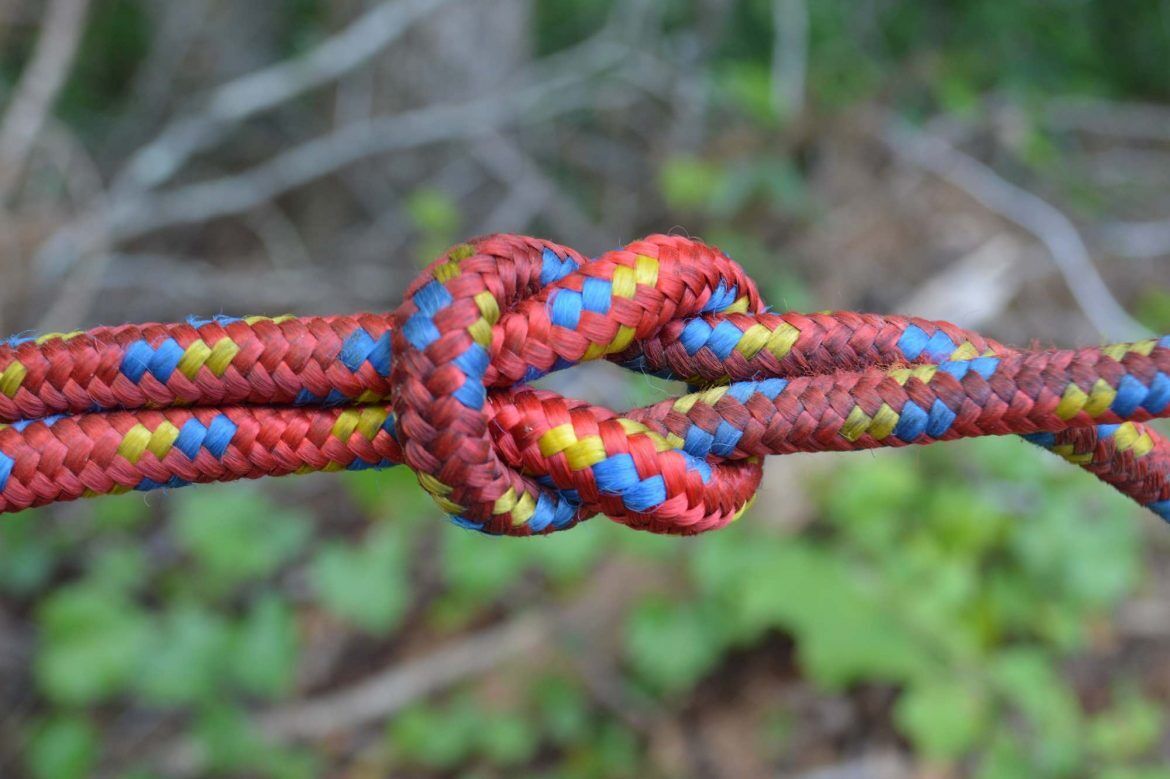
All we did was string a taut center-line between two trees,.  Next, we spread the tarp over the line.  Then we created cord tie-outs from the corners out to other trees to finish the tarp setup.

I set up the tarp so that the 4 corners are pretty high when it is in use.  However, when I leave to go back to work, I can take two corners and drop them much lower so that rain does not collect.

This setup works pretty well, and we have had a couple of good thunderstorms over the past month and I am very pleased.

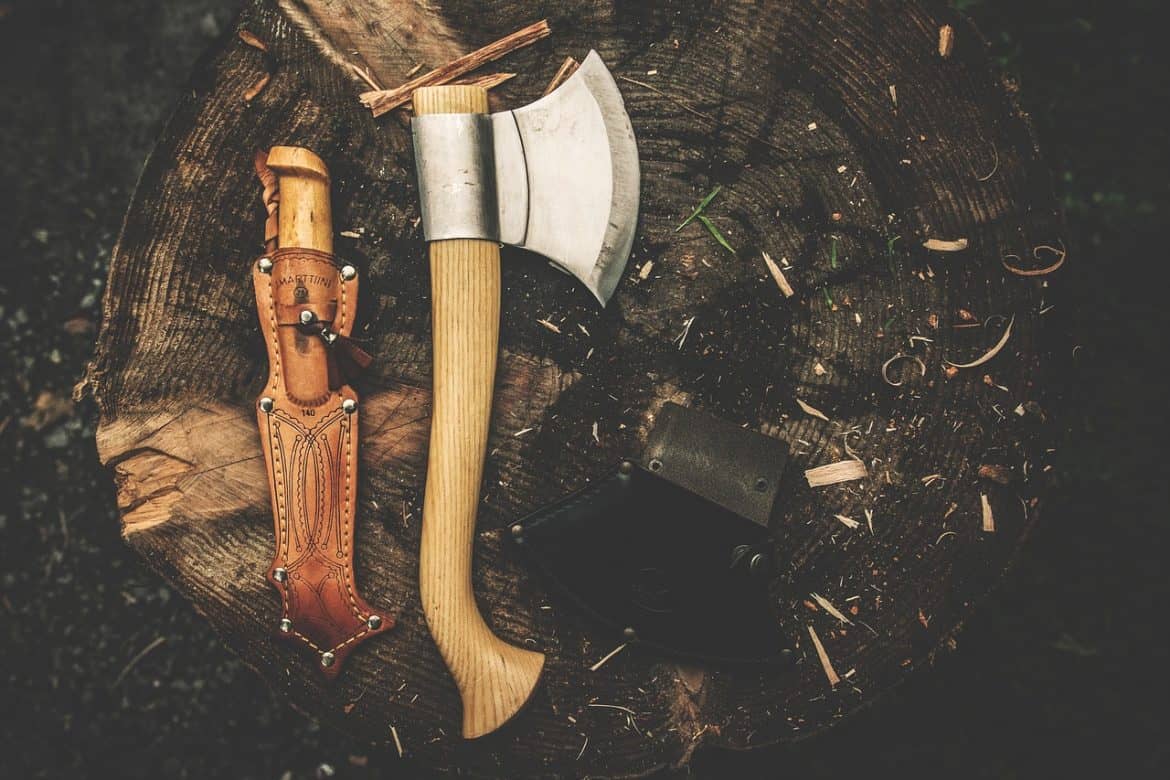
In conclusion, I would say a  trap and a length of rope are bush craft essentials and you can build a shelter anywhere.  A tarp setup is extremely adjustable you can adjust to almost any situation.  One tree, two trees, no trees, it can all work with a little thought and some rope.

Camping: Map Contour Lines II

Camping: Map Contour Lines II
Buy at Amazon

Being able to read contour lines is pretty important.  This is the second in a series of land navigation posts.  Like the first article this one also deals with map contour lines.

The method I use to show contour lines is one I learned in the Boy Scouts and it is how I finally grasped the concept.

As I mentioned in the first video I think a good understanding of contour lines and a good topographical map will allow you to find your location in the woods and navigate without any other tools.

I am not suggesting you do not need a compass for land navigation.  However, the ability to visualize map topography will allow you to recognize terrain features in a way that a compass bearing can not do.

Once I learned this skill I never got lost in the woods again.  But if I was honest, I would have to admit I didn’t really get lost in the woods much before I had this skill.  I grew up in a State Park and knew those woods like most kids know their neighborhood.

I used to turn my radio up loud, lock my door and sneak out to go walking in the woods.

Camping: Map Contour Lines I

Camping: Map Contour Lines I
Buy at Amazon

Due to my obvious lack of attention to detail I never was very good at orienteering by shooting an azimuth and counting my pace.  Small errors that I normally find acceptable turn in to large errors when you are traveling great distances.

Luckily I grew up on a state park and got to use topographic maps on a daily basis and quickly learned to associate the squiggly map lines with the hills and valleys I saw in real life.  I learned that I could navigate well just by being able to translate map contour lines with the terrain around me.

Translating the lines into elevations became second nature and I can visualize the elevation just by looking at the map.

As a general rule, the lines on a topographic map are tied to elevation above sea level, and somewhere on the map will be a key to tell you how many feet (or meters) the lines are.

The key to remember is the  difference is not in distance, but in elevation.  This means that the closer the lines are to each other the shorter the distance it is between the difference in elevation.  Therefore, on an map that shows 100 meters in distance between contour lines that describe an elevation change of 10 meters will represent a gradually sloping area that rises 1 meter every 10 meters you travel.  If the same map has an area where two (or more) contour lines converge it shows a cliff or steep dropoff.

Watch the video on contour lines for a better explanation.

How to Estimate Campfire Temperature: The Hand Test

How to Estimate Campfire Temperature: The Hand Test


How to Estimate Campfire Temperature: The Hand Test
Buy at Amazon

This is camp cooking temp that tip is handy to know.

If you have ever tried to manipulated something in a campfire fire, you know that the hotter the fire the less time you can stand to have your hands near it.

This means that you can learn to judge the temperature of a fire by knowing how much heat a common person can stand.

Please use some common sense with this.

If you cautiously hold your hand, palm side down, over the fire at cooking height and count the number of seconds you can hold that position and you will have an indicator of how hot the fire temperature is.

Camp Fire Temperature Estimation Times:

5 seconds = low
4 seconds = medium
3 seconds = medium-high
2 seconds = high

This is an awesome prepper skill to have, it works great with outdoor baking as well as other cooking skills.

I have used it to cook steak over coals for a really impressive and testosterone fueled dinner.  This skill really separates the woodsmen from the campers.

Until you do this enough to memorize, I would laminate an index card with the chart below and stick in somewhere with your camping/bugout equipment

Camping: Cleaning Hydration Bladders

Camping: Cleaning Hydration Bladders
Buy at Amazon

When I was in the service I was witness to some guys putting some tobacco sauce inside someone’s hydration bladder. I remember thinking it was pretty funny at the time, but changed my mind when I saw how hard it was to actually clean one out.

This post shows how to easily start cleaning hydration bladders with efferdent.

I don’t know how effective this would be to remove oleoresin capsicum from a water bladder, but I know that many backpackers (and military servicemen) use the method below to clean out their hydration packs.

Efferdent, or any generic brand of anti-bacterial cleaner tablets used for cleaning dentures is gentle enough for sterilizing the inside of water bladders.

To use, fill the hydration bladder up to about 2/3 of capacity and drop 1 Efferent tablet into the bladder for each Liter of water.

Before long, the tablets will start fizzing and turn the water in the bladders blue.

The fizzing oxidizes any bacteria present in the bladder, killing and dissolving it.

For maximum effect, tip the bladder over and make sure the blue solution touches all surfaces in the interior of the bladder.
When the blue water turns clear in that classic Efferdent way, rinse the bladder out thoroughly with clean water, fold it up and recap until next use. The biggest thing to remember is to only fill to 2/3 capacity, and to rinse it out VERY well.