
Building a DIY Foundry is something I have been itching to try for several years now. However, I have been a little to chicken to try. It has always seemed a little too ambitious, even for me. However, when I finally just decided to DO IT, it was really easy.
Looking at Backyard Metal Casting and other sites led me to a really cool set of books written by David Gingery. His premise was that anyone with enough desire and common hand tools could build their own metal shop. He has a set of 8 books that tells the reader how to do just that. His first volume , The Charcoal Furnace, sets the stage. Using very common and inexpensive material Gingery shows the reader how to make a foundry to melt and cast aluminum.
The tools you make in volume 1 allows you to make the tool from volume 2, and so on…
This leapfrogging of technology builds your skills to complement your shop. You never end up in a project that you don’t have the skill to finish if you follow the progression of the series.
So on to the foundry…
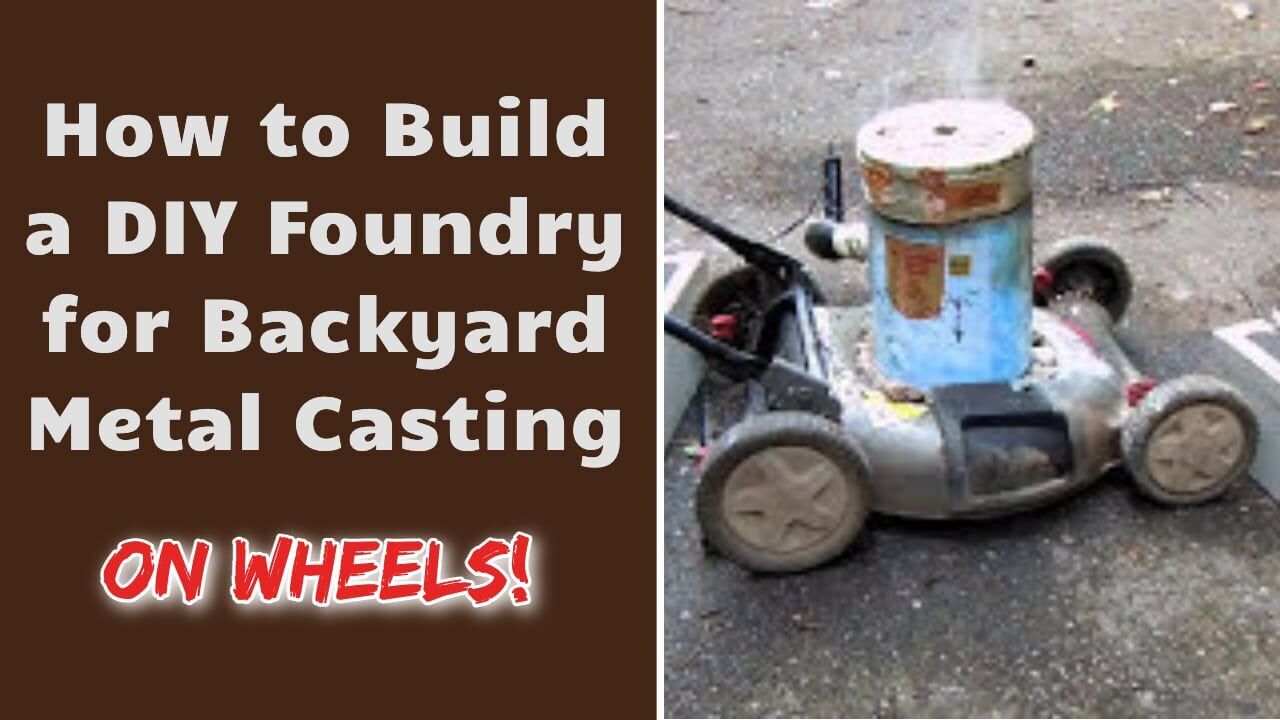
I had an old popcorn tin lying around, and I bolted it to a lawnmower body I had left over from making my lawnmower generator. First I drilled a hole about 2 inches from the base of the can so I could insert an air pipe later.
I then cut some circles of plywood using my table saw and built a metal tube to act as a form for my foundry. In the video below I tell you I used flashing instead of the sheet metal Gingery suggests in the book. I do that for two reasons – the first was that I don’t know anything about sheet metal, and the second was that I had a roll of aluminum flashing already. I find out later that Gingery used thicker metal on purpose. The thin flashing deformed as I rammed in the refractory. I repaired the mistake, but had I listened to the instructions I would not have had too.
For the refractory I went to the local big box hardware store and bought a hundred pounds of play sand – that was less than 10 bucks. I also looked around for a bag of fireclay – which I ended up getting at a local ceramics store. That was $8 dollars for 50 pounds. While I was driving I went to the goodwill and bought a hair dryer for $2.50. So using scrap I had, I spent less that $25 to have the capability to melt and cast aluminum.
I mixed the sand/clay mix in my wheelbarrow with a 2/1 ratio. I mixed this very well before I added water. It does not take very much water to do this. If you use too much water you will mess the mix up. Also wear a mask as the fireclay is very fine and makes a lot of dust. (I didn’t and ended up coughing a whole lot). The idea is to make a very thick mortar. You have just enough water when you can make a ball of mix and break it into two clean sections you have the right mix. I then covered this mix with plastic. It sat covered overnight so that the clay could absorb the water.
Making the Lid
The first thing I did was to make a lid for my foundry. You have to make the lid first as you need to use it to finish the foundry. I did not follow the directions in the book exactly here either, but I don’t think (at this point) I screwed up.
First I drilled a 4 inch hole in the center of the lid, and cut some flashing and bent it around the inside of the popcorn tin lid. Next I drove in some nails to point toward the center of the lid. Then I also punched some holes in the flashing and wove some wire between the holes like laying rebar in a concrete form. After that I also installed some u-bolts in the lid top so I would have a place to grab the lid.
The next step is to fill the lid with your refractory mix. I tried to use a coke can as a form. Unfortunately, it deformed from the pounding I gave the sand to compact it. Once I pulled the can out of the lid, I used a piece of pipe to punch out the hole in the center of the lid.
The next step is to fire the lid like you would a clay pot. I did this in my kitchen stove after my wife went to work. It doesn’t burn or stain, or smell up the kitchen, the worse thing that could happen would be your get sand crumbs in the kitchen. You cannot do this too fast or the steam from the refractory will crack it. I set the lid in the over and turned it on to 250° and let it cook for about 3 hours. I then upped the heat to 500° and let it cook another 6 hours. Once this was done, I just turned the oven off and went to bed. You want it to cool slowly, so keep it in the oven with the door shut.
Building the Foundry
To build the foundry I set my form in the middle of the can and shimmed it with sticks so that it was centered. Next I filled the space between the form and the tin until the foundry was filled with about 2 inches of loose mix. I and pounded the mix in with a flat stick (I used a spare hammer handle). The idea is to make a solid brick, so I beat this down very hard. I kept doing this layer by layer until I reached the bottom of the hole I drilled for the air pipe. I then kept pounding in more sand until I had a mound over the top of the popcorn tin.
Once this was done I pulled out my form and used a board to flatten the refractory along the top edge of the popcorn tin. I had to use left over mix to fix the portions distorted by the flexing of my aluminum form. I then dropped mix in the center of the foundry and built up the center until the floor of the foundry was pounded even with the bottom of my air hole.
Firing the Foundry
Next I had to fire the entire foundry. I put in a double layer of charcoal and fluid and lighted it. Once it was fully ignited and turned to coal I added another double layer of charcoal. After each layer turned to hot coals I added a new layer until I reached the top of the foundry.
I laid the foundry lid on the pot. Next I attached my hair dryer to my airhole with a funnel. The funnel was made of flashing and hairdryer was turned on low. After 30 seconds or so, it seemed like I had a huge blowtorch, flame and cinders shot out several feet. It was AWESOME. But highly flammable. Once the coal was burned out the refractory was so hot it was glowing red. At that point, I removed the air tube, blocked both holes with brick, and let it cool overnight.
Conclusion
The foundry had taken on the consistency of a brick by the next morning. It was softer maybe, but very dense and compact. Once I build my tools and my forms I can start casting.
I did promise Genny that if I did not get a mortar for Christmas, I would have to make one. She was warned that if I had to make one, it would be larger and more powerful than a simple black powder mortar. I don’t have the skill yet to try to build a 13″ Seacoast Mortar or its 13 inch 200 pound projectile, but in a few months I may try a small swivel gun LOL…

