

Food Storage: How to Store Food With Dry Ice

Knowing how to store food with dry ice is an alternative to method to help preserve your food storage.
This method to use dry ice to store food is slightly more complicated than using Oxygen absorbers, but it is cheaper. Additionally, depending on your location, this method is easier to do. This is because most large grocery stores as well as welding supply companies have dry ice and most people have to order O2 absorbers online. You do want to make sure you are buying food grade dry ice since you will using this to store food.
Dry ice is just frozen carbon dioxide gas. A block of CO2 warms to room temperature it turns into the harmless gas. One pound of the ice will turn into almost 8 and ½ cubic feet of gas. Therefore, it does not take much to fill the air spaces around your tiny grains of rice or wheat berries.
As a matter of fact, when using dry ice to replace the oxygen in your food storage buckets the biggest threat is that you use too much and pop the top of your bucket.
The big thing to remember when using dry ice to purge out and replace the air in you bucket is that quality matters. If you get dry ice that has water frozen inside it, water will be trapped at the bottom of your bucket… What you want to avoid is opening your wheat 30 years later to find the water has combined with your food to make nasty mold sludge instead of taste wheat goodness. You can tell you have water crystals in your dry ice because dry ice is light blue and frozen water is white. So when you are bringing your ice home keep it in a plastic container. Next, use a tight (but not airtight) lid. This is so that the constantly escaping CO2 will push water away and let it form frost on your container and not your block.
How to Store Food With Dry Ice
Materials:
- Bucket with tight fitting lid
- Dry ice in plastic container (do not use glass or anything that will shatter if under pressure as you cannot get the Dry ice cold enough at your home to prevent it from turning back into gas)
- Hammer to break block
- Small scale – no need to be exact, but you need to be close
- Gloves (unless you want frost bite do not handle ice with bare skin)
- Food to be stored
Procedure:
- Break your ice into small chunks (one ounce by weight will be about 1/6 cup by volume – approximately).
- Pour one ounce (or two if you feel generous) into the bottom of your bucket and mound in a small pile in the center of your container.
- Cover pile with a paper towel to keep your dry ice away from your food (not strictly necessary, but it makes my wife feel better.
- Fill bucket with food to ½ inch of headspace from top of bucket
- Set the lid lightly on top and wait for ice to melt. If you seal lid the expanding gas will “explode” the bucket. Probably just popping the lid, but it could spew food throughout your house especially if your sealing powders like flour. You can seal the lid all the way around except for one small side.=
- Feel the bottom of the bucket. If it is ice cold you still have solid CO2. It should take 1 or so for the ice to dissipate.
- As soon as the ice is turned to gas, seal the lid completely
- Wait about 15 minutes and carefully check your buckets for signs of gas pressure. If the lids or sides of the bucket are bulged then you still had dry ice in the bucket and need to crack the seal carefully. Check again after 10 minutes.
- After the bucket is sealed a vacuum may be present in your bucket and the sides may suck in a bit. This is normal and can be a good thing as no bugs will survive in a vacuum for long.
Yield:
5 pounds of ice (normally the minimum purchase) will do 40 buckets at 2 ounces per. Or 80 buckets at the necessary one-ounce per 6 gallon bucket.
Note:
This is not a project you can buy the materials and then do later. The ice will dissipate into CO2 even if stored in your deep freeze. If you buy dry ice plan on using it within 5 or 6 hours.
Other ways to use Dry Ice:
The other hazards involved with dry ice are that it is 1100 below zero when solid. Additionally, CO2 will displace the oxygen in the air. Consequently, you need to do this outside or in a very well ventilated room. A good piece of information to keep in the back of your head is that PETA and other animal “rights” groups find suffocation by CO2 to be the most humane way of dispatching small livestock (such as chickens). Putting them in a bucket with a little CO2 will suffocate them quickly.
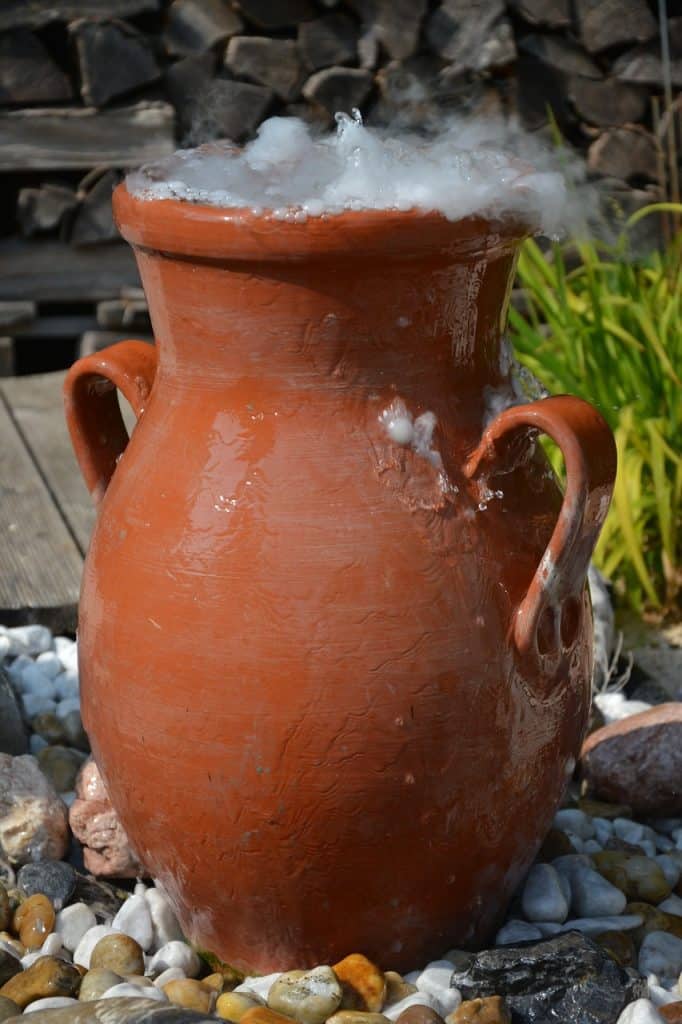
Actually, dry ice can be a lot of fun. Put a cube in a glass of water and kids will watch the thick cloud that boils off. It will compete with your TV, at least for a while. In the 50’s some people put dry ice in home made root beer to make it fizzy.
Remember when I said a pound of solid carbon dioxide was about 8.5 cubic feet of gas? Well 8.3 is closer, and since a 6 gallon bucket is 1.46 cubic feet of space, a single pound would fill a lot of buckets. Add in that the FOOD also takes up space. And you will only need about .5 cubic foot of gas per 6 gallon bucket. You can fill about 80 buckets with 5 pounds of dry ice. At one ounce of solid CO2 per bucket this is actually a LOT more than you need.
If you have some dry ice left you can use it to do some neat things like make a fog if you drop it in water, or if you drop some in a bowl of rubbing alcohol you can get the alcohol cold enough to make a “poor man’s liquid nitrogen”