Being able to sustainably cook and heat is something that every prepper needs to plan for. t is not uncommon for modern homes to rely solely upon electricity for both. A rocket stove is able to burn efficiently by using high temperature and a good air draft coming from the bottom of the stove.
Once the basic premise is understood, these stoves can be quickly built from improvised materials at hand. With this in mind, today’s project uses a #10 can as the base, but I have seen commercially built stoves using 55 gallon drums, or even homebuilt stoves out of stovepipe and rock used to pressure can food at a hunting camp.
Tin Can Rocket Stove
Equipment:
- Tin Snips
- Hammer
- Pliers
- File
- Gloves
- Drill, Punch or Nail
- Marker
Parts:
- Empty #10 (sometimes you can get these for free from local restaurants, but I bought a bulk pack of chili beans to acquire this one)
- 4 10.5oz soup/vegetable cans
- Insulation (Perlite, Sand, Dirt, Ash – basically any flame resistant insulating material)
Procedure:
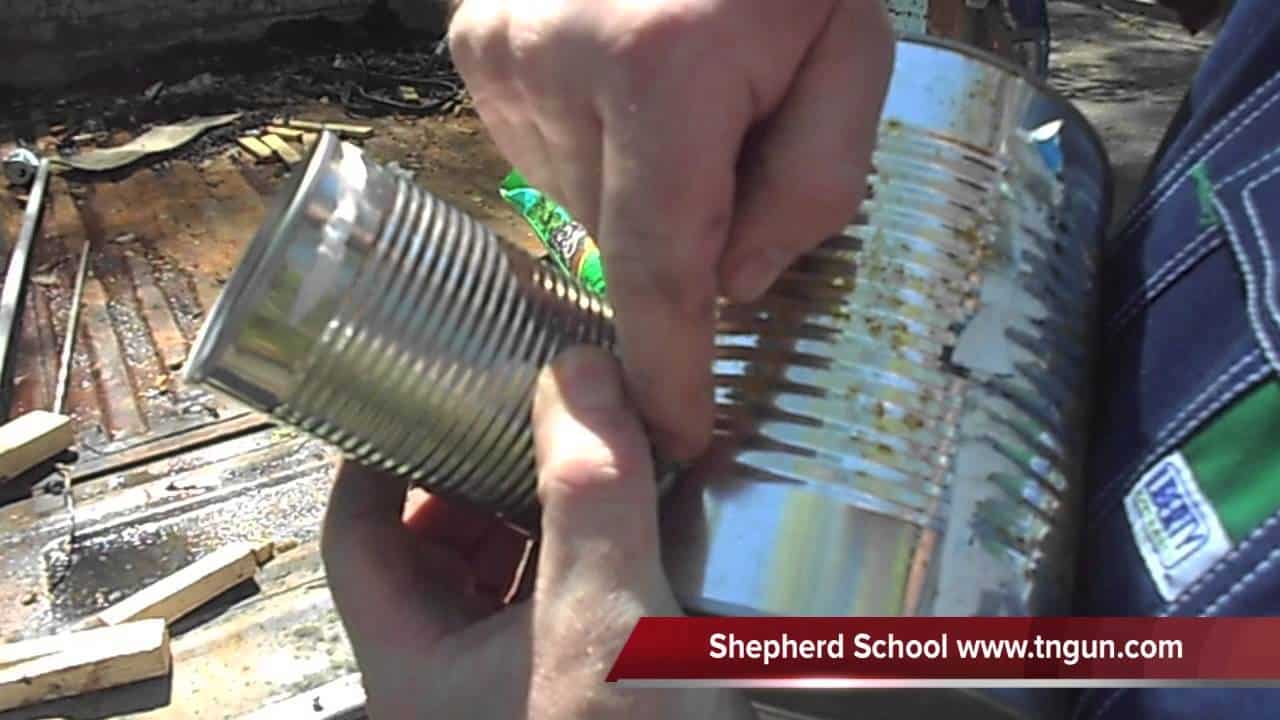
- First, remove all labels from all the cans and clean cans well
- Next, mark and cut hole in No. 10 can
- Use one of your cans to trace a circle onto the #10 can. It should be about ½ inch from the bottom of the #10 can.
- Next drill, punch, or nail some access holes inside the drawn circle so that you can cut out the circle using your tin snips
- Make sure a can (can B) is able to fit snugly in the hole.
- Then, mark and cut hole in the side of a soup can (can A)
- Make sure thathis hole needs to be at the same high as the hole in the #10 can. It may be best to insert this can into the larger one and mark it through the hole in the #10 can.
- Since this can needs to form an “elbow”, make sure the can “B” can fit securely in the hole
- After that, cut bottom off of soup can (can B) and fit as elbow
- Also, if you can use a can opener, do so, but newer styles cans make this harder, so you may need to use tin snips.
- Cut and fit the chimney from soup can (can C)
- Slit can C from top to bottom
- Cut an arch at the bottom of the can, so it can sit on can B once the stove is assembled. Once assembled, can C, must sit approximately ¼ inch below the edge of the #10 can.
- Next, cut a hole in the lid of the No 10. can for the chimney
- Take a can and center it on the #10 can lid, trace the circle, and cut it out with tin snips.
Assemble
- First, set can A into the #10 can, ensuring that the open end of can A is facing up.
- Push can B through the hole cut into the #10 can, and into the hole cut into can A
- Can A should be centered into #10 can, with a portion of can B sticking out of the Side of the #10 can.
- Next, push can C into the top of Can B forming a chimney
- Cut 8 slits ½ inch long vertically from the top of the #10 can
- Fill with insulation material
- Go slow, and from time to time gently shake or rap the #10 can so that the insulation settles. Take care not to disturb the assembly.
- Then, insert #10 can lid over chimney formed by can C
- Press the lid down slightly
- Secure the lid by bending every other tab formed by the ½ slits in the top of the #10 can. This should leave 4 tabs standing up to hold a cooking pot upright.
- Another thing to ensure is that the top of the chimney is below the edge of the 4 upright tabs.
- Make a fuel shelf from a soup can (can D)
- With the remaining can (or a larger one) cut the can open lengthways and flatten it out.
- Cut a “t” shape into the can, with the long leg approximately the size of the width of the center of Can B
- Lastly, leave “wings” slightly larger to keep the shelf from being pushed into the stove.
Start a fire
This stove will get hot! You are warned.
- First, wad some paper or tinder, light it and drop down the chimney.
- Next, push small twigs or other kindling sized fuel into the stove through can “B”, it should sit on top of the shelf you just cut.
- Air will flow into the stove through the channel under the shelf.
- Finally, as the fuel burns, push it deeper into the stove so that it can fully combust.
