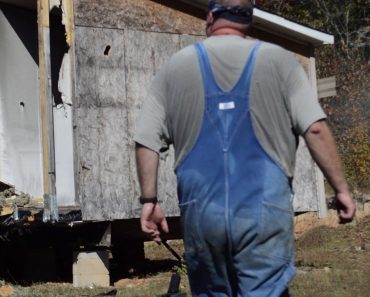

Since you carry a gun for self-defense or to save the life of another, then you are concerned with combative firearms skills rather than shooting merely for the experience of shooting. To reach this goal, you engage in training, mostly in the form of practice on a range. How close you get to your goal will depend on the effectiveness of your training. Building shooting muscle is a big part of proper training regimen.
Since you carry a gun for self-defense or to save the life of another, then you are concerned with combative firearms skills rather than shooting merely for the experience of shooting. To reach this goal, you engage in training, mostly in the form of practice on a range. How close you get to your goal will depend on the effectiveness of your training.
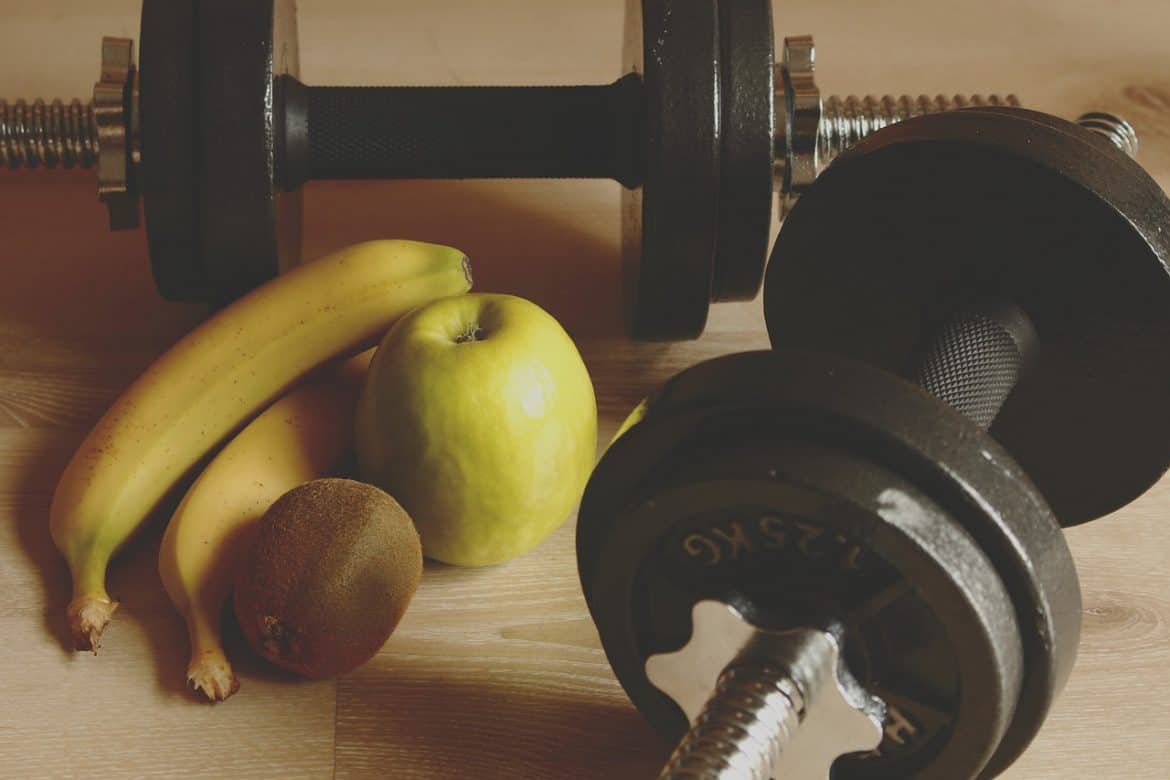
Let’s use weight lifting and body building as an analogy. If you want to get bigger and stronger, we know that you have to concentrate on working the large muscle groups of the legs, back, chest and shoulders. You do this by training mostly with the foundational exercises for these muscles: squats, dead lifts, bench presses, presses, rows, pull-downs and so on. There’s a total of maybe a dozen core exercises on which you spend most of your time. Yet there are hundreds of lifts you could do, and most of these work the smaller muscles. They are useful, but if your goal is size and strength, you use them sparingly, since you have only a limited amount of time and energy. Mostly these ancillary exercises are used to refine your shape and to add variety in your core routine to avoid boredom.
But if you go into any gym, you’ll see people spending their precious training time on these secondary exercises. Either they don’t know any better, or they think they have invented a “better” way, or they read in a magazine somewhere that so-and-so does this exercise, or they’re bored with the core exercises.
Now, go to any range and watch people there. You’ll see a great deal of shooting for tiny groups, with eyes focused on the sights of the pistol — regardless of the range. You’ll see people shooting at ten to thirty yards, rather than at zero to seven yards. You’ll see people standing still as they shoot. And so on.
Now, it is certainly a better marksman and better shooter who can shoot tiny groups, particularly at long ranges. But in the light of our goals, these kinds of skills are secondary. They are far less likely to be needed for our job than other, more foundational, skills. How do we know this? Here’s three sources.
The first is the consistent statistics from law enforcement shootings in which officers were killed. These FBI-compiled numbers have been pretty much the same for many years: 50% of LEOs killed are killed at five feet or less, and 75% killed are killed at ten feet or less. The second source is the Police Marksman Association survey done in 1992 showing the average police gunfight was won at about 20 feet seven yards (but note that this conclusion was from a pretty small sample.) Finally, there is the data from NYPD’s SOP-9 that indicates that from 1994-2000, 69% of their shootings (of all types) were at two yards or less, and 88% were at seven yards of less. These numbers are pretty consistent form year to year.
So what do these statistics mean in terms of training? That the bench press and squats of firearms survival training are the techniques to handle threats at seven yards and in. We detail the techniques relevant to these distances below, but first, a caveat.
We do most emphatically not mean to say that training at long handgun distances (15 to 50 yards) is not useful or even not important. Police officers certainly have to engage in long-range shooting on the job. We are just noting that these long-range skills are less likely to have to be used than close-range skills — that’s just the facts — and thus we suggest that they constitute your ancillary — not core — training. Longer range skills and super-tight marksmanship skills are the equivalent of weight exercises to develop the smaller muscle groups. They are less likely to be used, but they can 1) be useful in and of themselves, 2) they help to keep the training interesting, and 3) they round you out.
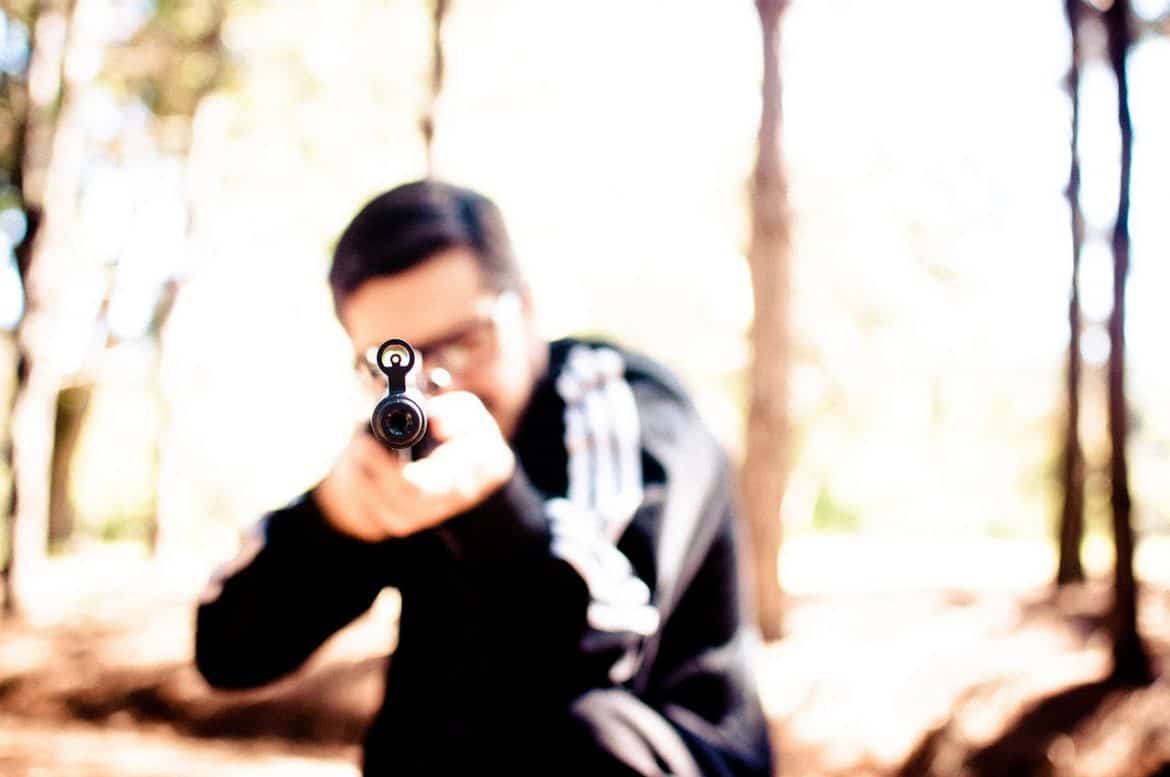
Contact distance to 2-3 yards At this distance, if you do not already have your gun out, and you are facing a deadly force attack, you simply will not have time to draw your weapon. The physics of the situation dictate that you will have to at least initially deal with this attack with empty hands techniques. This reality, of course, means that the “equalizing” factor of the firearm — one of its chief advantages — is negated. It also means that life is unfair, as the small, the weak, the injured and the older are at a disadvantage to their undoubtedly younger, more fit attacker. Life is, in fact, not fair. Sorry.
Your only choice here, if you want to honestly deal with your most likely self-defense scenario, is to pick up some vicious empty hand techniques. These, of course, work better if you are in shape, whatever your age. Such techniques are called “combatives” these days, as opposed to “martial arts”. The integration of combatives with the use of the firearm generally goes by the term “extreme close quarters shooting”, and the leading edge material in this area today comes from a man known as “SouthNarc”, for the apparent reason. His DVD on the subject, “Fighting Handgun Volume I” is available from Shivworks, www.shivworks.com, and is highly recommended.
3 yards to 7 yards At this distance, if you are trying to hit an exposed person, the proven method of Applegate-style target focused shooting (as opposed to many other methods of “point shooting”) is the most likely technique to be useful. This is for the simple reason that under a lot of stress (some combination of startle and fear), you are hard-wired to look at the threat, not anything less important from an evolutionary viewpoint, like your sights. (Of course, if you aren’t much startled, or not in much fear, you may well be able to focus on your sights.) Here the gun is held very firmly, the gun raised to intersect the eye/target line, and the trigger pulled. The technique works both one-handed and two-handed, and most people find that that the tighter they hold the gun, the better results they get (relaxed, “firm but not too tight” holds work well, by contrast, for precision and non-stressful shooting.) Since most shooters have been trained to look for their front sight, practicing target-focused shooting takes some mental concentration. Interestingly, when I am having a not-good day on the range with semi-sighted fire at these distances, if I force myself to target-focus, I can often improve results. If you are in a law enforcement or military unit, Lou Chiodo of Gunfighters Ltd (www.gunfightersltd.com) is a great source for instruction in this method of shooting.
7-10 yards and out At these distances, traditional sighted shooting is appropriate. And we strongly recommend that you practice it, and not only because longer range shooting may be necessary. When we cite the distances above, we are assuming that you need to hit a man-sized attacker. Hits anywhere on the torso are acceptable, with most instructors insisting on hits within a roughly 8½ x 11 inch area (the size of a standard piece of paper) as the goal. If you have only a part of your attacker available as a target, then the precision demanded of you increases, and thus the effective distance increases. A half a man target area available at 5 yards is about the same difficulty as a whole man at 10 yards, and so on.