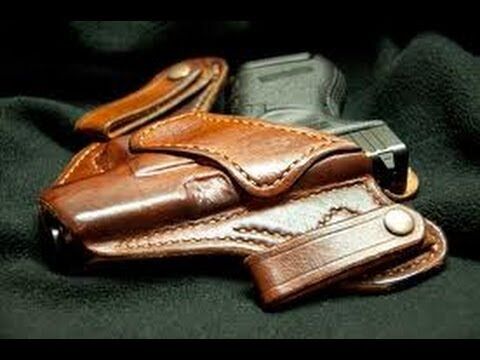
It seems like drawing your handgun from a holster is a pretty intuitive action that does not need a lot of comment, and in reality it pretty much is, however, there is a difference between doing something and doing something smoothly, effectively, and quickly. Today we are going to talk about the fundamentals of the Three Step Handgun Draw of your firearm as well as the reasons behind the methodology.
Anytime you are learning a new skill it is best to break it into the component parts and master each step individually. Don’t try to add speed until you master the entire sequence. A common saying in the firearm training/Law Enforcement field is “slow is smooth, smooth is fast”. If you try to run before you can walk all you are going to do is bust your head.
The first step is simple – Establish the grip on the gun. Before you attempt to draw the firearm from the holster you need to have a firm grip on it. I have seen an officer try to reload his firearm in a simunitions training exercise get in a hurry drawing his magazine and end up flipping it out and across the room because he did not have a strong grip. The other piece of the first step is to get your non shooting hand out of the way of your draw stroke. The best place for your hand is on your stomach – that keeps it from being muzzled by your handgun as it is being drawn. Obviously if you are in a contact distance fight, then the best place for your non shooting hand is your opponent’s throat, but all things being equal the stomach is a good default area.
Practice step one over and over, bring your dominant hand to the gun and the non-dominant hand to stomach (both actions simultaneously). Once you can do this without thinking, learn step two.
Step two is to rock the gun up and out of the holster, your upper arm should be close to your body, your elbow bent, and your dominant forearm and pistol perpendicular to your body. This is pretty close to the idea of the “speed rock” as you can fire from this position if needed, (and your non-shooting hand is safely away so as not to get shot). I have seen several teach the “speed rock” draw for contact distance shooting by having the shooter (defender) lean back at the waist as they draw. Personally I dislike the backwards lean as it brings you off balance, and with a charging or aggressive attacker could end up with you being knocked down.
Step three involves bringing the gun forward and upwards to establish your shooting stance. At the same time you are bringing the gun forward, you are also bringing your support hand to the gun also. It is very important to move the support hand TO the gun by moving it faster and coming in from behind rather than moving the gun to the support hand. You do not want to muzzle your non-nominant hand (especially in the stress of a lethal force incident).
Once you master each step separately, combine them and practice them in sequence. In the beginning it helps to call out each step and perform them separately, but consequtively. Step 1, Step 2 Step 3…. Gradually speeding up and dropping the act of calling out each step. A tip I used was that each morning as I donned my holster was to perform three perfect 3 step draws slowly with an emphasis on perfect technique. Each night as I doffed the holster, I repeated the action with here more perfect draws.
Over time you will notice an ease of action that only comes through practice.
One last tip is that while there are several incidents that may cause for a “quick draw”, there are no reasons to perform a “quick reholster”. ALWAYS HOLSTER RELUCTANTLY, after scanning for threats and ensuring there is no longer a need for your handgun to be out.
