How to Make an Easy Tin Can Stove

How to Make an Easy Tin Can Stove


How to Make an Easy Tin Can Stove
Buy at Amazon

Today we are going to show you how to make a tin can stove, this type of stove has been around about as long as tin cans have been created, but it reached its peak of popularity during the great depression.  Now its popularity is mostly with frugal backpackers and girl scouts, as a matter of fact, the majority of comments I have gotten were from former scouts telling me how hot this stove can get…

I first learned about this stove at a vacation bible school camp at the Tennessee Baptist Children’s home in the 80’s, and while this was a fun project, I never thought much about it until I began chronicling my journey to learn how to improvise, adapt, and overcome in a catastrophic disaster situation.

Personally, I feel that this stove has some pretty severe limitations, its extremely hot, has little in the way of regulating heat, and its heating surface is small.  However, as a way to begin to find new ways of using old things, up-cycling, or making a MacGyverism, this stove is a good way of exercising your mind.

That being said, here’s How to Make a Tin Can Stove

Materials:

  • #10 can (empty of course)
  • Multiple tuna cans (also empty)
  • Cardboard (lots of strips as wide as the tuna can is tall, you’ll need a lot more strips than you think.)
  • Paraffin Wax blocks
  • Wick (I did not include this in my video, but it makes lighting the tuna cans a lot easier.)

Tools:

  • Tin Snips
  • Can opener
  • Double boiler
  • Matches
  • Razor or study scissors for culling cardboard
  • Gloves and other appropriate safety equipment

Procedure for stove:

  1. Using your can opener, punch air holes around closed end of can.  (a tip from MM in Jackson – don’t punch any air holes in the side you will have toward you, so that smoke doesn’t blow toward you)
  2. Using tin snips cut a rectangle opening at open end of can, large enough to allow a burning tuna can to be pushed into, and pulled out of the stove.

Optional: use a metal coat hanger to fashion a damper on the stove opening using the scrap metal from cutting your opening

Procedure for tuna can burner:

  1. Cut cardboard long cardboard strips as wide as your tuna can in tall.
  2. Tightly roll the strips into a small spiral.
    1. A piece of cotton wick inserted into the center of the cardboard helps in lighting the burner later.
    2. If you need to add more strips, overlap the end of the strip coming off the spiral with a new piece of cardboard so that it stays together on the roll.
  3. Insert the spiral into the tuna can.  This works best if the spiral is slightly larger than the can so that you must force it to fit.  The more corrugated cardboard you can force into the can, the less wax you will need, and the fire will burn longer and hotter.
    1. If needed, you can force additional cardboard strips between the can and the spiral of cardboard.  This is not easy, but it makes everything work better later.
  4. Once you have made as many burners as your hands can stand (I can make about 6 before my arthritis makes me stop), melt the wax using a double boiler.
    1. You should never heat wax over a direct source of heat, as it may flame up.  If you do not have a double boiler, use a large pot of water, with a smaller pot nested inside.  The wax is placed in the small pot and is melted by the regulated heat of the water instead of the heat from the stove eye.  This is much safer.
  5. Once the wax is melted, line the tuna cans up side by side and carefully fill them with wax.  It takes a surprising amount of wax to fill the cans, especially if you did not fully pack the cans with cardboard.
  6. Let wax cool.

Procedure for using stove:

  1. Only use this stove outdoors, it is burns hot and with a lot of smoke.
  2. Place the stove on site that will not burn or be damaged by high heat.
  3. Light the tuna can burner and as soon as it flames place it inside the stove.
  4. It will only take a few seconds for the closed end of the can to reach cooking temperature, so don’t touch it once the burner is inside (I learned this the hard way).
  5. Using a skillet is best, but you can cook things like hamburgers directly on the stove.  It is too hot to cook things like eggs.
  6. Once cooking is complete, you can remove the stove and extinguish the burner.
  7. I flip the burner upside down and smother the flame so I can reuse the can, but you could smother it with dirt.  Don’t douse it with water, or the hot wax may explode with some force and spray you with hot wax.


Best Survival Firearms: How to Choose a Firearm for Catastrophic Disasters

Best Survival Firearms: How to Choose Firearms for Catastrophic Disasters


Best Survival Firearms: How to Choose a Firearm for Catastrophic Disasters
Buy At Amazon

I want to talk about selecting firearms for catastrophic disasters because the Shepherd School, and the Dave’s Homestead website were originally designed strictly for firearm training.  I did it that way on purpose.  At that time, I felt it was my calling to help train citizen to be able to protect themselves and their families from predators (mostly the two legged kind).

When I started I was still working in the prison and the reality that evil exists was constantly being shown to me.  When I began working in emergency management, I grew a softened approach.  I have seen the other side of people working together to help each other also exists.  I also find that people have the capacity to deal with hardship in either generous and positive ways or negative violent ways depending on the situation and the resources they have available.

Prepping, and living the prepper lifestyle is now starting to become more popular, just like the old “back to the land movements”, but survivalism and survivalists still carry negative connotations.  I don’t understand this as they are basically the same thing.  People that take extra time to build additional resources and skills as a safety blanket or insurance policy.  This idea was recently discussed on an email group I belong to.  Basically they said that a “prepper” WAS a “survivalist without the guns”.   I tend to agree with that, since to me I don’t care as much WHY I’m stuck in a disaster and to the fact THAT I’m stuck in a disaster.

Disaster Preparedness is More Than Just Buying Guns

One thing I am adamant about in the disaster prep world is that anyone that has all guns and no food is setting themselves up for murder…  I will say that again.  Anyone that believes that a large scale disaster is possible and takes time to prepare for it, and does so solely by buying firearms and ammunition is either consciously or unconsciously stating that if the manure ever flies they are going to use their guns to take food from people without guns.  Those people are the reason people like me spend money on weapon preps.

Personally, I love guns, but at this stage I would rather buy a $500 country living grain mill, or a $600 honey extractor than another AR-15 upper.

But that’s because its our households theory to prepare in depth and balanced.  We don’t have top of the line anything until we have quality everything…  Meaning, you first have to have 72 hours of gear, food, light, heat, first aid, and defense – Get the bare basics.  Then get a month of gear – better quality.   I’m not going to spend 4 or 5 grand on a Generation 4 night vision scope to sit on a $3000 dollar M-14 rifle if the only food I have is two cases of Ramen noodles.  However, I am not going to try to protect a year supply of freeze dried food with a whistle and a rubber slingshot either.

Weapons Do Have a Vital Role in Disaster Preparedness

That being said, weapons – especially firearms, do have a place in a prepper’s lifestyle.  But these firearms need to be chosen with the same care we spend on making sure we get the best quality storage food for our money.  We have to compare quality, price, our needs, our wants, and all the added costs to get a firearm that works in our program.

A Gun Needs to Always Go Bang When Needed

To me the most important aspect of a gun is reliability.  I know that if I have to use my firearm in a emergency it’s a BAD DAY, and since the statistical probability of a BAD DAY is low, I don’t want to tempt Murphy with a firearm that cannot shoot 3 rounds in a row on the range without a malfunction.  Get a gun that goes bang every time with NO exceptions.  Cool guns with neat little stories or exotic ammunition is cool to show your buddies, but a disaster gun needs to be practical and reliable.

A Survival Guns Needs to Be Fed Common Ammo

The next is that it needs to shoot ammunition that is common.  That means something you can get at the local hardware store or Wal-Mart.  Adoption by our military or police is also a good sign that it is a common round.  That means 22lr, .38 spl, 9mm, .40, or .45 acp, 12 gauge, .223, .308, 30-06 and the like.  We can debate all day long that 10mm or .38 super is the best round for handguns, or that nothing beats a .35 whelen for hunting big game , but if you cannot find any ammunition then your firearm is a unwieldy club.

The Best Survival Gun Is Big Enough to do the Job

It needs to be big enough to do the job, that means at least .38 in a handgun, and .223 in a rifle, and some would consider these to be marginal.  While it is true that nobody likes to bleed, and a .22 can kill, I don’t want to have to face off a desperate and starving biker gang with a .22 pistol.

It needs to be cheap enough that you can afford to fit it in your budget, along with ammunition, needed accessories, and training.  While I pine over a Barrett M98, it costs more than my last two cars, rounds cost about $2 a shot, and I don’t have a single place to fire it.  I don’t own any truck or any gun I am afraid to get muddy and scratched.  I don’t beat up my tools, but I bought them for work.  If your gun is too pretty, or too costly to use, then lock it up and buy something else that you will use.

Few items in a prepper’s kit is as personal as their choice in (or even to have) firearms.  Its worse than ham radio guys and their gear.  I am not going to tell you what to get, but if you buy something you can afford, that you will train with, and that you have put some thought into, I am sure you will be fine.

But, just in case you are wondering.  We went with common guns that most “gun-people” have, and instead of buying different brands, we have stuck with buying multiples of the same make/models for redundancy.  Of course, once you have one of each, guns go back on the bottom of the list until you are buying multiples of the wheat grinders and radios…

Our Picks For the Best Firearms for Catastrophic Disasters

  • .223 AR-15 with many magazines
  • 12 gauge Remington 870
  • 9mm Glock 19 with many magazines

Of course we do have some revolvers, 1911’s and a odd WWII bolt gun here and there…

And for the true gun guys and gals….

5 Essential Tools for Preppers

5 Essential Tools for Preppers


Youtube Prepper Tag
Buy at Amazon

I didn’t know it, but apparently I was playing YouTube Prepper Tag, well at least someone thought I was playing and tagged me to produce a video of 5 things I thought every prepper, and especially a new prepper should have.

That was easy, the hard part was to then tag 5 other preppers on youtube to do the same.  Its kinda like a pyramid prepping game, it only gets larger.

I tried my best to keep it simple and stay away from the “I’m cool, look at my stuff videos”.  I wanted 5 items that almost everyone can afford, or already has (and in some cases, had BETTER already have).

5 Essential Tools for Preppers

  1. The grey mushy thing inside your brain housing group.  An especially its ability to
    1. Keep calm in a disaster
    2. Process information to find the best solutions to hard problems
    3. Recall previous information stored inside.
  2. Reference Material – Lets face it your grape has a limited storage potential, and there is only so many hours in a day to learn new skills.  Having a good reference library can really help when your faced with situations you have never dealt with before.  Now I don’t want to, nor do I want to be the patient of someone that has no medical training and is performing an appendectomy using a candle, a pocket knife, and the book “NATO Emergency War Surgery”.  BUT…. I would grab a vet book to learn to tube feed a newborn goat.
  3. People – Well, good healthy relationships with people.  I don’t care how strong, smart, and prepared you are, you cannot spend all day working at the labor needed to survive a catastrophic disaster and the run a LP/OP all night every night for very long.  Nobody is totally self sufficient, and we all need help.  You should find trustworthy people now, and build those relationships before you need them.
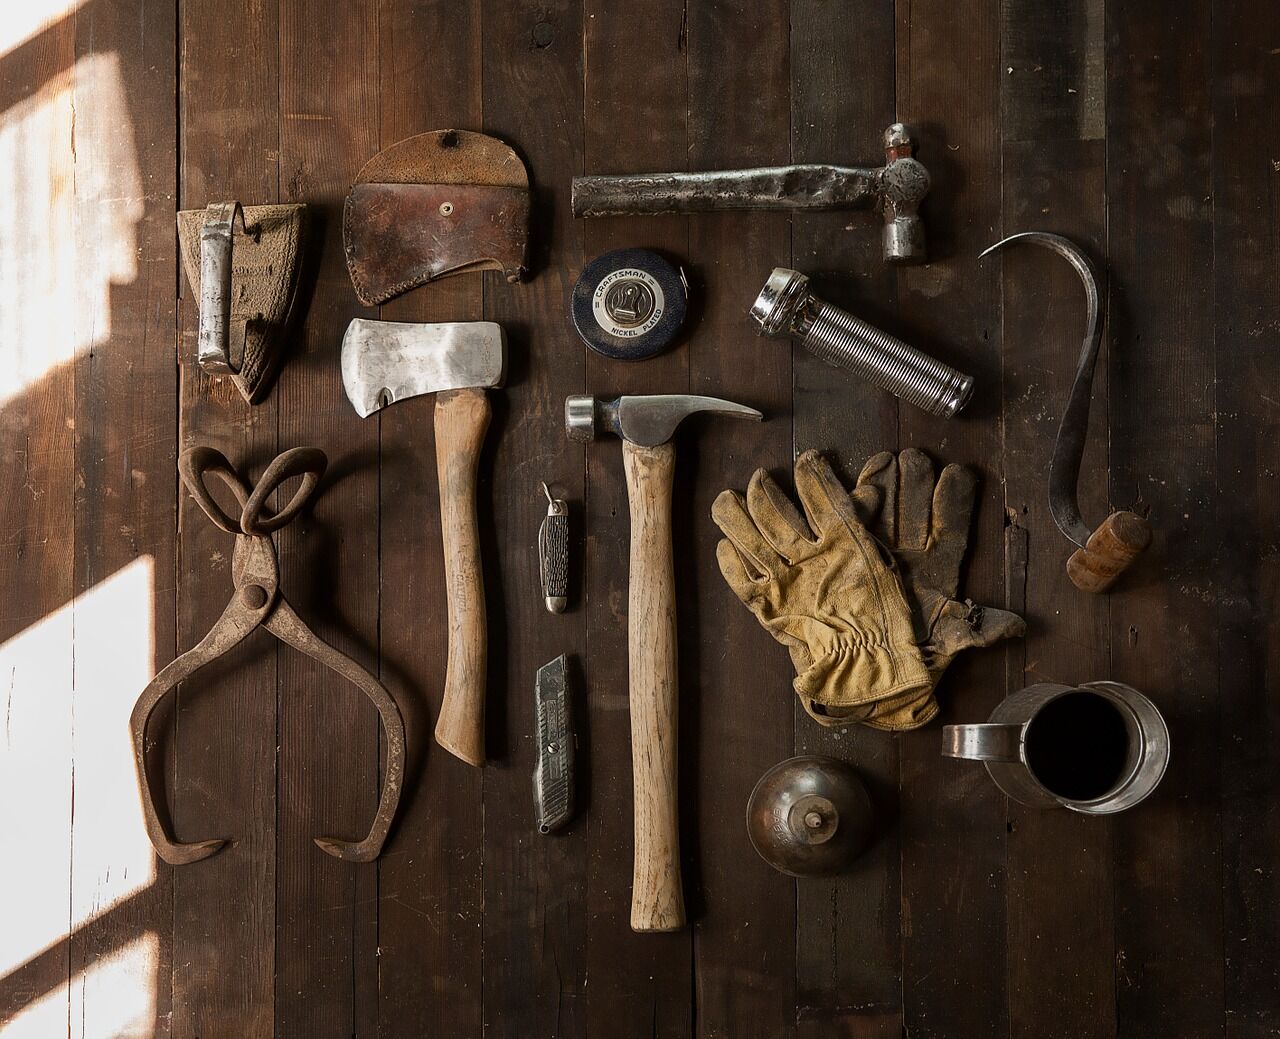
  4. Tools – Hand tools that do not require power.  Not just the typical hammer, saw, and wrenches, but homesteading tools like wheat grinders, churns, presses, and anything else you can think of run by hand and not current.  Even if you cannot use it, you can barter it for things you do need.
  5. Guns – I don’t advocate playing Rambo, or indulging in a Walter Mitty fantasy, but if your living in a failed state due to a cataclysmic disaster, your going to want at least one reliable firearm and copious amounts of ammunition.

Now, so you still have a reason to watch the video, I’m not going to tell you who I tagged, or why, but I will tell you some of them are pretty well know, and the rest have some pretty awesome videos that should not be overlooked.

How Much Water Can You Get From Snow?

How Much Water Can You Get From Snow?


How much water can you get from snow?
Buy at Amazon

I recently did a little experiment during our winter weather.  The premise was, if we were to lose utilities from an extended amount of time (or I was lost outdoors) and I needed to melt snow for water, I needed to know how much water can you get from snow.

I have heard and read that it takes a lot of snow to make a decent amount of water, and that you should always melt the snow rather than eat it frozen.  This is so you don’t risk hypothermia using our body heat to melt it.

My problem was, that when the snow was new and powdery, I spent much of my time trying to figure out how to get to work and did not think about experimenting until things stabilized and the snow was melting.

The snow I used was starting to get slushy so my yields were higher than I expected, but the video below shows why even with “perfect” snow you should store water instead of planning on melting ice and snow.

It just isn’t energy efficient to try to melt snow, and your sure should never try to eat snow for water  – storing water is just too simple to do to have to resort to last minute efforts like melting snow for water.  If you want to know more about storing water, we have a water storage post that makes it simple.

Now you see that the question is not How much water can you get from snow, but rather why don’t you have other options.


How to Make Homemade Honey Butter

How to Make Homemade Honey Butter


Homemade Honey Butter
Buy at Amazon

This is a simple recipe for homemade honey butter does not quite make it into the storage meals category because its a condiment, and fresh butter really isn’t a part of my food storage larder.

However, condiments are important, and your going to need something besides plain beans, rice, and bread if your going to eat from your larder long term.

Remember you don’t want to deal with the stress of changing your diet if you are dealing with the stress of a disaster, so nows the time to store what you eat and eat what you store.

While this is not “food” per se – it does have a good amount of calories, nutrients, and most importantly it tastes great and can make bland foods much more appetizing.  This recipe is so easy, and the results so spectacular, that I make homemade honey butter quite regularly, and have been known to adapt other ingredients to the recipe to make berry butters or herbed honey butters.

This recipe is simple, and below:

Ingredients:

  • Stick butter
  • Honey
  • Cinnamon if desired
  • Vanilla extract if desired

Procedure:

  1. Warm butter to room temperature.
  2. Add honey, the more you add the more liquid and browner your butter will be
  3. Add cinnamon and a few drops of vanilla if desired.  Its not needed, but I like it.
  4. Blend until combined.
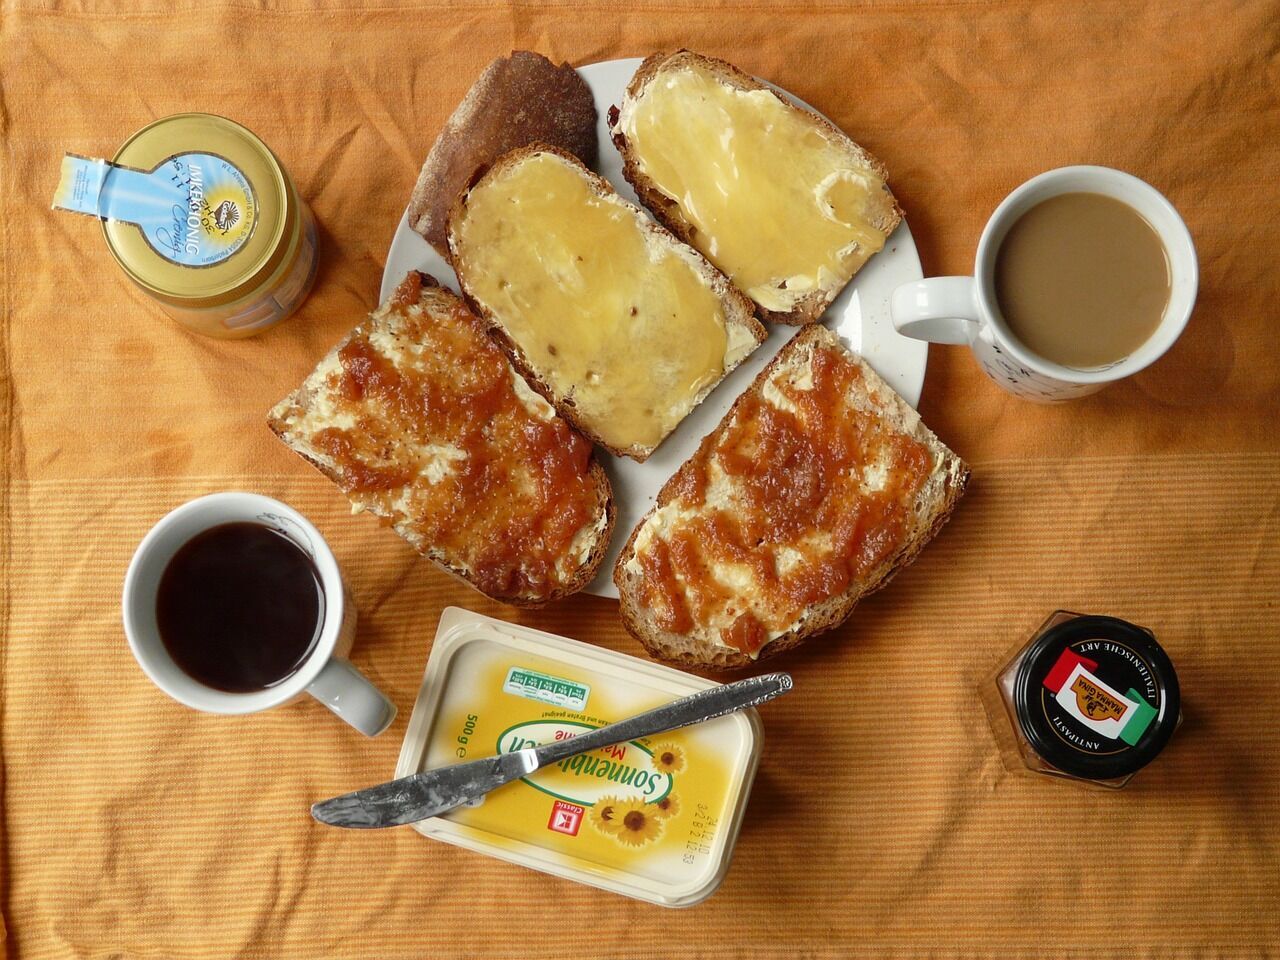
  5. Eat, preferably on warm homemade bread.