How to Make and Test Improvised Pyrotechnic Ignitors

How to Make and Test Improvised Pyrotechnic Igniters

How to Make and Test Improvised Pyrotechnic Igniters
Buy at Amazon

Improvised pyrotechnic igniters are awesome. Heck, any kind of legal pyrotechnics is awesome. The only thing that comes close is eating bacon wrapped jalapenos while your hot wife rubs your feet while you watch a John Wayne movie.

Since few things are better than shooting fireworks, especially fireworks you made I want to share with you how I make improvised different improvised pyrotechnic igniters for fireworks and campfires.

The first time I saw electrically initiated fire I was at a Boy Scout program at the state park my father worked as a ranger.  The Scoutmaster set up a couple of igniters in some accelerant and made the campfire ignite remotely.

It was magical to see someone wire a bunch of tiny little wires to a radio receiver and later press a button and cause a huge fire to “whoosh” into existence. From that point I was hooked.

The adults were smart enough to keep me from knowing too many details at the time.  However as I grew up I came to understand I had a fascination with the “whoosh” of making things burn.

These are Not Blasting Caps

This is a pretty cool think to know, its not likely to be missused because this is not a blasting cap.  Consequently, it is not going to help a terrorist make a bomb.  It will, however, make a boy scout at a jamboree happy as the campfire magically lights.

The DIY igniter videos below show several types of electric matches.  I use different systems like Nichrome wire, steel wool, and bits of thin copper wire.  Additionally I use matches and homemade nitrocellulose lacquer (that I extracted from ping pong balls).  Since they are improvised they don’t work quite as well as commercial squibs, but they do work.

Now as a prepper, what I can do with pyro and stay legal is limited. Most homemade fireworks are for entertainment only if you want to stay on the right side of the law, but some skills are transferable, and I am sure that with a little thought a smart person could find a use for these DIY igniters.

Personally I think they would work good with black powder mortars, but I am still fighting with the wife for a cannon for Christmas.

I include videos on testing some of the setups.  You need to be certain they work well before you attach them, because a hooked up igniter that does not ignite on command is dangerous.

If it has a delayed activation that occurs while you are around the pyrotechnics then you can die.  It is not the dying that is bad, its the fact that it will HURT the entire time you are dying.

TEST a few of the igniters in every batch before you use them.

How to Make and Test Improvised Pyrotechnic Igniters
Buy at Amazon

Especially if the igniters are improvised.  As you can see in the videos, I had a batch batch had a bit of a delay. That was because I used copper wire as an electrical bridge rather than the more effective Nichrome wire.

This means it took longer for the wire to heat and ignite the compound.

Knowing that the igniter has a delay is important,  However, because of it, I would not use this in any type of public display.   An ignitor like this would work better for lighting a fire like I mentioned in the original post.

There are many ways to make these igniters, and any search of a rocketry club will show you how.

Without any more talk here are three videos showing the construction and testing of various styles of improvised pyrotechnic igniters


Boxing Reflex Ball Review

Boxing Reflex Ball Review


Boxing Ball Headband Review
Buy at Amazon

I have been thinking about buying one of these boxing reflex ball headbands for a few months.  When I was WT’s age I did not do a lot of sports and never built up my hand eye coordination when it was easy to do.

I have even plotted to make my own with a tennis ball, cord, and a hat, similar to my camera hat setup.

So when Cicloop offered to let me try out their Boxing Ball on String I could not resist.

I must say, WR has had a hard time with this ball.  He is getting better.  But more importantly he enjoys it, and his mother thinks it is hilarious.

This set comes with a lot for the $12 price:

  • Silicone headband
  • 2 Boxing balls (different skill levels)
  • Spare elastic cords (2)
  • Boxing handwraps (2)
  • Carry bag to keep them altogether.

The goal is to improve hand-eye coordination with this boxing ball set.  The elastic band is supposed to be set at the length of the user’s arem and tied with a bowline.  I should have cut the cord after I set it to WT’s size.  However, I wanted to try it myself so I just wrapped it aroound the strap.  It looks funny in the video, but that is because I choose not to follow instructions.

Apparently I should have read the instructions as the balls were weighted differently to give two levels of difficulty.

I used the heavy ball, when I probably should have used the lighter one.


How to Make Chocolate Milk: The TNTell Method

How to Make Chocolate Milk: The TNTell Method


How to Make Chocolate Milk: The TNTell Method
Buy at Amazon

William (he calls himself TNTell the YouTuber) came to me while I was working on my website and was so excited that he made his own chocolate milk without asking for help (he says he can do that because he is 6).  He said he wanted to make a video on how to make chocolate milk.

I thought it was funny as he had chocolate all over his face and the timing was suspicious as his mother had just left for the gym.

He said it was okay because he was practicing to make a video for his channel.  You ought to check it out.

With that logic I guess we had to go ahead and make a video.

I think that it wasn’t all about the chocolate, I have been kinda busy working on the site, and I think he wanted some Dad time.  He asked on Monday if we could have a father son dinner (but he allowed his mom to come).

His timing turned out to be perfect, he had it made and the mess cleaned up right when his mom got home.

She took one look at his mouth and reminded him she told him he couldn’t eat anything while she was gone.  Luckily he pointed out that drinking was not eating.

I am in so much trouble.  I am creating a free thinking trouble magnet.  After all, that was my plan from the day he was born.

Kitchen Knife Safety Tips: How to use Knives like a pro

Kitchen Knife Safety Tips: How to use Knives like a pro
Buy at Amazon

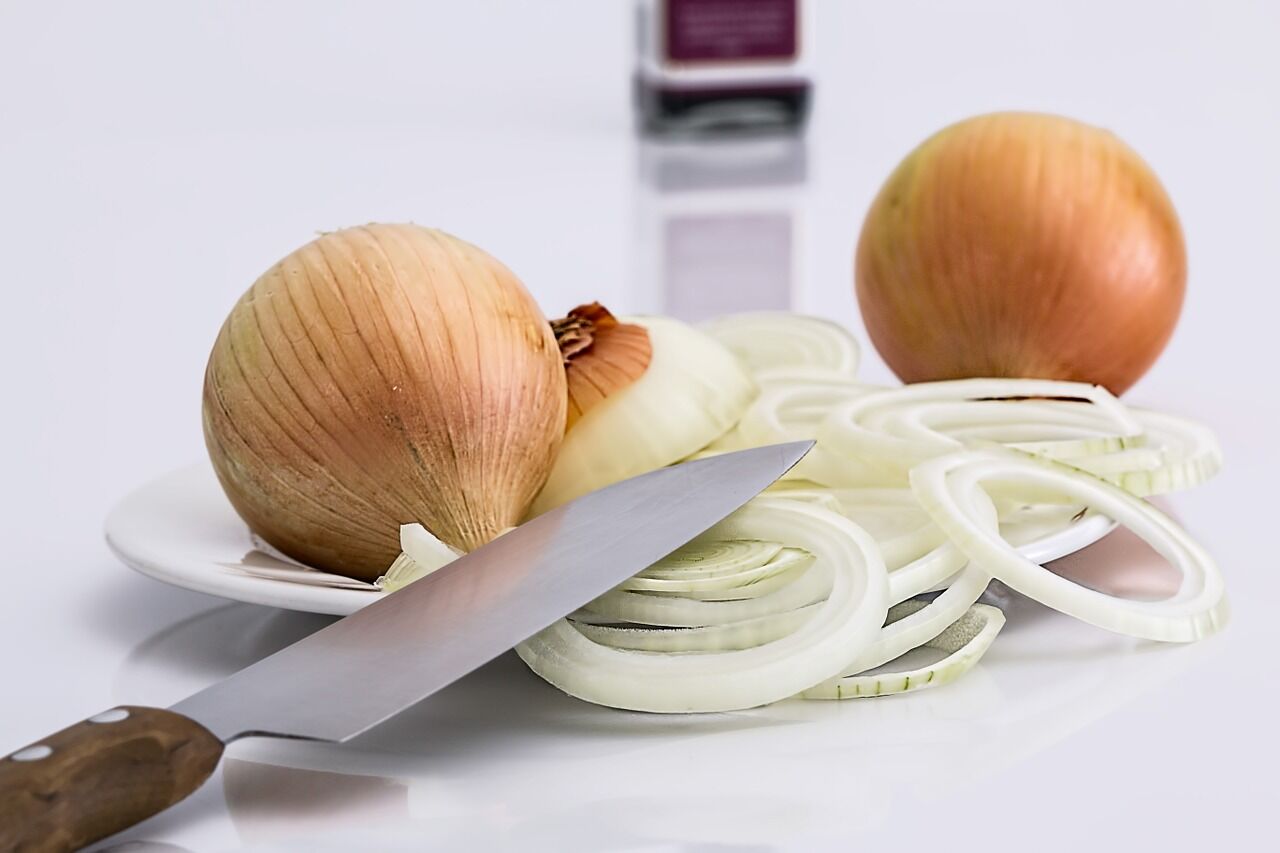
One common item that you will find in every kitchen is at least one knife. There are different kinds of knives in cutlery sets, and each particular knife has a different function altogether.  Popular kitchen knives being boning knife, bread knife, chef’s knife, but there are other specialty kinds also.

Similarly, you will find different pocket knives as well that can easily fit in your pocket and have more than one blade. Some of the best pocket knives include Tac Force TF-705S assisted opening and Case Mother of Pearl Mini Copperlock. Though there are different knives available for different purposes.  Most safety tips for all types of knives are the same. A person needs to have some proper training in order to ensure that there is no risk of injuries while using a knife.

Below are some of the best kitchen knife safety tips so that the use of knives becomes completely safe and you are able to use a knife just like a pro chef.

A Sharp Knife is the Best Knife

You may not believe it but most of the injuries that occur while using a knife is when you are using a dull knife. Thus it is always advised that one should use a sharp knife for whatever purpose the knife is being used. Whether it’s a kitchen knife or a survival knife, a sharp knife is the best one.

When you are using a dull knife, you tend to apply more force so that you are able to cut properly. In doing so, there are chances that the knife may slip and increase the likelihood of an injury. It is advised that a knife sharpener should be used in order to maintain the original knife blade.

Use Different Knives for Different Jobs

Not all knives are the same and not all tasks that you do with a knife area same. For a different purpose, there are different types of knives available. Hence selecting the correct knife for a particular job is important.  This reduces the chances of any injury and the job can be well executed.

For example, you cannot use a bread knife if you want to cut a large piece of meat.  This task requires a butcher knife for that purpose and vice-versa.

Always Use a Chopping Board

One of the most common mistakes that people do while using a knife is to cut any food or fruit in their hands. There is a high risk involved in it if you are doing so. It is highly advised that no one should cut anything in their hands with a knife. A proper cutting board should be used where all the food and fruits should be cut.

Cutting anything in your hands can increase the risk of injury.  This is especially true if you are using a dull knife. Also one should use a large cutting board so that more space is available.

Proper Storage of Knives

Knives can be dangerous if you leave them around like anything. And if you have children in your house or surroundings, then this should be the last thing that you should be doing. Knives should be kept in a proper designated space so that it becomes easier to use when you need them.

Putting them in a drawer with other cutlery items can be extremely dangerous and should be avoided at any cost. A good knife holder that can hold different types of knives should be used so that accessing them becomes easier. These knife holders also protect your knives from contaminants and increase the age of your knives as well.

Frequent Cleaning of Knives

In order to protect your knives from any contaminants, one should always clean the knives thoroughly rather than leaving them on the cutting board or in the sink. Once the knives are washed, they should be stored properly in the designated space and should not be left around anywhere else.

Also, knives should be washed and cleaned separately from the other cutlery items that are washed. The main reason is to protect the edges of the knife that can be hampered if you are washing it with other cutlery items.

There are some of the tips that can help you to use knives like a pro irrespective of the use. Knives can be really dangerous and using it carefully can help reduce the risk of injuries.

How to Restore Your Rusted Power Tools

How to Restore Your Rusted Power Tools
Buy at Amazon

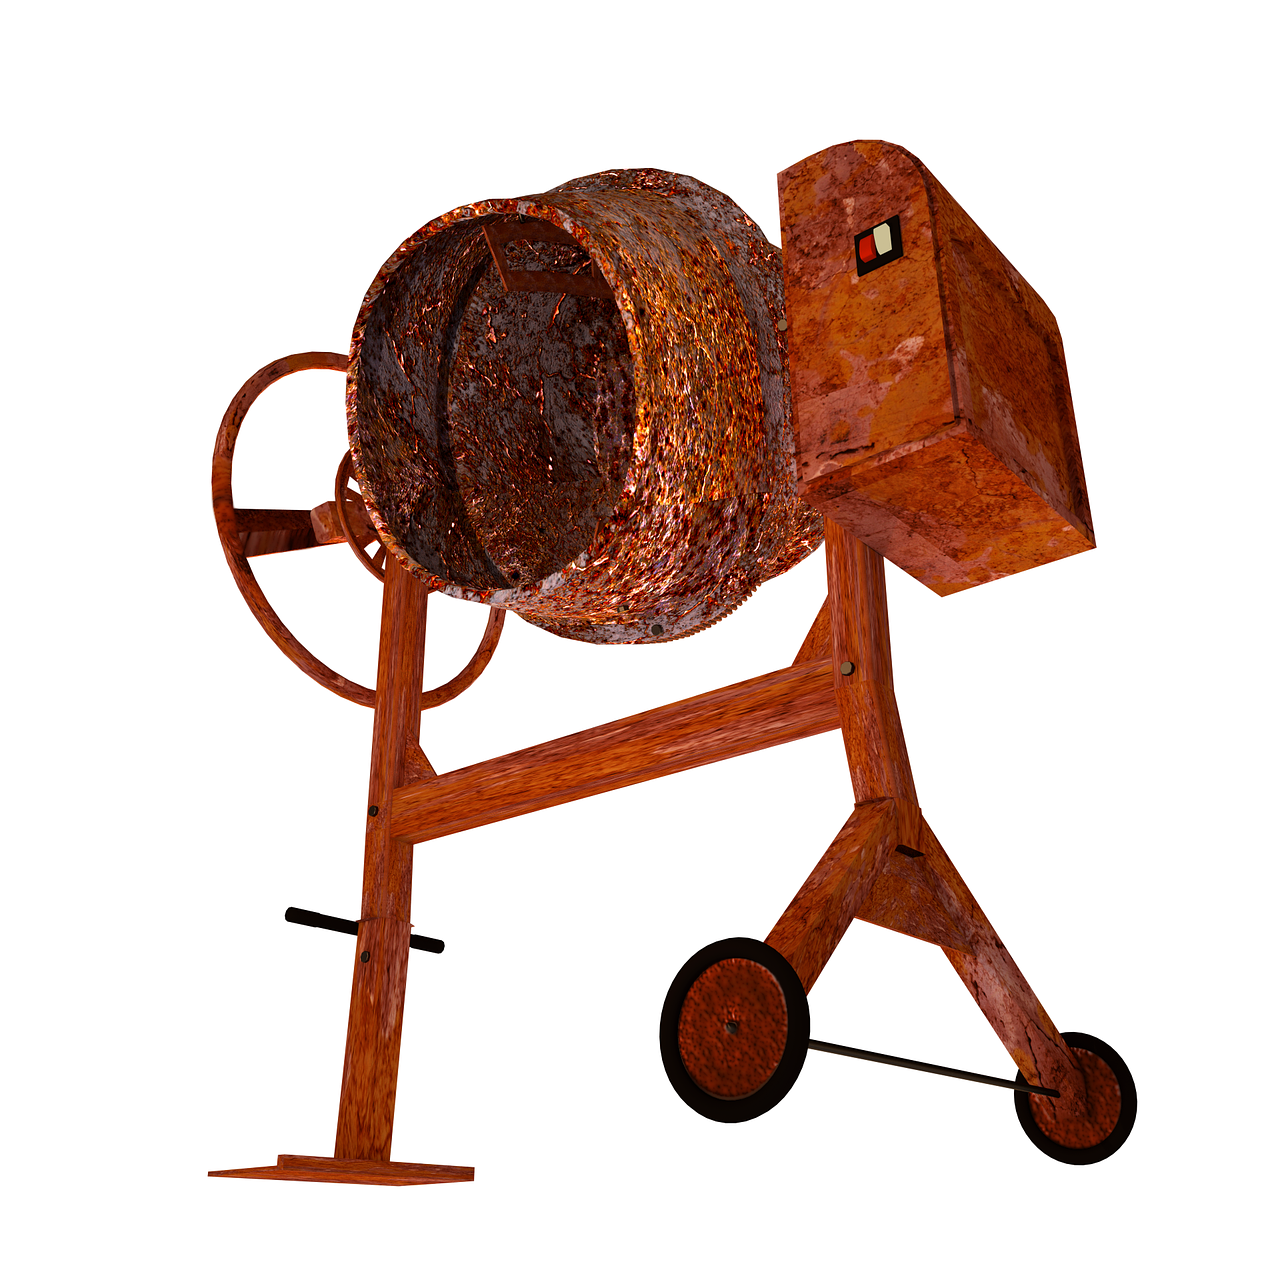
Tools are expensive and if you have a few that have seen better days because of rust, it’s possible to restore your rusted power tools to like-new condition — with some effort. Unlike rust-encrusted hand tools, power tools have both mechanical and electrical components that make safety paramount. The good news is that the right combination of products and methods described below makes power tool restoration easier.

Let’s review the basics.

Restore, Repair, or Replace?

Before removing rust from an old power tool, it’s important to assess it for problems indicating the need for repair, as well as deal-breaker issues that make it more practical to replace it entirely. Chances are that if you purchased the tool new, you know it’s history, but if you’re considering buying a used tool, a comprehensive assessment is even more important.

Here’s a general safety checklist:

• Inspect the tool for cracks in the cabinet or housing
• Check for damaged switches or safety guards
• Make sure rusted blade attachments are solid and can hold a blade securely
• Examine the cord for damage from the point of entry to the tool to the plug
• Check the plug for cracks and missing, bent or broken prongs
• Assess if the tool is double insulated and properly grounded with a three-prong plug
• Look for black streaks near vents that indicate the motor may have overheated

Any of these issues could result in electrical shock. Worn cords can be replaced and old two-prong plugs can be retrofitted with safer three-prong styles, but tools with cracked housings, poor insulation, damaged safety guards and potentially bad motors aren’t worth the risk.

Choosing Rust Removal Products

If there’s too much rust to remove by hand with sandpaper or a wire brush, commercial rust removing solutions or DIY formulas can help peel away layers.

Light rust isn’t hard to deal with.  Try applying penetrating oil like Liquid Wrench® or Kroil® to loosen the tool enough to let you tackle the rest with a scouring pad or steel wool.

For moderate rust, you can try repeated applications of oil and elbow grease, but a rotary tool with a sanding wheel or wire brush will be faster and more effective.

Moderate to heavy rust needs a stronger product.  Consider commercial products including Boeshield’s Rust Free®, Evapo-Rust ®, or Kleen-Strip® have a good track record.

Before buying a product, however, it’s possible you already have the ingredients to make a home-made rust removing spray.

The most popular mixtures are:

• 1 tablespoon of oxalic acid in 1 quart of water
• 1 part muriatic acid to four parts water

If you’re chemical-sensitive or just want to take the safest, most natural route possible, try these DIY rust removing solutions:

• 1 part baking soda to 1 part white vinegar
• 1 tablespoon of baking soda and 1 tablespoon of lemon juice mixed into a paste
Straight Cola — the carbonation plus phosphoric acid are a proven rust-removing duo

Chemicals to Avoid

Petroleum products like kerosene — a popular home rust remover for hand tools — and silicone spray can damage electrical components, so avoid them if you can’t adequately products those parts.

Preparation

Unplug the tool and remove any attached heads, blades, chucks, or bits. If a piece can’t be removed because of a rusted bolt or similar attachment, spray it down with a penetrating oil and let it sit overnight. Tapping on bolts and screws lightly with a hammer after oiling creates tiny openings that help the product seep in.

If it’s still stuck, it’s technically possible to disassemble the tool and cut the attachment off, but in most cases, there’s damage to the surrounding structure that will make it unsafe to reattach. In this case, it’s time to explore a new tool.

Since most rust-busting solutions are acidic and can cause both water damage and corrosion, simple precautions like wrapping cords in plastic and covering switches with tape only take a few minutes and prevent accidental damage. To protect interior components when working close to the head of tool like a drill or sander, make a drape out of a plastic bag. Slip the tool in up to your working area, and then tape it shut. If you can’t keep the interior of the tool moisture-free, consider forgoing chemicals and just use elbow grease.

Finally, drape the floor and adjoining surfaces with drop cloths to protect them from chemical splatter. Assemble safety equipment including goggles, gloves and a mask or face shield, and you’re ready to get to work.

Basic Process for a Rust Removal Solution

It’s important to follow the manufacturer’s instructions for use of commercial products. The following process is general and may need to take into account product-specific recommendations.

1. Remove loose rust with coarse sandpaper or a wire brush. An old paint brush helps clean out nooks and crannies.
2. Clean the surface with soap and water to remove unwanted oils or chemical residues and dry it thoroughly.
3. Apply the rust-removal product of your choice as directed.
4. When the product is done working, scrub the remaining rust away.
5. As you work toward bare metal, move from using wire brushes and coarse sandpaper to finer sandpaper or steel wool to avoid gouging the surface in a way that could compromise how the tool works.
6. When you’re done, coat the surface with rust-inhibiting oil or spray.

Preventing Rusty Power Tools

Everyone’s forgotten a tool in the rain now and then, but rust happens most often during routine storage. Here are some tips to keep your power tools rust-free:

• Dry tools after use
• Spray sensitive tools regularly with a rust inhibitor
• Use moisture removing gel packs or canisters in tool boxes and closets
• Run a dehumidifier in humid climates
• Store power tools indoors
• Bag tools in plastic for long-term storage

Removing rust from metal can be labor intensive, but it’s not complicated. Power tools are an investment, so why replace them when you can restore them?