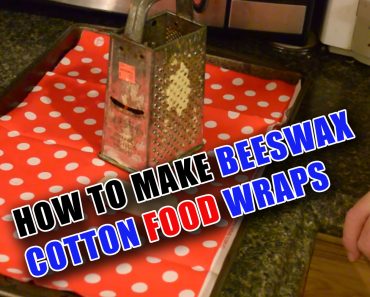
I take a lot of leftovers to work. Normally I use plastic containers or plastic bags to carry them. However, the convenience this gives me comes with the cost of buying the containers. Additionally, I have concerns over BPA and other chemicals in the plastic.
While neither of these concerns alone are great enough (to me) to necessitate a change. I am interested in learning what to do in the event I would not be able to easily buy plastic sandwich bags or cling wrap.
It did not take me very long on the internet to find beeswax cotton food wraps. There are several commercial sites that sell the wraps. I also found numerous websites that also showed how they made the wraps.
One is My Healthy Green Family and alternative method (which I discuss on the video) can be found at DIY Natural.
Since I did not want to dig out the ironing board or my iron (I have an iron for projects and the wife has a clothes iron. Having two saves on divorce lawyer expenses) I choose to use the oven method.
Equipment
- 100% cotton cloth (about the thickness of sheets) – I imagine muslin would work but I used a quilting square cut up.
- Beeswax -I used some from my own beehive, but you can easily find either beeswax ingots or the easier to use beeswax beads in craft stores in the candle making supplies
- Cookie Sheet – Once you get hot wax on the sheet it will forever be useless for baking cookies on – once again I have project cooking utensils and food cooking utensils because I do NOT like being hit about the head and neck with a rolling pin…
- Grater (if using solid beeswax ingots)
Procedure
- Preheat oven to 170-190 – Beeswax is highly flammable and melts between 143 and 151 deg. F so don’t try to overheat it to speed up the process (unless you want to call the insurance adjuster)
- Cut your cloth to the desired size – this is up to you – you can hem the edges or use pinking shears to make a nice edge, but I just wacked at it with an old pair of scissors and was done.
- If using ingots, grate them using your cheese grater. If using beads you can skip this step
Set your cloth in the cookie sheet and lightly dust with the bits of wax – you want an even coat. In the video you see both how much I used, and how stiff the finished product was. In my opinion the amount I used was perfect for wrapping food (sandwiches, vegetables, and the like) – if you plan on using it to replace cling wrap, then you may want to use more wax. - Less wax will let more moisture pass though, more wax make a stiffer cloth.
Put the cookie sheet with the cotton and wax into the oven. 5 minutes will do just fine. Longer may cause problems, so if it is not all melted at 5 minutes keep a very watchful eye. (In the video not all of my “wax” melted – some of it was junk left over from the hives – you should not have this problem using store-bought wax) - After you take the cloth out of the oven – immediately remove from the cookie sheet and hang to cool. It should appear darker – any light spots did not receive as much wax so be on the lookout for this.
- Once cool you can use immediately.
If your wrap gets dirty, you can easily clean it with cold water – don’t use soap or hot water as this will impact your wax.
I hope this helps…