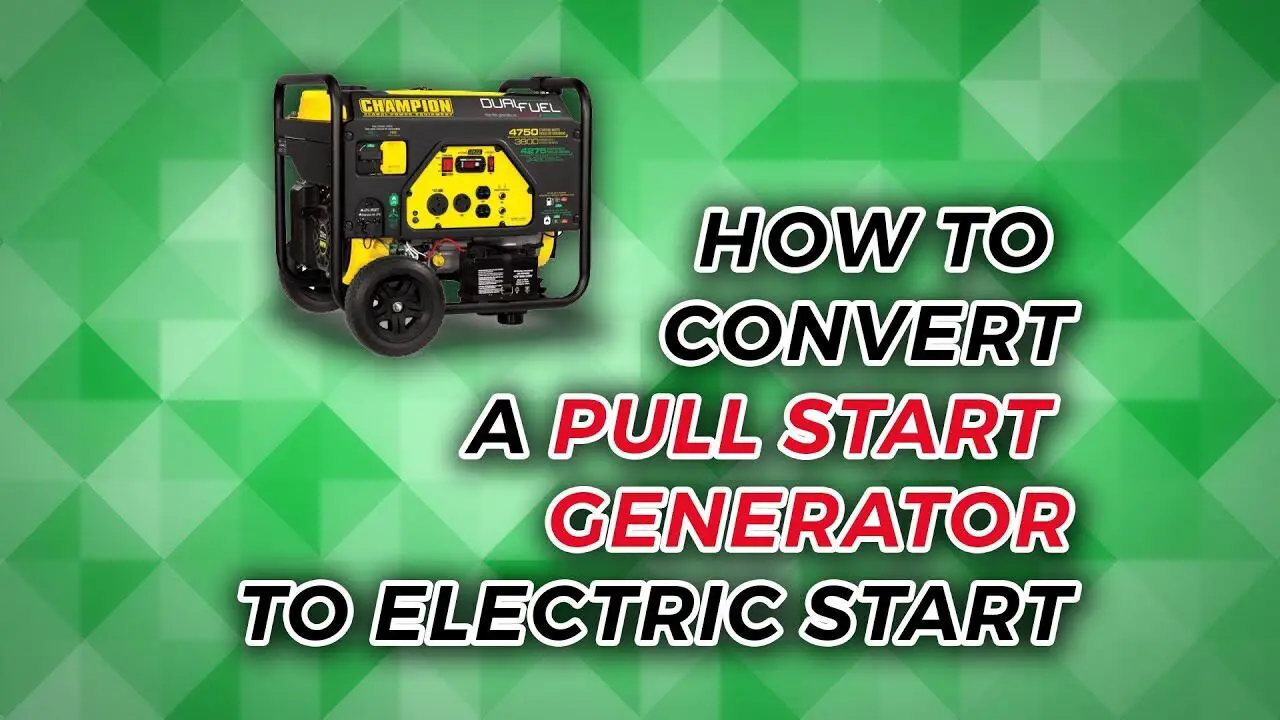
Some of my projects are done “just because”, others are experiments or learning exercises, but some – like this one – actually has tangible benefits. So lets talk about the benefits of converting small engines to propane.
The self reliant gain several advantages when converting small engines to LPG from gasoline. Some tout the ecological benefits, but I am going to focus only on the tangible things that make daily life easier for a prepper.
Easy to Store
Unlike gasoline propane can be stored forever! It is much easier to buy a 20 pound LPG tank and store it in a shed than messing with additives and rotating gas. Gasoline can only be stored for a couple of months and fuel stabilizers don’t work well with ethanol gasoline.
Easy to Refuel Hot Equipment
Propane is not spilled like gasoline when refueling. This makes refueling simpler and safer. You don’t risk a fire when gas hits a hot engine, and you don’t have to wait for the generator to cool – you also don’t have to mess with funnels or other tools. Simply screw in another tank and start the engine right up.
Engines Last Longer
While propane does have less BTU’s of energy than gasoline, so more propane is needed to power an engine than running the engine on gasoline, but less energy is waster when burning propane – the engine run cooler contributing to a longer engine life.
Does Not Gum Up Carbs
Not only does the cooler operating temperatures extend engine life, propane does not gun up carbs like gasoline, nor does it deposit carbon on the piston heads. You get a longer service life on engine oil and don’t have to worry about rebuilding carburetors. As a matter of fact, in my experience when first converting a small engine, you get black exhaust from the propane helping remove deposits.
Is Not Corrosive to Seals and Gaskets
Propane does not absorb water like ethanol fuels, nor is it corrosive to seals and gaskets like ethanol fuels are.
Easy to Transport
Propane in the 20 or 100 pound cylinders is also much easier to transport than the equivalent amount of gasoline.
Next up is how to actually convert an engine using a kit from propanecarbs.com. I also have a post on how to convert your generator to electric start.
Being a DIY’er is a lot like being a gun guy. Any self respecting gun guy has (at one time or another) bought a gun simply because he had either a holster or an odd box of ammunition that he didn’t have a gun for.
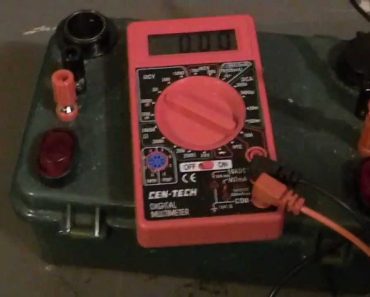
This DIY Battery Pack project is like that. I had batteries, so I needed to do something with them.
Recently I was gifted some sealed lead acid batteries from a hospital. Like smoke detector batteries these get replaced on a time table that does not account for useful life. Sometimes it’s better to spend a little extra than risk a failure of a piece of life safety gear. So now I have three neat little batteries and am compelled to find a way to use them.
Anyway these are small sealed 12 volt batteries. They don’t have enough capacity to do very much useful work by themselves. However, they were fully charged and designed to be recharged over and over.
I figure having a small battery pack would be a lot easier to tote than a dirty car battery. While I am at it, having some inputs like a cigarette lighter socket and some terminal posts would make it even better. Add in some lighted switches and I would have a full fledged project.
Since I had three small batteries I had to decide how to wire them together. I could either wire them in series to make them stronger, or in parallel to make them last longer.
Series
In series you basically wire them end to end. Like in a flashlight where the positive terminal of one battery is in contact with the negative terminal of the next. If you do this then you make one big battery. Three 12 volt batteries wired in series would give me 36 volts. However, they could not last very long. It’s like having three jugs of water and dumping them all out at the same time. You get a lot of water, but it runs out fast.
Parallel
Since I don’t have any 36 volt gear to run, and I would rather get more time I decided on wiring them in parallel. That is running a wire from one positive terminal to the next and running a separate wire from the negative terminal to the next. This daisy chains all the like terminals together. Using the water jug analogy, this would be stacking the jugs on top of each other and poking holes so that each jug fills the jug below it.
Consequently, this gives me the same flow as a single jug, but for a longer time. Running in parallel does not increase the voltage. What is does is to increase the time I have to use the batteries.
What I Needed
I went to the local electronics store and bought some spade connecters. The spades were small enough to fit on the battery terminals. The lugs were large enough to fit two 14 gauge wires. I needed to fit two wires, as each spade clip needed to be wired to the battery before and after it.
ITwo lighted 12 volt automotive switches, two sets of terminal posts, two sets of 12 volt cigarette lighter outlets, and some shrink tube were also purchased.
My plan was to insert a rectifier diode to each end so one set of switches and outlets would be for charging. However I could not find the right sized diodes.
My solar kit has a charger controller with multiple inputs and fuses. I plan on using that in my upcoming projects because it has a built in meter and I won’t have to worry about back feeding.
Any radios I may use with this pack also have fuses on the input wires so I don’t have to worry about blowing them up either. Basically this is just a portable battery with some fancy switches.
Check Before Boxing Up
After I wired everything up, I checked it to make sure it all worked and I didn’t have any shorts. Then I had to find a decent looking project box for it.
I had originally planned on using a metal ammunition can for the project box. After some careful consideration, I decided that putting a bunch of wiring and batteries inside a metal box might not bode well for my homeowner’s insurance.
What I ended up using was a small military surplus plastic first aid kit box. A very sharp chisel lifted the embossed writing and cross from the top of the box. Fine sandpaper made it smooth enough. Rattle can green spray-paint covered up the majority of my mistakes with the chisel.
I then took the appropriate sized drill bits and drilled holes for the switches and plugs. Of course I first made sure everything would fit after installation.
Finally, it was a tight fit, and I had to electric tape the batteries together so I could get them in just the right place to close the box. However, I think that just makes everything easier. Now there won’t be any shifting inside to cause damage to my poor soldering skills.
I will tell you right now, a homemade chlorine battery is not going to be as cost effective as commercial batteries. In the nanny state it is almost impossible to get pure enough chemicals to really experiment. However, I think it is important for the sustainable power types to understand what is going on within their system. This allows them to make informed decisions when they buy their batteries.
In a true grid down collapse, i.e. Mad Max scenario, the ability to make batteries from scrounged materials may come in handy. Now before you get too excited, if you get one volt per battery cell you are doing extremely well.
It will take many of these cells to get any usable energy. This is not a cost effective way to power your home.
In the video we make a battery using a mason jar, copper, aluminum, and chlorine bleach.
Basically, any two different kinds of metal can be placed in a conducting solution and you get a battery. In some schools they still teach an experiment that involves inserting copper and zinc strips into a lemon or a potato to make a battery.
Once you get the basic chemistry down, feel free to experiment. I have seen instructions for making large cells from aluminum soda cans riveted together and inserted into long PVC pipes. Right now I am experimenting with PVC pipe, grounding rod, and aluminum pipe.
If you want to see the procedure to make a chlorine battery, please watch the video.
As promised in the video, this article will discuss the theory of batteries in a little more detail.
This is just a quick down and dirty – if you want more information, you can do an internet search for the following battery types:
- Edison Battery (Nickel Iron)
- Acid, Copper, Zinc
- Salt, Copper, Zinc
- Air, Copper, Zinc
- Acid, Copper, aluminum
- Salt, Copper, aluminum
- Air, Copper, aluminum
The Chemistry in a Nutshell.
Metal atoms are held together by electrical attractions between the nuclei and the electrons around the atoms.
When you place a strip of metal in a glass of water, the water molecules interact with the metal atoms on the surface of the strip. Water molecules are polar, meaning the one side is slightly positive, and the other side is slightly negative. This is because the two hydrogen atoms are not on opposite sides of the oxygen atom, but are instead about 105° apart. The hydrogen side is positive, and the oxygen side is negative.
At the location where the water and metal meet, some of the metal atoms are attracted to the negative side of the water molecules. This attraction allows the metal atom to leave one or more of its electrons behind in the metal strip, and others to move into the water.
Because of this movement of electrons a metal atom is left with a very small negative electric charge. This tiny charge does not pull very much on the metal ion that has left the strip. But since there are huge numbers of atoms at the surface of the metal strip, and an enormous number of metal ions are in the water at any given time the metal strip ends up with a slight negative charge.
Some metals hold on to their atoms more tightly than others.
This means that some metal strips will become more negative when placed in water than others do.
If one metal strip has more extra electrons than another strip of a dissimilar metal, the extra electrons will flow from the first strip to the second, until they both have the same charge and equal each other out. However, before the electrons can flow from one strip to the other, they need a conductive path.
We give them that path when we connect two strips of different metals with a wire. The electrons then flow through that wire, creating an electric current.
Acid Batteries (we will use copper and zinc as an example)
In the case of the copper and zinc strips, the copper holds onto its atoms more strongly than the zinc does. That means the zinc strip is more negative than the copper strip. The electrons will flow from the zinc to the copper.
When the forces are eventually balanced, the copper strip ends up with more electrons than the zinc strip. The zinc strip now has fewer electrons, and it cannot attract the zinc ions back to the strip.
If our battery just had water in it that would be the end of the battery. This battery has water plus an acid. An acid has an easily detached hydrogen ion. (in the video I mention about ionic solutions). Hydrogen ions are positive, and the remaining part of the acid becomes negative when it loses the hydrogen ion. In a battery made with soda (phosphoric acid) you would end up with phosphate ions – in a vinegar battery (acetic acid) you would have acetate ions left.
When all of those positively charged zinc ions bump into those negatively charged phosphate/acetate or other acid ions the phosphate ion is more strongly attracted to the zinc ion than to the hydrogen ion.
The positively charged hydrogen ion is attracted to the copper strip
The positively charged hydrogen ion is attracted to the copper strip, because the copper strip has the extra electrons, and is thus negative (opposite charges attract).
The hydrogen ions attract the electrons from the copper, and become neutral hydrogen atoms. These join up in pairs to become hydrogen molecules, and form bubbles on the copper strip. Eventually the bubbles become big enough to float up to the surface and leave the system entirely. (which is why you vent batteries to keep the explosive hydrogen from collecting)
Now the copper strip no longer has the extra electrons. It attracts more from the zinc strip through the connecting wire, as it did when the wire was first connected.
The copper ions next to the copper strip are not as attracted to the strip as they were before. The hydrogen ions keep taking the electrons that attracted the copper ions. So those ions are free to move through the liquid.
At the zinc strip, zinc ions are being removed, leaving extra electrons. Some of those electrons travel through the wire to the copper strip. But some of them encounter the copper ions that happen to bump into the zinc strip. Those ions grab the electrons, and become copper atoms. We can see those atoms build up on the zinc strip. They look like a black film, because the oxygen in the water combines with the copper to form black copper oxide. (Electroplating anyone….)
Eventually, all of the zinc is eaten up, and the copper and copper oxide falls into a pile beneath where the zinc strip used to be. The battery is now dead, and no more electrons flow through the wire. If there was not a lot of acid in the water, the acid may have been used up first – leaving the metal. (int the video we mention this by saying the stronger the bleach solution the stronger the battery but the shorter time it will last)
Salt Batteries (Air Batteries)
When you use a salt solution instead of acid in the water you have a different chemistry.
Salt breaks up in water to make positive sodium ions and negative chloride ions. These ions reduce the energy needed for water to split into hydroxide ions (OH-) and hydrogen ions H+ (the hydrogen ions quickly find another water molecule and create hydronium ions, H3O+).
At the zinc strip, the zinc ion combines with four hydroxide ions to form one ion of zincate (Zn(OH)42-), leaving two electrons behind on the zinc strip. The chlorine ions from the salt then combine with the hydronium ions leftover when the hydroxide ions were taken away by the zinc, and form hydrochloric acid.
Over on the copper strip, four electrons combine with oxygen dissolved in the water and two molecules of water to form four hydroxide ions. The sodium ions from the salt combine with these hydroxide ions to make sodium hydroxide. (This is the chemistry behind the 12 volt chlorine generator from an earlier video)
The hydrochloric acid and the sodium hydroxide combine back into salt. So the salt is merely in the picture as a way to move charges through the water. It is not used up.
We can summarize what happens at the zinc strip (called the anode)
Zn + 4OH- ⇒ Zn(OH)42- + 2e-
4Cl- + 4H2O ⇒ 4HCl + 4OH-
Zn(OH)42- ⇒ ZnO + H2O + 2OH-
At the copper strip (called the cathode) we have:
O2 + 2H2O + 4e- ⇒ 4OH-
4Na+ + 4OH-⇒ 4NaOH
A zinc-air battery gets its name from this reaction
The oxygen from the air is combining with the zinc.
The copper electrode is just there to conduct the electrons, and does not participate in the chemistry. It can be replaced with a carbon rod.
You may notice that after a short while, the oxygen in the battery is used up, and the current (and thus the brightness of the LED) begins to drop. Stirring the salt water helps to put more oxygen in the water, and the LED gets bright again.
Source:
They had the best explanation of what is happening and I took a lot of their information to write this as their way of explaining was a lot easier to understand when I contrasted the two. (I guess that means they understand the process much better than I do). If you have kids with an interest in science I recommend visiting their site.