Canned Bologna Review


Gear Review: Canned Bologna
Buy at Amazon

Canned Bologna is something that I saw on a Facebook video and thought “no, it can’t be” and then forgot about it until I was coming back from the land and had an impulse to run into the dollar tree and see if such a thing really existed.

Once I got it home I stuck it in the food storage pantry until I had a urge to try it out.

Yes Canned Bologna does exist, and yes, it is not as good as regular bologna, but it is edible, it is cheap, and it does store well so  think it has a place in a food storage plan.

It is not sliced, is pretty salty, and is made of mechanically separated chicken, which means the left over chicken carcass was ground into a paste and shot through a fine metal sieve to catch all the solid bone bits – which is not appetizing but it is how bologna is made…

At least the ingredient list for Canned Bologna is short and rather simple.

It is better cooked, but not easily sliced equally.  I think sliding it out upside down and using the can as a spacer to slide the knife may get you equal slices – or not – I didn’t want to waste time trying.

Book Review: Kiln Construction

Kiln Construction

Book Review: Kiln Construction
Buy at Amazon

Kiln Construction can be a daunting prospect, with the potential for numerous missteps along the way.

This book aims to give confidence to those who seek to build their own kilns. Kiln Construction is a user-friendly guide that offers a thorough grounding in the basics of construction and also in-depth examinations of three kiln types—gas, oil, and woodfired—with diagrams and photos showing every step in the process.

These designs have been thoroughly tried and tested and are in regular use by well-known potters. Comprehensive information on methods, materials, fuels, and kiln furniture is provided as well.

Emphasizing practicality at every step in the process, this book will aid potters who are ready to build their own kilns and wish to gain both a greater understanding of kilns and more control and flexibility in their work. This approach will help readers navigate the difficult but rewarding process of kiln building.

I have some clay in a bank on my land, I found it while working on developing a spring, and at some point I plan on using this book in my own personal kiln construction, of course I need a round tuit, and a cabin out their first.

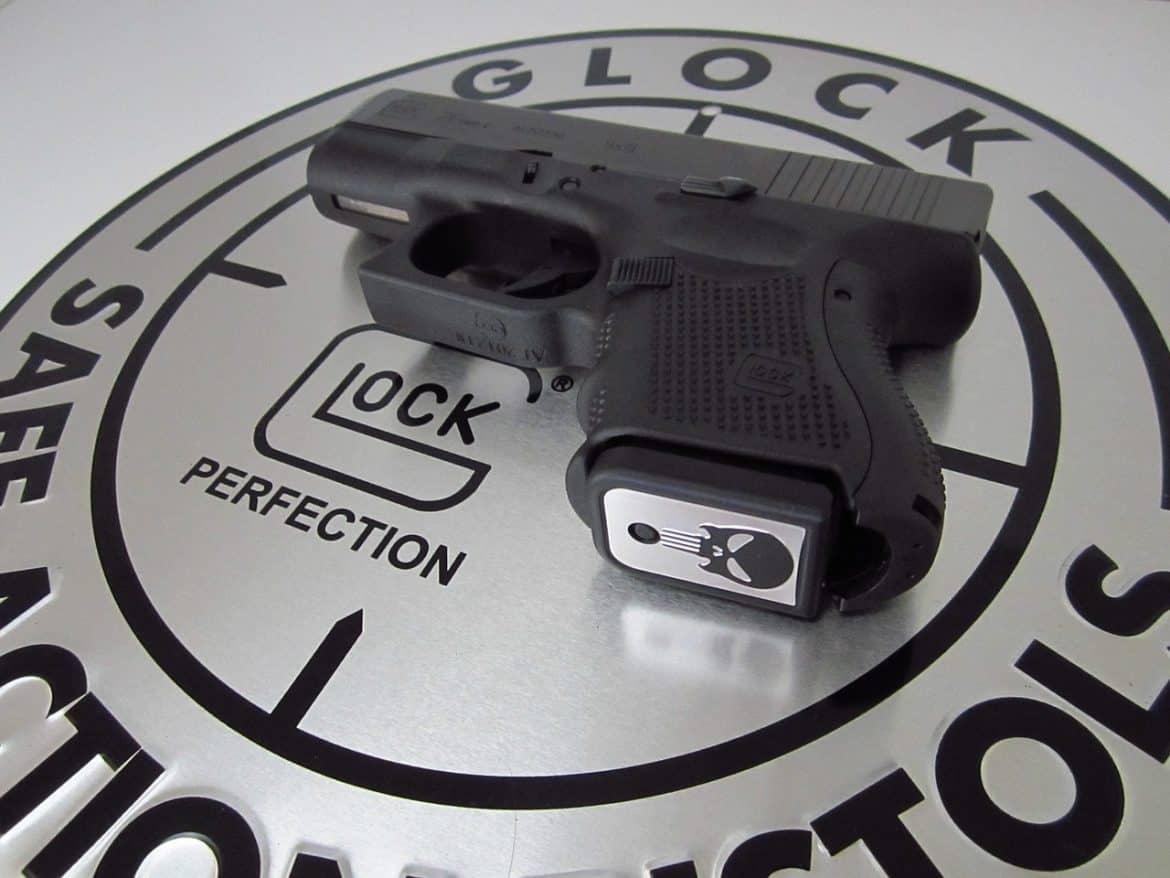
One Minute Glock Cleaning

One Minute Glock Cleaning
Buy at Amazon

It’s not the purpose of this article to show you to how to clean your Glock in under a minute.

Rather it is to demonstrate that cleaning your pistol does not have to be a drawn out affair, and that in some cases (like lubrication) a little is better than a lot.

You will need the following materials to properly clean your gun:

  • appropriately sized cleaning patches
  • a quality cleaning rod
  • bore brush of the appropriate caliber for your gun
  • a slotted tip for threading cleaning patches onto your cleaning rod
  • a gun cleaning toothbrush
  • gun cleaner/solvent
  • gun oil
  • a lint-free cleaning rag.

Starting with an unloaded handgun in a room without ammunition…

With your pistol facing in a safe direction, remove the magazine, and then lock the slide to the rear and both visually and physically check to ensure the handgun is empty.

If it is, field strip the handgun.

Clean the barrel.

  • Thread brass bore brush on your cleaning rod, wet with solvent.
  • Insert the cleaning rod into the breech end of the barrel and swab out the chamber and bore.
  • Work the wet brush back and forth through the entire length of the barrel at least five or six times.
  • Replace the brush with the slotted tip.
  • Thread a dry patch in the tip and using full–length, rotating passes, scrub until the bore is shiny and clean when inspected under a bright light.
  • Dampen the large end of your toothbrush with some solvent and vigorously scrub carbon deposits off of the barrel hood and feed ramp.
  • Wipe the exterior of the barrel down with a solvent dampened rag or patch.
  • Dry out the bore by swabbing with clean, dry patches until the patches come out clean and dry.
  • With a dry patch, wipe down the exterior of the barrel. Put the barrel aside for now.

Clean the slide.

  • Holding the slide vertically, muzzle down, use the toothbrush to brush clean the breech face, the extractor, and the area around the extractor.
  • Keep in mind that you want to avoid getting solvent into the firing pin channel.
  • Solvent and lubricants collect dirt and grime and you don’t want to cake or grease up your firing pin and firing pin channel! This could cause your gun to fail to function.
  • Brush the slide rail cuts and the inside of the slide with the tooth brush.
  • Using a slightly solvent dampened rag or patch, clean the underside/inside of the slide. You can also use the wide end of the toothbrush to scrub the inside of the slide. Dampen the with solvent and vigorously scrub the slide rail cuts.
  • Use a clean, dry patch to wipe down the interior of the slide and slide rails.

Clean the receiver.

  • Using the toothbrush; brush off carbon deposits on the metal contact points as well as the locking block on the receiver. Use some solvent if necessary, and if so, then use dry patches or a dry rag to wipe off excess solvent.
  • Using your toothbrush; brush out any unburned gunpowder and debris from the interior of the receiver.
  • Make sure to wipe clean the locking block, the trigger bar, the connector, the cruciform, and the ejector. (See the Glock owner’s manual for a list of parts.)

Lubricate the pistol.

You just need six drops of oil. Use a quality gun lubricant/rust protective oil. More is NOT better…

Slide rails:

  • Hold the slide such that the slide rail cuts face upward and the muzzle end is canted slightly downward. Using a lubricant applicator, drag one drop of lubricant down the entire length of each slide rail cut.
  • Apply one drop of lubricant to the front inside of the slide which rubs against the upper portion of the barrel.

Barrel:

  • Wipe down your barrel’s exterior with one of the oil dampened patches or the oil dampened rag that you’ve used for cleaning.
  • With your lubricant applicator, apply one drop of oil on the rear side of the barrel lug and one drop on the outside front of the barrel.

Frame/Receiver:

  • Hold the receiver in your strong hand, left side facing down. Apply one drop of oil to the curved, upper extension of the connector, at the right rear corner of the receiver/frame where the rear end of the trigger bar touches the connector.
  • That is six drops of oil total… On the breech face, under the firing pin hole there is a weep hole to allow debris to be pushed out of the firing pin chamber – all too often people think it is a lube point. DO NOT put oil in this hole…

Reassemble the pistol and function check the reassembled gun.

  • To function test, make sure your reassembled gun is unloaded and keep it pointed in a safe direction!

Slide cycling:

  • Rack the slide several times and make sure the slide moves and cycles freely and smoothly.

Trigger function:

  • With the pistol facing in a safe direction, press the trigger rearward. Make sure the trigger works.

Trigger Reset:

  • Rack the slide again to return it into battery and reset the trigger.
  • Make sure that the trigger resets into its forward, cocked position.
  • With your pistol still pointed in a safe direction, press the trigger rearward and hold it to the rear.
  • You should hear and feel the firing pin fall.
  • Pull the slide to its most rearward position and release it.
  • After the slide has snapped into its forward, in-battery position, release the trigger.
  • The trigger should reset to its forward, cocked position. Repeat several times to be sure.

Trigger safety:

  • With your pistol pointing in a safe direction, grasp the sides of the trigger without touching or depressing the trigger safety, which is the trigger in front of and within the trigger.
  • The trigger safety should remain engaged and as such, prevent the trigger from moving rearward and releasing the firing pin.

Slide lock open test:

  • Insert an empty magazine into your in-battery pistol.
  • Firmly pull the slide all the way rearward and it should lock open.
  • That is it, this entire process is short, sweet, and keeps the gun working properly

I would suggest that when done with your cleaning/function checking/dry firing procedures you verbally state “I am now done cleaning my gun” this will set up a small mental block to keep you from being one of those “Moron shot himself cleaning his gun” guys that went from function checking, to reloading a carry gun, got distracted, and then went back to function checking and fired a gun they forgot they loaded.

It sounds stupid, but it happens, and every little bit you do to prevent accidents is more better….

Tool Roll and Pack Review

Gear Review: Tool Roll and Pack
Buy at Amazon
Gear Review: Tool Roll and Pack
Buy at Amazon

Today I am going to talk about my solution for equipment organization.  I use a tool pack and organize my tools into specific a tool roll for each type of tool

When trying to build a farm that is over an hour away from your home, being able to quickly grab the tools you need so that nothing gets misplaced or left behind is pretty important.

I bought an old service truck to help with ensuring that when I got to the land and started working I had everything I needed.  However, as much help as the truck is, it is still hard to grab and go with a basic set of tools.

I need tools for working in the home, in the shop, and on the tractor.

I bought a $50 tool bag with a rubber bottom from Lowe’s and found that I could fit three tool rolls – I keep a roll of screwdrivers, pliers, and wrenches in the bag.  I have other rolls for files and chisels that I keep in the truck – along with a much larger roll for auger bits.

I wrote the specific name of the tool roll on the handles, and used colored electrician’s tape to code them so I can easily grab what I need.

I keep often used tools in the front pocket of the backpack, keep basic survival gear like a lighter, flashlight, and bug spray in the side pocket, and still have one pocket left over for other items.

I can keep the big stuff like hammers in the truck and easily grab the bag to work on whatever I just broke.

All in all, I think it is a pretty good system, and Lord knows I need a system to keep everything organized.

Gear Review: CAT Tourniquet Review


Gear Review: CAT Tourniquet Review and Contest
Buy at Amazon

I Just took an Active Shooter course that recommend CAT Tourniquets.  Right after I get the chance to not only review one.  Its funny how that works

This CAT tourniquet is a proven design that allows someone to apply it to themselves using only one hand.  However, it is not the original.

It is under $20, and sturdy enough for the use it was designed for.

I am going to put one in my tool bag (where I am most likely hurt myself), as well as put one in my range bag.

I certainly cannot recommend having one enough.

Finally, If you are interested in first aid, I have a lot of items in that field both articles and in PDF downloads.