baby food

Recipe: Baby Food (Peas)

Recipe: Baby Food (Peas)
Buy at Amazon

baby foodAs a new mom, my wife is very particular what she feeds the boy, and as a new dad, I am always wondering how to afford all the new budget items babies bring.

When practical (especially during the summers when the wife is not teaching) we find making our own baby food makes the wife happy because she controls the ingredients, and makes me happy because it is much cheaper as well as being better quality.

So as the boy grows we are introducing new foods –so the first question is when can you start feeding peas to your baby?

As always I am not a doctor, so ask the pediatrician, but we started feeding WT peas at about 6 months. – peas are sometimes sold as a “first food”, but it can cause gas in some babies, and we wanted to wait a little while as gas problems runs in the family (even if we blame the dog)…

When making your own baby food you have a couple options, and cooking up fresh peas is obviously the healthiest choice, but not the easiest. Using canned peas is much easier (and normally cheaper), but since canned peas contain a lot of salt and sugar we think it negates the very reason we are cooking our own baby food.

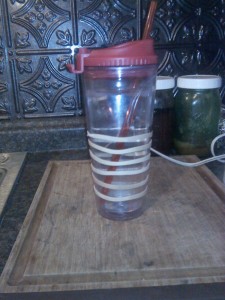
We compromise and use frozen peas. They are economical, available, and less processed than canned peas.

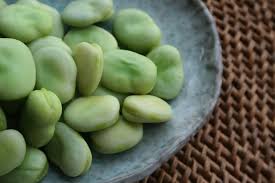
Peas are not usually sold by variety, although many varieties DO exist.

Peas are a great source of nutrition for your child because they are rich in protein, fiber, vitamins, and minerals (including iron, vitamins A and C, vitamin B1, folate, and phosphorus)

To Turn Peas to Baby Food

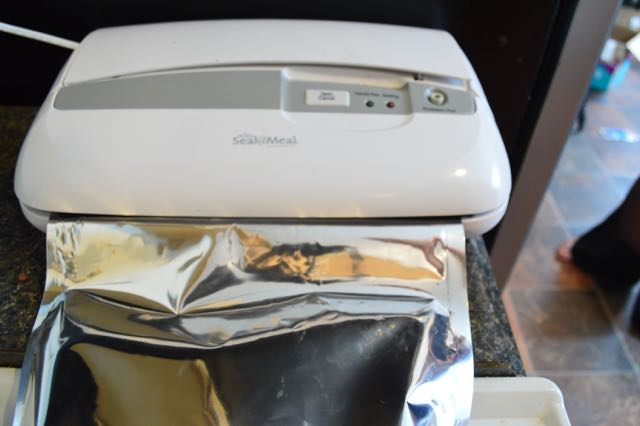
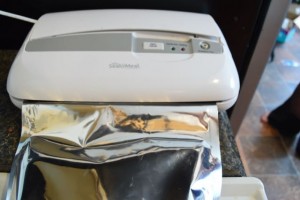
Simply puree the cooked peas in a food processor, with a little of the cooking water or even a little homemade vegetable or chicken broth.

We like to use our OXO food mill to make baby food, and have done several videos on it, but, because the little bits of the skin tend to be hard to break down, Pea puree is somewhat difficult to get completely smooth we find the food mill does not do a good job.

The best way around the problem is to pass the puree through a very fine mesh strainer, which should filter out even the tiniest bits. Or use this tip from Andrea, one of our visitors…

I was able to get a smooth puree without straining by using a blender on the fastest setting and letting it run for two minutes or so. Add a little water so it really gets moving and the skins will puree.

Now that the boy is a little older and prefers to eat what we eat, Cooked peas can make a great finger food for older babies – a bowl of cooked peas can keep our WT busy, and the small size helps build hand eye coordination which he will need to help his daddy with “projects”. Just make sure to only use cooked peas, as uncooked peas are a choking hazard.

How To Keep Up With the Amount of Water You Drink Per Day?


How Much Water Should You Drink
Buy at Amazon

Genny has a good tip on how to keep up with how much water you should drink in a day.

Water is a vital part of a healthy diet.  It helps you to feel full, it lubricates your joints, helps your body eliminate waste, lets you sweat to keep cool, and is generally essential to life.

Unfortunately most people do not drink near enough water.

To ensure you drink enough water you should determine how much you weigh in pounds.  Divide that number in half.

The number you get is the amount of water you should drink daily in ounces.

Example:

  • If you weigh 180 pounds, half of 180 is 90 so you should drink 90 ounces of water a day.

That is pretty easy, but the harder part is keeping up with how much water you have drunk.

This is the neat part of Genny’s tip.

  • Find a cup you can easily keep up with. (I like clear sports bottles with fruit infusers, but that is my personal preference).
  • Determine how many ounces it holds.
  • Divide the ounces in the container by the ounces you need to drink
  • Round up to get a whole number and place that many rubber bands around the container.

Example:

How To Keep Up With the Amount of Water You Drink Per Day?

90 ounces of water for a 20 ounce bottle 90/20 = 4.5.

A 180 pound person with a 20 ounce bottle needs to drink the entire container 4 and a half times a day.

Fill your container and each time you drink it empty remove a band and refill it.

When you have removed all 5 bands you have drank your daily requirement of water.

This is a simple way to keep up with your daily water intake.

Genny has found that simple lifestyle changes are more sustainable than diets.  The 21 day fix system has allowed her to loose more than 90 pounds and make permanent changes that ensure she does not only lose weight, but she keeps it off.

Coroplast to Vacum Seal Mylar

Food Storage: Seal Mylar Bags with a Food Sealer

Coroplast to Vacum Seal Mylar

The holy grail of food storage is to be able to seal mylar bags with a food sealer, but its hard to get around the fact that no matter the brand, consumer vacuum sealers are not designed to work with mylar bags.

The inside of Mylar bags are smooth, whereas the insides of the plastic bags designed for use with vacuum sealers have ridges that allow air to freely flow out of the bag with the sides pressed together.

Food Storage: Seal Mylar Bags with a Food Sealer
Buy at Amazon

After much research into clamps, homemade vacuum chambers, and lots of trial and error it was discovered that a strip of corrugated plastic called coroplast can be used to create a channel that will allow the vacuum sealer to evacuate the air out of the bag.

Coroplast is most often associated with political yard signs, and is very easy to recycle.

Equipment:

  • Mylar Bag (I prefer 7 mil one gallon bags)
  • Foodsaver™ or other consumer vacuum sealer
  • Strip of coroplast (approximately 1inch x 3 inch) – ensure the corrugated strips run lengthways.
  • Mylar Impulse sealer or iron and small board as long as the bag is wide.

Procedure:

  1. Fill your Mylar bag with food (or ammo or spare parts). Leave room for the sealer to
  1. Insert the strip of coroplast into the bag, ensuring that one end is past the seals and into the vacuum chamber.
  1. Activate the machine. In the model I have you press down on the lid until a light comes on indicating a good vacuum has been achieved.
  1. The internal sealer is not strong enough to make a reliable seal with a thick Mylar bag. You will need to either use an impulse sealer between the machine and the stored items in the bag, or you can place a board under the bag and seal it with an iron on medium heat.

Note:

Depending on your machine and the bags you use, you may need to experiment with the optimal placement of the coroplast strip. It took some fiddling until I could get a consistent seal.

How to Cut Pasta the Easy Way


Kitchen DIY: Easy Way to Cut Pasta
Buy at Amazon

When making homemade pasta you have several options in forming your noodles, but while there are many ways of doing it, I want you to know the easy way to cut pasta.

  • You can extrude it (like my play dough experiment for next week )
  • Run it through a dedicated pasta machineCut individual noodles
  • or as this article demonstrates an Easy Way to Cut Pasta, you can roll the dough and cut noodles very efficiently and quickly.Once you get your dough as thin as you desire, simply roll it into a tube, and using a sharp knife, slice it as thin as you want.

After cutting the dough spirals, simply unroll each spiral into a long noodle, and either dry or cook immediately.

This is a very simple way of cutting pasta noodles, and I hope it makes your life easier.

This used to be something I thought was the realm of the super skilled Italian mother – but after trying it I found that homemade pasta is extremely simple to make, as well as being pretty inexpensive.

Once I found an easy way to cut pasta I was all set to make it all of the time – but then I discovered gnocchi and then all my pasta making stopped.

How to Use a Survival Still Over a Campfire


Gear Review: Using Survival Still on a Campfire
Buy at Amazon

The other day we showed how to use shelf brackets to hold pots over a campfire, today we will use this technique to try to distill water over a campfire.

This is probably the most important test of the survival still, because if you ever have to actually rely on the still, you may not have any other cooking method other than the trusty campfire.

Once again, if you rub bar soap on the outside of the bottom pot BEFORE you put it on the fire, the soot will clean up much easier.

While a lot of people think the survival still is too expensive, I think it is a pretty neat product.

I find that using a survival still over a campfire is a pretty easy way to distill water.

(Edit) Now the Survival Still ships with a stainless steel water line.  If you have the old silicon one, contact them and they will ship you a new one free.  I got one in and it does work well, it is flared, so I find it picks up the water inside the still better, but being steel it is not flexible and I found it harder to fit on my stove with the pots I have – I had to use a bowl instead of dripping into the mason jar I normally use.