How to Eat Acorns

How to Eat Acorns: Removing Tannins and Making Flour


How to Eat Acorns
Buy at Amazon

Acorns are not something most of us think about as food, however, Acorns were a staple of many Indian tribes and were used as a primary foodstuff from one coast to another. According to Jackie Clay (of Backwoods Home fame)

Acorns have been tested and found to be possibly the best food for effectively controlling blood sugar levels. They have a low sugar content, but leave a sweetish aftertaste, making them very good in stews, as well as in breads of all types.

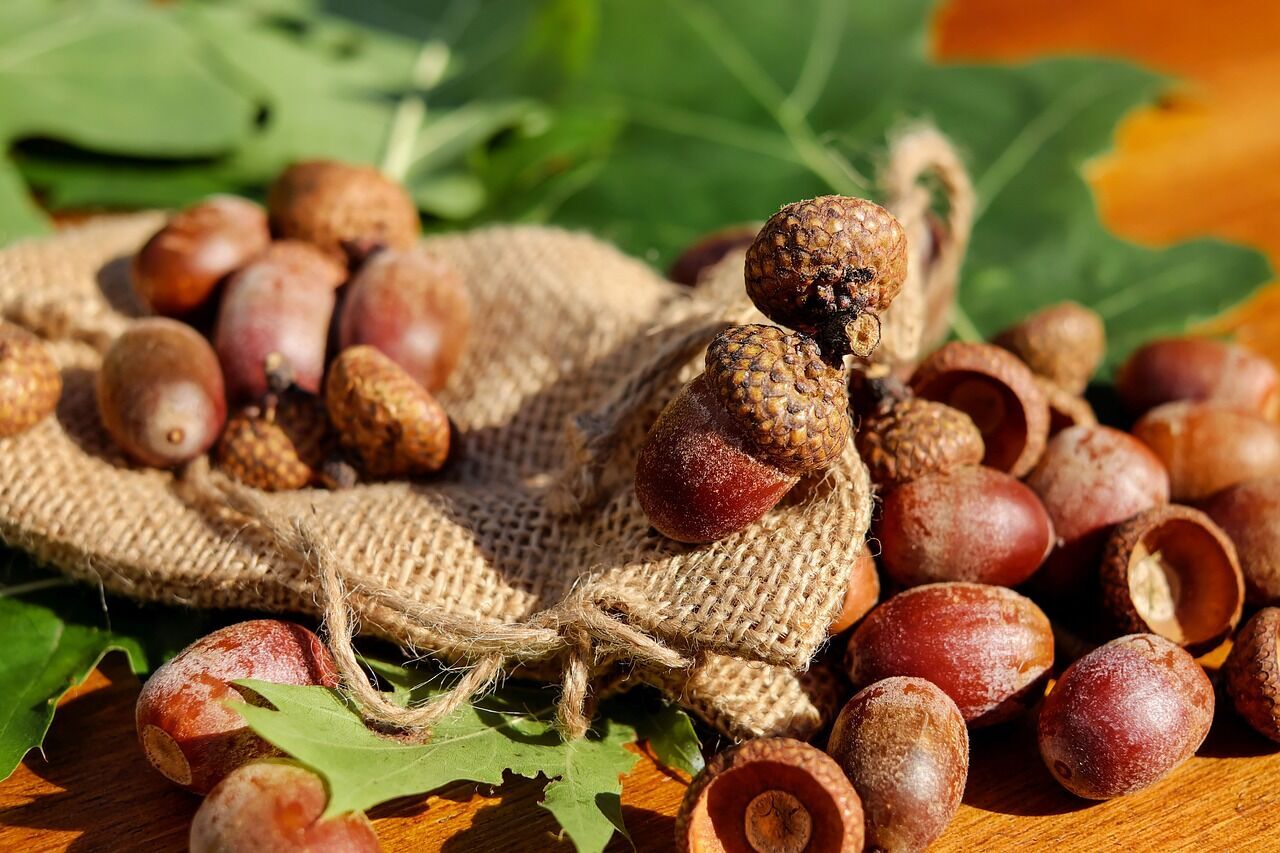
Instead of Asking Can You Eat Acorns, We Show You How to Eat Acorns

Problems with Eating Acorns

The only two problems I have with eating acorns are I am too lazy to pick them up quick enough to prevent worms from ruining them, and the bitter taste the tannins give them. Luckily there are solutions to both problems, and this article and accompanying video will show How to Eat Acorns.

This year I decided to harvest acorns from the oak trees in my front yard. Being lazy, I spread out a large tarp and weighted it down with rocks. Every afternoon (or so) from September to early November I would take a quick look and scoop up any acorns I saw on the tarp. (I went the even lazier route and used by bullet roller since it was originally designed for picking up nuts). If the acorns were soft feeling, or looked like they were compromised I tossed them down the hill, the good ones went in my solar oven to collect in a place where they would not be subject to rot or worms.

How to Process Acorns to Remove Tannins

Once I got enough acorns to make the process worthwhile I took them inside to process them to remove the tannins. Tannic acid makes the acorns bitter, but different oak trees have differing amounts of tannins in the acorns. Depending on the oak tree and your taste buds, it may be possible to eat the acorns without any processing. However these oaks are rare, and normally in the west coast, generally eating an acorn without removing the tannins will make your mouth feel like cotton, can cause constipation, and with large amounts even kidney damage. Luckily to process your acorns all you really need is water.

Indians basically threw their acorns in baskets and left them in swiftly running streams until the tannins were leached out. For us modern folks, there are faster ways.

Dry and Peel the Acorns Before Trying to Eat Them

First thing to do is dry them out so that they don’t mold. You can lay them out on a sheet or tarp single layer deep and let the sun cook them. Personally, I would rather throw them in the dehydrator for a couple hours, or put them on a cookie sheet in the oven at its lowest temperature for an hour (about 175).

Next peel the acorn, its simple to crack the shell with a nutcracker or slip joint pliers, peel off the thin skin, and throw the good acorns in a bucket. If the acorn has a black hole its evidence of worm infestation – throw those out.

Grind the Acorns into Meal

Next get your food grinder and make a course meal. Put the meal in a pot and cover with boiling water. After an hour the water should be brown to black. You can throw this out, however, I have heard of using the tannin containing water to TAN animal hides. Since I don’t have both at the same time, I just dump it out. Taste the meal, if it taste sweet it’s done, if it’s like eating a green persimmon repeat the boiling water soak. Do this as many times as necessary.

Once you are happy with the meal, lay it out to dry. A good way to start this process is to dump the wet meal in a sheet or doubled sheet of cheesecloth, gather the ends like a jelly bag and press the water out. Next put in in the oven at its lowest setting or a dehydrator. Be careful with this process as if you let the meal sit around wet it will mold.

In an airtight jar the course ground chucks will last a while in the freezer, grind it to flour as you need it, because the acorn oil will go rancid about as fast a whole grains will. Either way course of fine, it will start go rancid in a couple weeks if stored at room temperature.

Eat Acorn Meal the Same Way as Wheat Flour

You can use acorn meal in many of the same ways as wheat flour. I have seen recipes online for acorn pasta, pancakes, and various breads. Today we are going to make a kind version of bannock bread that is a cross between a pancake and an unleavened bread loaf. Historically this is the closest to the common use of acorn meal I can find. Let’s see if an 11 year old will eat it, which in itself is a test of usefulness as a foodstuff.

How to Make Sumac Lemonade: A Survival Source of Vitamin C

How to Make Sumac Lemonade: A Survival Source of Vitamin C


Recipe Sumac
Buy at Amazon

Today we are going to take staghorn sumac and make a refreshing drink often called “sumac-aide” Thats hard to say so I just call it Sumac Lemonaide.

Sumacs grow throughout the world with Staghorn Sumac (Rhus Hirta- Rhus Glabra) is the most common.

While we don’t use it as a spice here in North America, sumac “stags” are used as a traditional spice in many cultures in the middle east. If you dry and grind staghorn sumac you will find it has a tangy flavor that is often used with grilled meats and fish.

I imagine you could proabably even use this as a wine base, if it works for dandelions, I bet it would be awesome with sumac.

While one should eat wild food without first consulting a pictorial guide and/or an expert, it is very easy to distinguish staghorn sumac from poison sumac. The color of the leaves is the biggest distinguishing characteristic.

Poison sumac has large white berries and only grows in wet areas – it is pretty rare.

Staghorn sumac has small red berries and is found all along country (and not so country) roads.

Besides being a very cheap drink that tastes a lot like pink lemonade at a FRACTION of the cost it has some health benefits. It is a good source of Vitamin C.  So preppers can use it to prevent scurvy. It also has Malic acid, calcium malate, Dihydrofisetin, Fisetin, Iodine, Gallic Acid, Tannic acid, Selenium, and Tartaric acid.

It has long been used as a folk medicine and has been the subject of research in modern medicine.

As far as a recipe – Its pretty much all to taste and pretty simple.

How to Make Sumac Lemonade

Ingredients:

  1. Sumac Berries
  2. Water
  3. Sugar (to taste)

Preparation

  1. Don’t pick the Sumac cones after rain since the flavor comes from the sap on the outside of the berries.
  2. Remove as much leaves and twigs as possible. The more stems the more tannic acid you will get.
  3. Place the Sumac berries in a container filled with fresh cold water. You’d want about 1 cup of water for each cone.Warm water will make your drink bitter.
  4. Crush the berries with your hands.Let rest for about 30-60 minutes depending on how strong of a flavor you want.
  5. Strain using a cheesecloth
  6. Sweeten to your liking. Serve cold with ice.  Personally while I have to have sugar in my tea I don’t feel that sumac-aide needs sweeteners.

I like Sumac Lemonade, I think it tastes good.  Additionally, it is easy to make. During a disaster, it is a good source of vitamin C to prevent scurvy and other diseases.

How to Make Modern Pemmican Using Peanut Butter Instead of Grease

52 Unique Techniques for Stocking Food for Prepper
Buy at Amazon

I grew on a state park as a son of a park ranger and was encouraged (maybe that’s too strong a word –tolerated) to explore Native American crafts and wilderness survival skills. I had always wanted to make pemmican, but since I lived on a state park, I could not hunt so I never had access to enough meat and fats to make it. (Mom wouldn’t let me experiment with the family’s groceries unless I was cooking supper…. LOL)

The urge to make pemmican lay dormant for several decades as I went in the service, and later spent all my energy learning about ex-wives and the legal process. Now that I am settled and have a wife that understands me enough to let my creative juices float me in strange directions I decided to finally make some pemmican.

Basically pemmican is mixture of dried and pounded meat and rendered fat. Since meat spoils rapidly needs to be preserved, but because of the differences in makeup meat and fats have to be preserved using different methods.

In pemmican, dried meat and rendered fat is preserved separately.  It is then mixed back together to make a calorie dense food that has a long shelf life. Traditionally we hear about pemmican being made with dried berries also, but that did not make up the bulk of pemmican creation until the Europeans began buying it that way.

Here’s how to make traditional pemmican

  • Separate the meat from the fat
  • Dry the meat into jerky
  • Grind the meat. Use a commercial grinder, or pulverize, I threw mine into a blender.
  • Render the fat.
  • Combine meat and fat, in a ratio of 2 parts meat to 1 part fat.
  • Pack in airtight containers

If you want to add dried fruit you can do that also.

Modern Pemmican is more palatable

For a more modern (and easier to convince your wife to try) you can substitute peanut butter for the fat.

I dried a bag of freeze dried assorted fruits and added it with the peanut butter and meat. My wife ate some and would do so again. I doubt she would if she saw me dumping in a jar of rendered fat though….

Just one caveat, this stores well, and tastes pretty good, but modern pemmican is very calorie dense so its probably best suited as a meal replacement and not a neat snack.

Recipe: Fried Rabbit Liver

52 Unique Techniques for Stocking Food for Prepper
Buy at Amazon

Growing up I never was a fan of liver, and to tell the truth, I am still not a fan of most liver, but I have started acquiring a taste for fried rabbit liver.  I blame my bride for that.

Normally she is helpful, but not exactly excited with my experiments and attempts to videotape our work at learning how to prep and become more self-reliant.  However, when I started butchering our animals she became more that helpful.  She became quite insistent that whenever I butcher a rabbit I have to fry the liver for her.  If that’s all whe asks for, then I am happy to oblige.

Rabbit livers are larger than chicken livers, but the taste and cooking methods are identical.  However, when you are handling a rabbit liver you need to be aware of two things.  The first is not to burst the green gall bladder that is attached or you will ruin your liver.  The second is that since the liver functions to filter toxins from the blood, it is important to only use healthy looking livers.  If your rabbit has a liver with white spots don’t eat it.

Pan frying them is pretty easy too.  I just rinse the liver off, dredge it in flour mixed with a little salt and pepper, and throw it in a skillet filled with hot oil.  I fry for a couple minutes on one side, then flip to finish cooking.

I am sure there are lots of other ways to cook rabbit liver, but this is easy, and the liver is gone before anything else is done, since my lovely bride thinks this is a treat…

How to Make Corn Tortillas and Nacho Chips

How To Make Corn Tortillas and Nacho Chips


52 Unique Techniques for Stocking Food for Prepper
Buy at Amazon

Knowing how to make corn tortillas and nacho chips is a great way to change up your eating experience.

Because flat bread is easy and cheap many cultures use variations. In Asia they have Nan, in the Middle East you have chapatti, in North Africa you have injera, and you also have puri and pita breads.Some techniques or ingredients change enough to warrant the names, but basically it’s all just unleavened bread that does not rise cooked on a hot skillet or fried.

For corn tortillas you use a special corn flour called masa. In this flour the corn is Nixtimalized (which we will do in a later post). Nixtamalization chemically changes the corn so that its nutritional value is increased. Pellagra is a disease caused by eating dent corn as a staple, as without nixtamalization the nutrients in the corn are unavailable to humans.. Basically hominy is Nixtimalized corn. Coarsely ground hominy is grits, and finely ground grits is masa.

The great thing about tortillas is that all you need is a bit of masa, some water, and salt if you like.

The tools are simple also. A dry skillet and your hands is all you really need at the most basic level. A comal (flat cast iron griddle) and a tortilla press is used if you specialize.

To make the dough

  • Add 2 cups of masa into a large bowl
  • Add 1 1/2 to 2 cups of very warm water to the masa.
  • Mix let sit for 5 minutes.
  • Working the masa into dough, to me it seems a little like putty. If at any point through the tortilla making process the dough seems too dry or too wet, add a little more water or masa to the dough.
  • Take a piece of the masa dough and shape it into a ball the size of a plum, or slightly large golf ball. Make about 16-18 balls from the dough.

To Press Tortillas

You can pat the balls into tortillas, but that is difficult for a beginner.
You can also roll them out on a floured surface.
I use a press.
To use a press, take two pieces of wax paper, parchment paper or plastic from a plastic bag and cut them to the size of your press.
Open the tortilla press and lay one piece of wax paper on the press.
Place the dough ball in the center.
Place another piece of wax paper over the masa ball.
Gently close the press and press down, until the dough has spread to a diameter of 6 inches. If you press it too much the dough will stick to the paper and not peel easily

To Cook Tortillas

Heat a skillet on high heat. Use a SMALL amount of oil to lubricate, but make sure it is light… You are not making fry bread.
Cook the tortilla for ½ to 1 minute on each side. It should be lightly toasted with little air pockets.

Serve immediately, or refrigerate for storage.

Nachos

While I am making tortillas I normally make some nachos at the same time.
You use the same tortillas, you just cook them differently.

Once I press out the tortillas I normally cut them into 4 quarters. I then fry them in hot oil until they are a nice golden brown.

I then drain them and season them to taste.

You can be flexible with the seasonings, but a nice “Dorito flavor” can be done with taco seasoning, a little cayenne pepper, and a little citric acid for bite.