Garlic Knot Pizza Casserole is a kid friendly recipe that my boy loves making more than he likes eating it. Which is funny because he begs for pizza every night. For some reason WT likes opening up cans of whomp biscuits.
This makes a pretty good supper for those nights that you want some comfort food but are tired and don’t want an involved recipe.
You don’t have to add as much topping as we did, and you can vary the toppings just like any pizza. However, you do want a liquid sauce on the top of the casserole as that helps the biscuits cook to the right consistency and texture.
Cooking with your kids is a pretty important part of parenting, at least in my mind. It not only shows you want to spend time with them, it teaches cause and effect, math, following directions, and patience.
Click Image to View at AmazonClick Image to View at Amazon
Today we make mini apple pie. On a whim I bought the little pie maker set pictured here and started messing with making pie dough and lots of pies. I am new to making pie crust, but I should have gotten into earlier as much as I like tomato pie.
My son was pretty exited about making mini pies, he wanted us to eat them up, but he had to give permission to specific people who could eat them.
This isn’t a recipe or a review, We are just showing the little silicon pie crusts and how they work.
I am sure that if you made a lot of pie crust you would make better pies than I do
This is a pretty cool thing to do with a kid, or if like me, your wife does not allow whole pies into the house due to being “non-supportive” of her diet.
But I will show you the apple pie filling:
Ingredients:
1 large granny smith apple cored, peeled, and chopped into pieces
1/2 teaspoon ground cinnamon
1/4 teaspoon of ground nutmeg
1 tablespoon of vanilla extract
Procedure:
Mix all the ingredients
Spoon into mini pies and fill about 1/3 full
Add egg wash to the top of the dough and then add the tops
Click Image to View at AmazonClick Image to View at Amazon
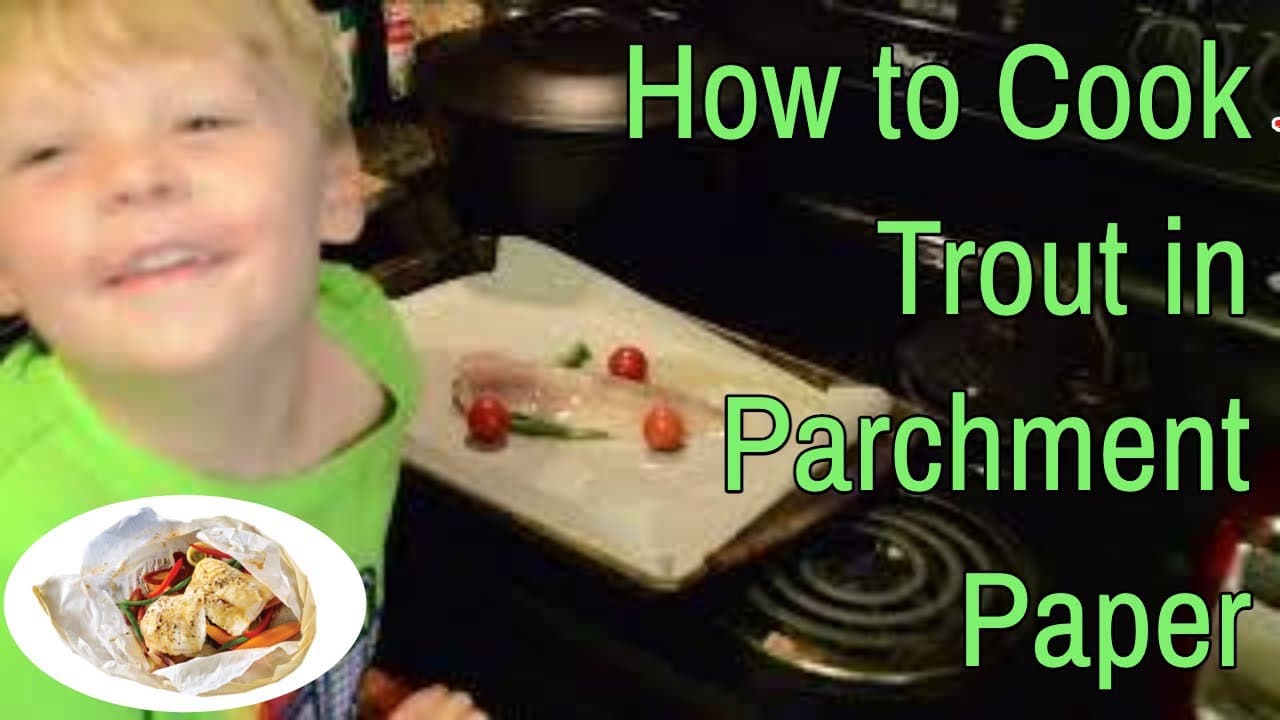
I get to show you how to cook fish in parchment paper because William has been begging to go fishing. We actually live pretty close to the famous Bucksnort Trout Ranch on Interstate 40 outside of Nashville.
I got him out of pre-school a little early and we went on a ‘venture.
We caught a couple of nice trout and got them filleted.
William was pretty excited to watch them get cleaned and would not stop talking about eating them. If was adorable to watch him scrunch his nose and rub his hands together like he was some evil genius planning to take over the world. Of course not long after we go on a canoe trip and he didn’t want to fish
Who knows that his 4 year old mind associated eating a fish with.
If you want to skip to the cooking, it starts at 1:20
Emergency food needs to be shelf stable and contain needed nutrients. It is a plus if the food tastes good, is light weight, and not very expensive.
This was not the easiest project to achieve, and I had to test many different recipes until I settled on this particular one.
This particular food bar recipe makes a hard biscuit that is reminiscent of both hardtack and the commercial Datrex bar. It is not a gourmet meal, but it is light and if stored properly can last for well over one year.
This is a very simple recipe, and the base recipe I used can be found on many websites. I found that by modifying the recipe and making small “cakes” instead of the more common loaf makes the food bar much easier to eat and handle.
Ingredients:
2 cups oats (quick or flaked oats work equally well)
2 1/2 cups powdered milk
1 cup sugar
3 TB honey
1 3 oz package jello (orange or lemon)
3 TB water
Equipment:
Bowl
Measuring cup
Spoon
Saucepan
Parchment paper
Cookie Sheet
Aluminum foil or plastic bag
Procedure:
Mix the oats, powdered milk, and sugar together in a bowl
In a medium pan mix 3 tablespoons of water, one package of jello and 3 tablespoons of honey. Bring to a rolling boil. Due to the small amount of water and the high amount of sugar, this recipe is very sweet. If you use flavors other than lemon or orange you may find this bar to be TOO sweet.
Add jello mixture to dry ingredients. Mix well. If the dough is too dry, add a small amount of water a teaspoon at a time.
Do not use too much water because this bar only works if it is bone dry.
The mixing process involves work, mixers aren’t strong enough and you will have to use your hands and arms.
Preheat oven to 3500F
Most food bar recipes have you shape the well mixed dough into loaves at this point. I found that rolling the dough into ping pong sized balls that are then smashed into flat disks the end product is much handier and easier to eat.
Bake your bars at 3500F degrees for 10-15 minutes. (If your making al oaf time is more like 20 minutes). You are not trying to cook the recipe, but rather dry it. I find that by propping the oven door open slightly you get a dryer bar (the dryer the bar the safer you are from food borne illnesses like botulism – and the bar will store longer).
Alternatively, you may want to cook for 10 minutes and then place in a dehydrator until completely dry.
Let cool completely.
Wrap in aluminum foil to store. Another benefits of the disk shape is they can be rolled like coins.
If you want to store these in your car or bug-out bag it would be a good idea to seal these in a vacuum bag after you put them in aluminum foil
Yield:
This recipe equals approximately 2000 calories which is the caloric needs for an average adult