7 Must Have Items for Wilderness Survival

7 Must Have Items for Wilderness Survival
Buy at Amazon

If you are going out into the wilderness, you should make sure you are going well prepared with the right items for survival. Sure, no one wants or expects to get into a life threatening situation.  However, in the wilderness, anything can happen at any time. In this article, we have complied 7 must have items for wilderness survival; let’s get started!

A Survival Knife

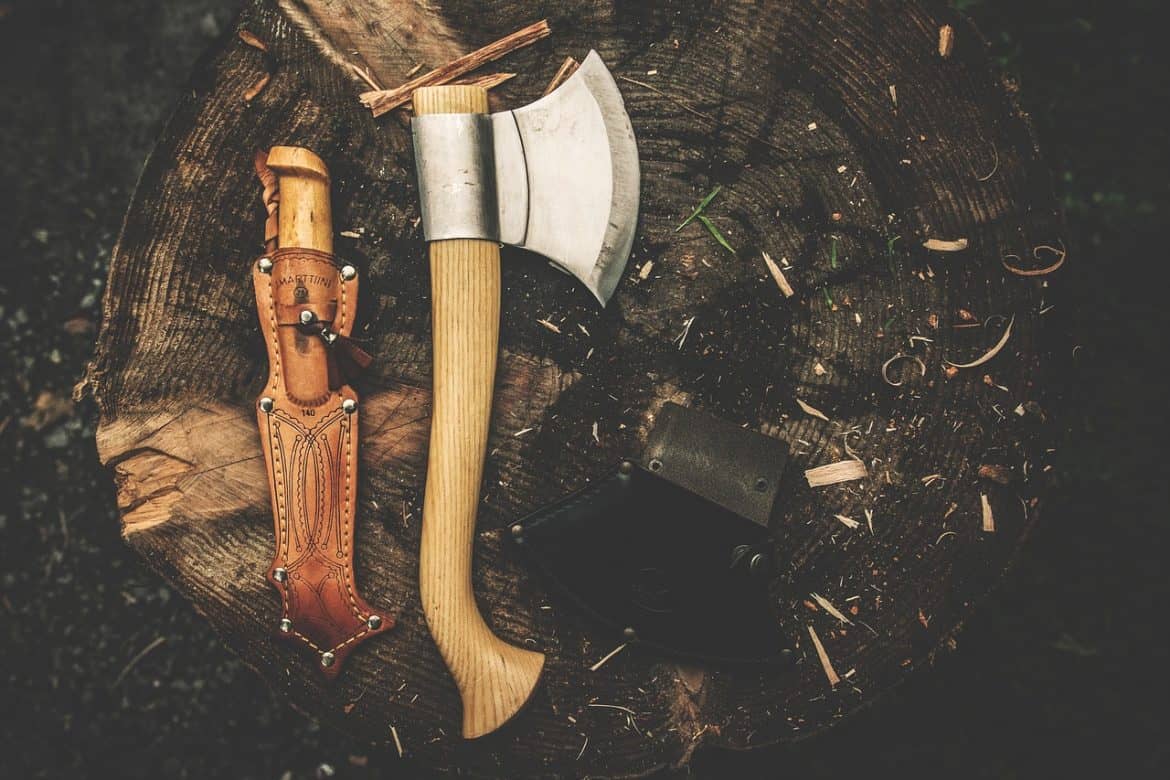
The number one must have item is a survival knife. It has many uses in everyday activities.  In case you happen to find yourself in a dire situation, your chances of surviving are increased if you have a knife.

Look for a sturdy and reliable survival knife which you can keep on your person. Consider getting a knife which has 4-5 inch carbon steel blade and flattened back edge. This type of knife can easily split kindling, skin an animal, filet a fish, and even cut through the forest and the vegetation.

The knife can also be used to; create weapons, open packages, create fire starters (like bowing a drill), build an emergency shelter (by cutting branches or cutting tarp), cut clothing for bandages (in case you do not have the first aid kit), and so much more. Keep in mind, your choice of knife is crucial to your survival.

A Heat Source

A means of making fire is essential when you’re out in the wilderness. Your survival may completely be dependent on whether you’ve the capability of creating a fire.

Match boxes are a great source of heat because they are an easy and quick way of starting a fire, keeping warm, finding way through the darkness, making emergency smoke signals, burning parasites like ticks, among many other uses. However, they can easily get ruined if it rains.

Therefore, it is wise to keep a water tight lighter available. Also within this realm, you might want to make sure to bring a good tactical flashlight. This will help for situations you might run into at night.

A Map and Compass

Although modern technology has brought about many changes in this area, when going out into the wilderness, you should always bring with you a map of that area and a compass. This is particularly important in case the area has poor cell coverage, or in case you experience technological glitches, or even accidentally damage your phone. A map and a compass might be the only tools that can lead you to a safe location. Learn how to read a map and navigate with the compass.

Some Sort of Shelter

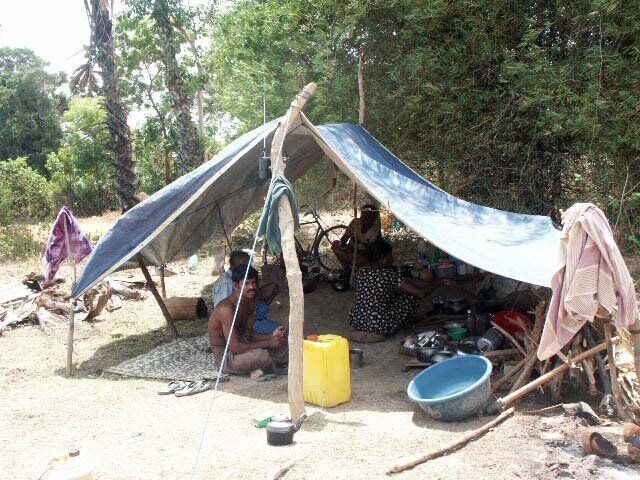
Wilderness survivalAnytime you happen to enter the wilderness, you should carry with you a cover for unexpected overnight stay. A cover is something you should always bring with you even if you are just planning on a quick afternoon hike.

Having a cover which you can easily pull out and erect a shelter will help protect you from the rain, cold, animals, among others. Even a simple tarp which you can throw over the branches is enough. You should also consider bringing warm covering for your body.

Depending on where you get stranded, keeping warm might proof to be difficult, but it’s essential for survival. Make sure you bring warm, insulating clothing.

Cordage Rope

While it is possible to make ropes out of the plant materials, you do not want to waste valuable time with such unnecessary tasks. Bringing with you a strong rope can be of great help when it comes to making shelter, setting traps, or even climbing terrain.

A rope can also come in handy when you need to escape, or when you need to climb out of a potentially dangerous situation. Paracord will work great for this, and it doesn’t add too much weight.

Stainless Steel Water Container

You will most certainly need water when you are out in the wilderness. That being so, the type of water container you carry the water with can make all the difference. The ideal type of container to use is a stainless steel water container.

It’s not only durable, but it can also be put over the fire to melt snow or boil water, making it safe for drinking. Take a stainless steel water container which is sturdy enough and big enough to carry enough water for long treks.

First Aid Kit

When going out into the wilderness, you should carry a first aid kit with you at all times. It’s an essential item which should never be left in the car or at home. Make sure the kit has the basic first aid items like bandages, band aids, sterile gauze, tape, burn creams, ointments, scissors, soap, personal medications, among such other items.

It’s super important to make sure you’re as prepared as possible for the situation you’re putting yourself in. You don’t need to have everything you might need for any situation, because you have to keep in mind you have to carry all of it, but make sure you have the essentials.


How to Tie a Square Knot

How to Tie a Square Knot (AKA Reef Knot)

Knots: Reef Knot (AKA Square Knot)
Buy at Amazon

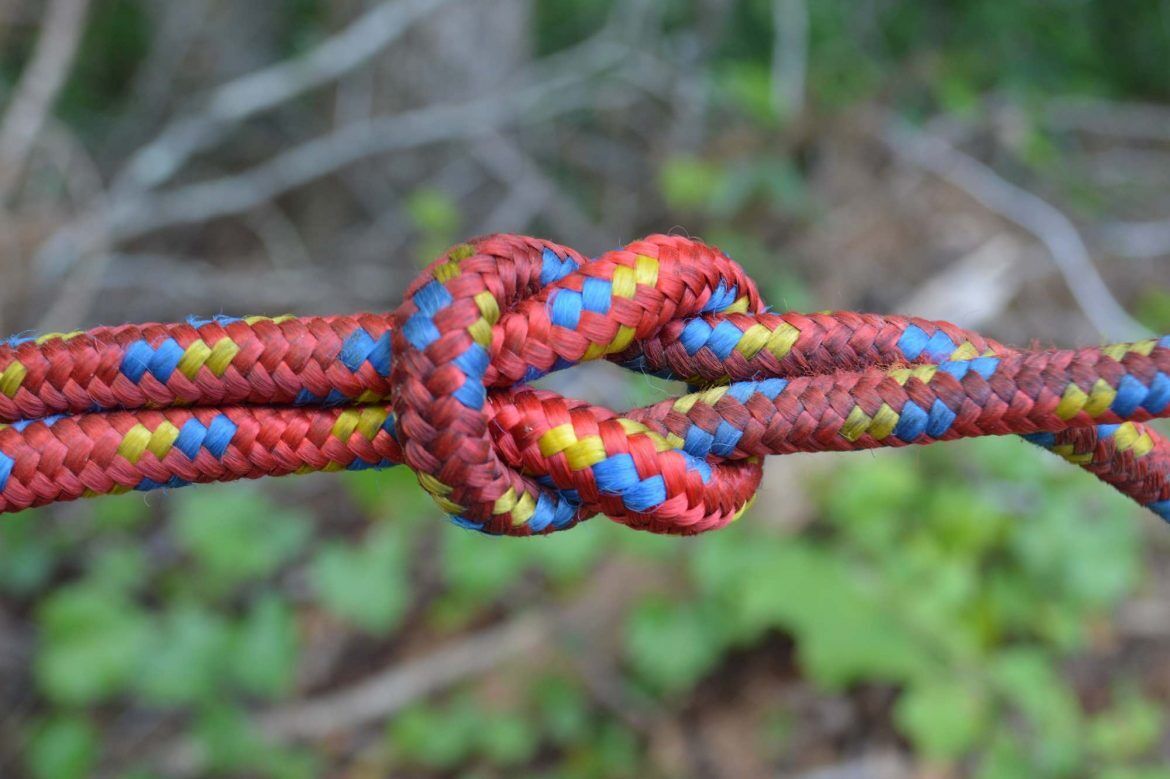
The Square Knot is one of the most well known knots. It is easy to tie and is useful for low strain ties.

While most people call this knot a square knot, in actuality the knot is names the reef knot.

The knot is popular among sailors, climbers, and gift wrappers for its convenience and ease of tying.

It is one of the simplest knots available, yet the square knot proves strong enough for most applications.

Easy to Tie and Untie

What I like best about it is, that if you grab one rope ends that are not under strain, and pull it back toward the knot, a properly tied square knot will untie itself.

Unfortunately, this makes it unreliable for climbing.

Reef Knot
Reef Knot

Tying the Reef Knot:

  1. Take two ropes and lay the right-hand rope over the other.
  2. Wrap the right-hand rope under the left-hand rope.
  3. Bring the right-hand rope back over the left-hand rope.
  4. Next, pull the original right-hand rope over the other rope.
  5. Pull the original right-hand rope under the other rope.
  6. Finally, pull on both ends firmly to tighten.
char cloth

Making Char Cloth

Making Char Cloth
Buy at Amazon

char clothI like mixing traditional survival skills and technology with the science and technology of modern times. While there are many modern ways to light fire, being able to use flint and steel or other older tech has its uses.

Char cloth is a traditional tender that you can make yourself – it’s basically just cloth charcoal…

In order to make it you will need a tin of some sort it just has closeable lid that is relatively airtight

When you get your tin (I used an Altoids container) you need to punch a small hole in the top with a small nail

Procedure to Make Char Cloth

  • Cut the cloth (100% natural cloth – no plastic like nylon or polyester) in squares and layer them in the can – it is important not to pack them in too tightly.
  • Light a small fire and set the can over the coals. You will soon see smoke billowing out of the can, this is expected. When there is no more smoke coming out take it out of the fire, but DO NOT open the lid off right away. If air hits the carbonized cloth while it is hot oof the fire, it may burst into flames.
  • Remove the lid
  • If your cloth looks brown you did not cook it enough – put it back and start over
  • If it crumbles when you touch it, then you over cooked it and you need to try again.
  • If it is black, soft, and somewhat pliable then you did a good job.
  • Any kind of spark will cause it glow red with a hot ember, which will allow you to add tinder, blow on the spark, and light a fire.

Camping: How to Start a Fire With a Battery


Camping: How to Start a Fire With a Battery
Buy at Amazon

Being a DIY Prepper involves learning multi-disciplines, and while I believe living off the land in a wilderness setting is a unrealistic TEOTWAWKI plan, I still think everyone should have basic wilderness survival skill.  One outdoor skill everyone should possess is the ability to make fire.  This is one skill that redundancy is especially useful.  Today we are going to show how to use steel wool to show how to light a fire with a battery.  Once the basics are understood this process is repeatable with almost an unlimited variety of batteries.  Theoretically, it can even be done remote controlled.

All you need to do is to take a piece of fine steel wool – the finer the better (I use 0000 grade), pull it apart a little to separate a few threads.  Then to light it, take the steel wool threads and short circuit a battery by connecting the wool to both battery terminals.   Be careful because the steel will immediately turn red hot.  Blow on it a little and it will burst into flame.   You can make it even more effective by mixing in a little dryer lint.

Once you have done it with a 9 volt battery and see how easy it is, you can take the back off a flashlight, turn it on and use the battery and the metal flashlight case to do the same thing.  As you can see from the video you can even do it with a cell phone battery.

How does it work?

The basic principle is that there is more electrical current that wants to flowing through the fibers,  than the fibers can handle – the resistance to the current causes the wool to get hot.  If the steel wool is not fine enough, the electricity will just flow through it.  This will drain your battery without giving you the heat.  If this is the case, increase the current.

Another factor is the total voltage that is applied to the strands. The higher the voltage, the hotter the wires will get. (The relationship between current and voltage is linear – double the voltage, to get twice the current.) This means, the more cells that you run in “series” the hotter the wires will get.


Knots: Taut Line Hitch

Knots: Taut Line Hitch
Buy at Amazon

Today’s knot is the Taut Line Hitch.

Since it can be slipped to tighten or loosen a line, and it also holds well under load, it is a great not for camping.

This makes it useful for lines that may need adjustment.

I learned it in the boy scouts and use it to tie tent and tarps to stakes, because it slides freely, yet jams under load, which makes adjustments easy.

Tying a Tautline Hitch

  • Make a turn around a post or other object several feet from the free end.
  • Coil the free end twice around the standing line working back toward the post.
  • Make one additional coil around the standing line on the outside of the coils just made.
  • Tighten the knot and slide it on the standing line to adjust tension.

The taut line hitch was the first knot I learned in the Boy Scouts (but I already knew the square knot from my dad).  This knot is perfect for guy lines on tarps and tents.

I can think of 8 taut line hitch knots being used semi-permanently at the land – tying down the tarp at my campsite, and trying down a tarp on the back of the shed.